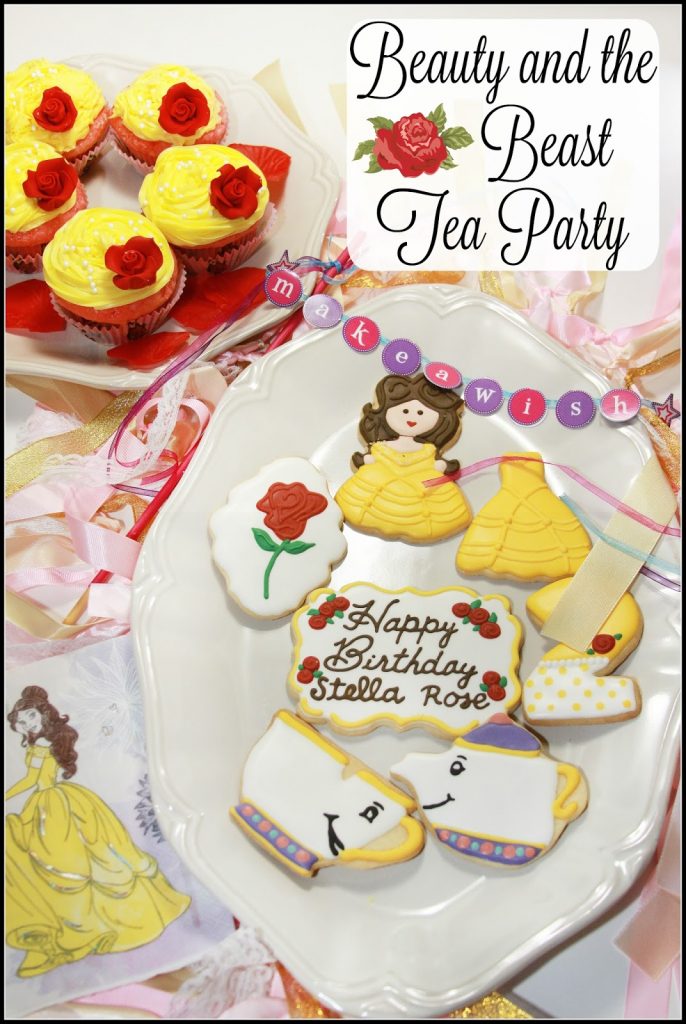
My sweet Stella Rose turned two today and I don’t think it has really sunk in that my littlest babe is not a baby anymore at all! We had a Princess Tea Party last month for her since she is lovin’ anything and everything Beauty and the Beast lately.
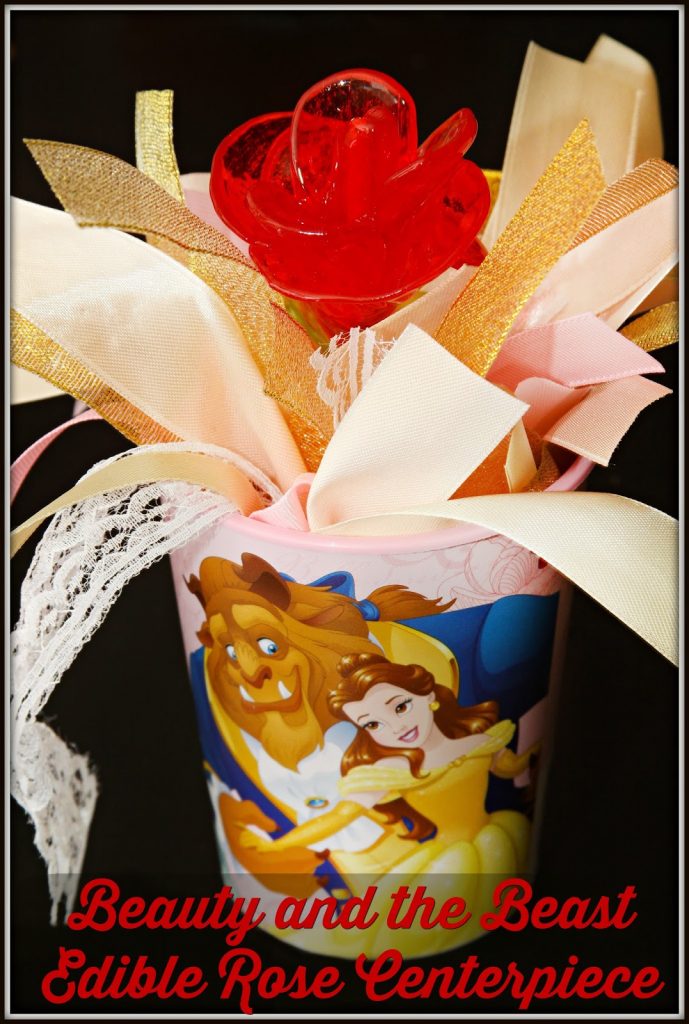
I even added these roses to Beauty and the Beast cups, filled with pretty fabric strips, and they were easy party centerpieces!
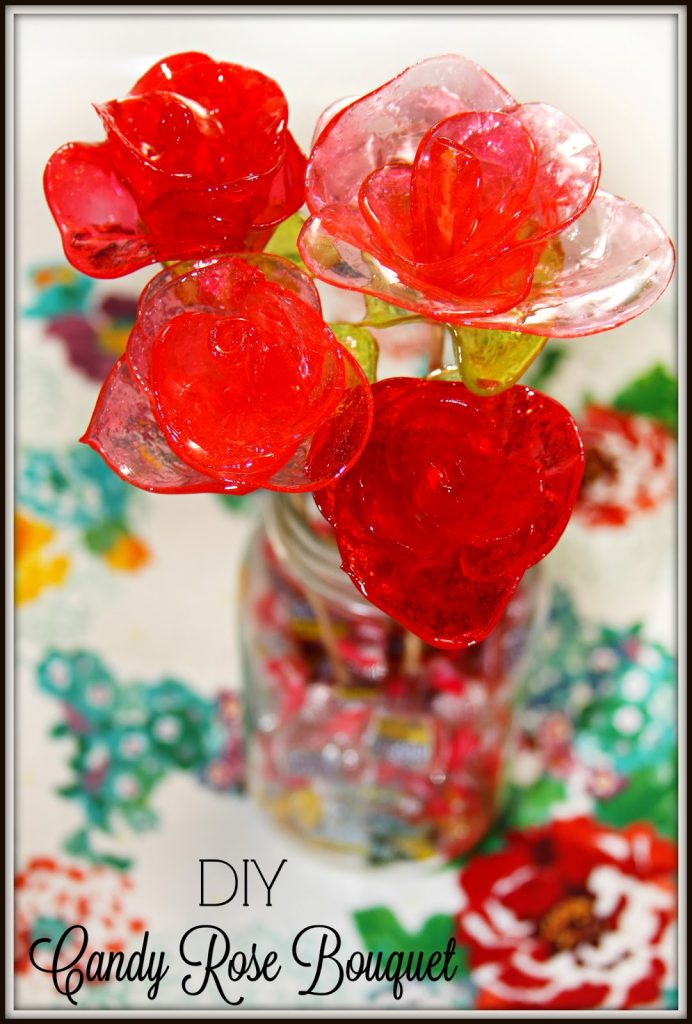
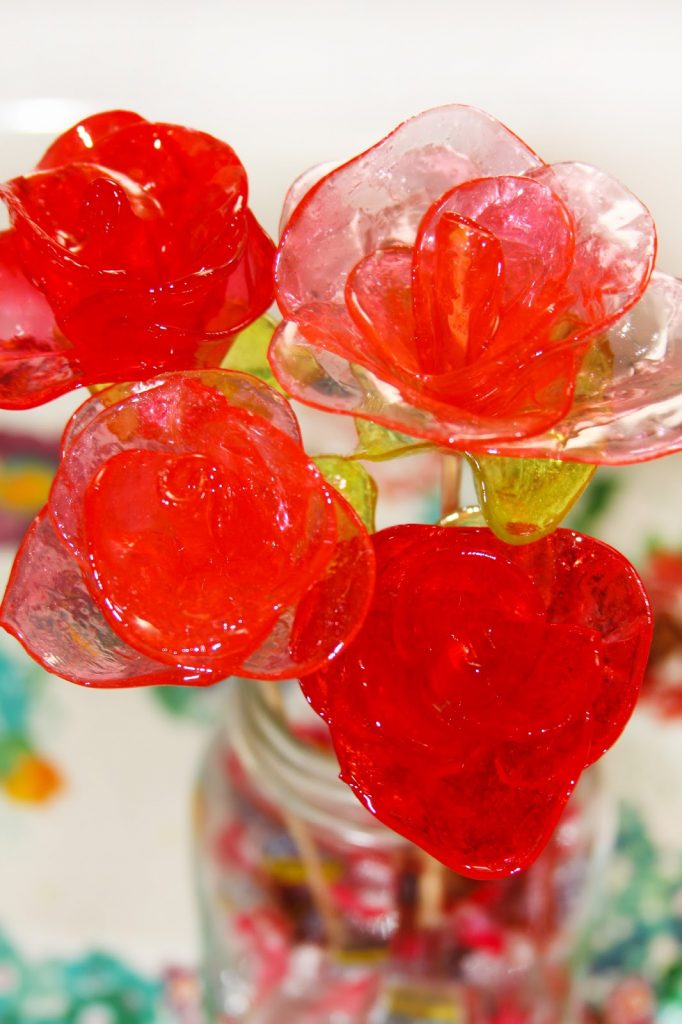
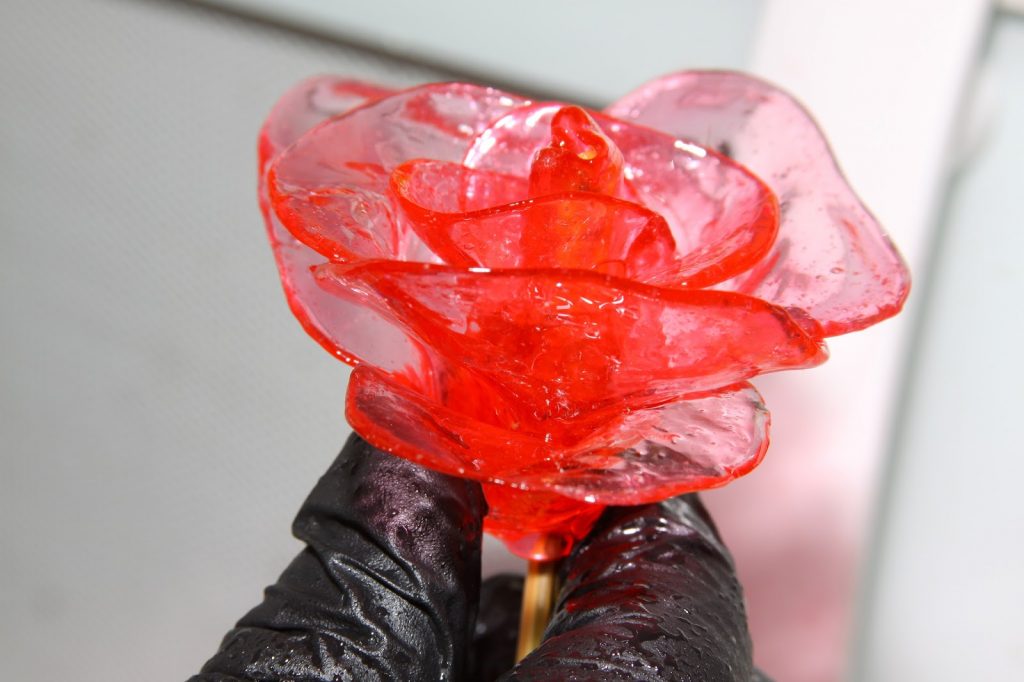
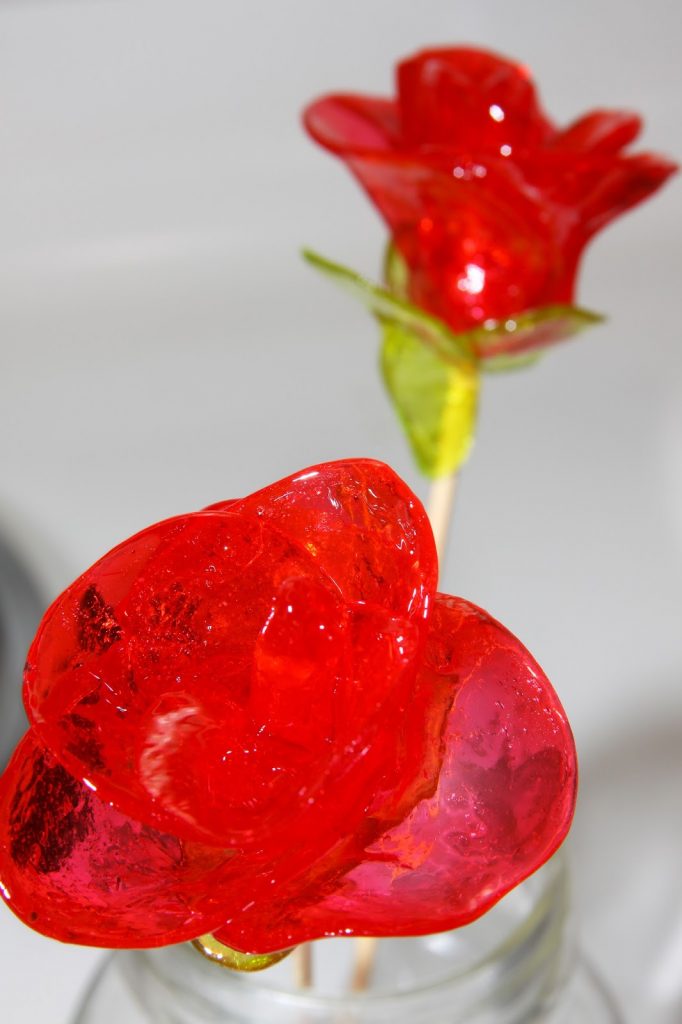
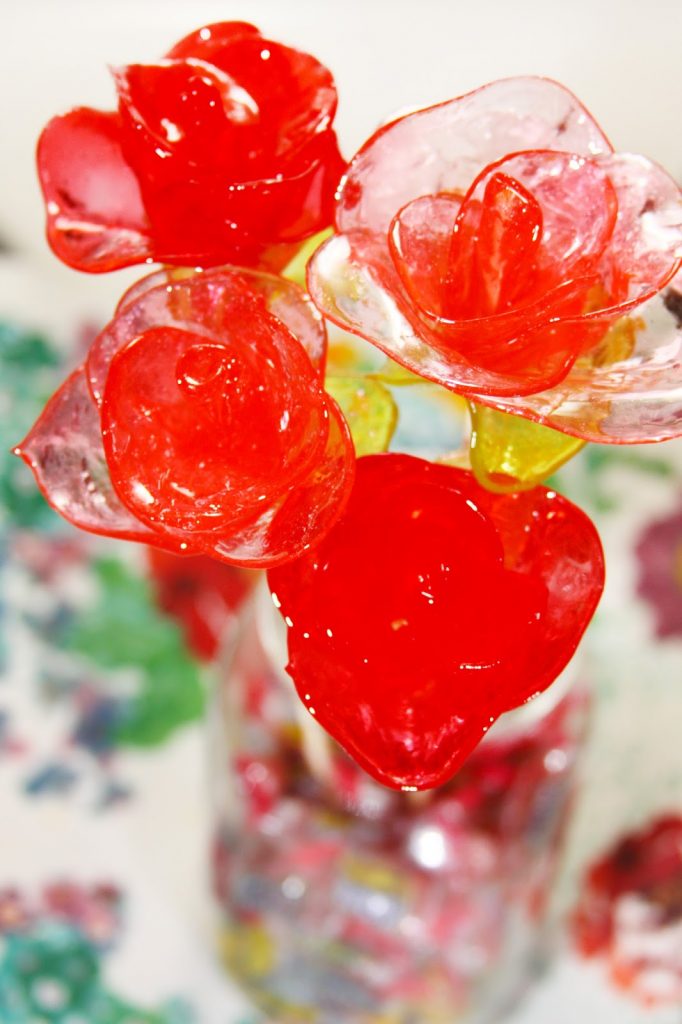
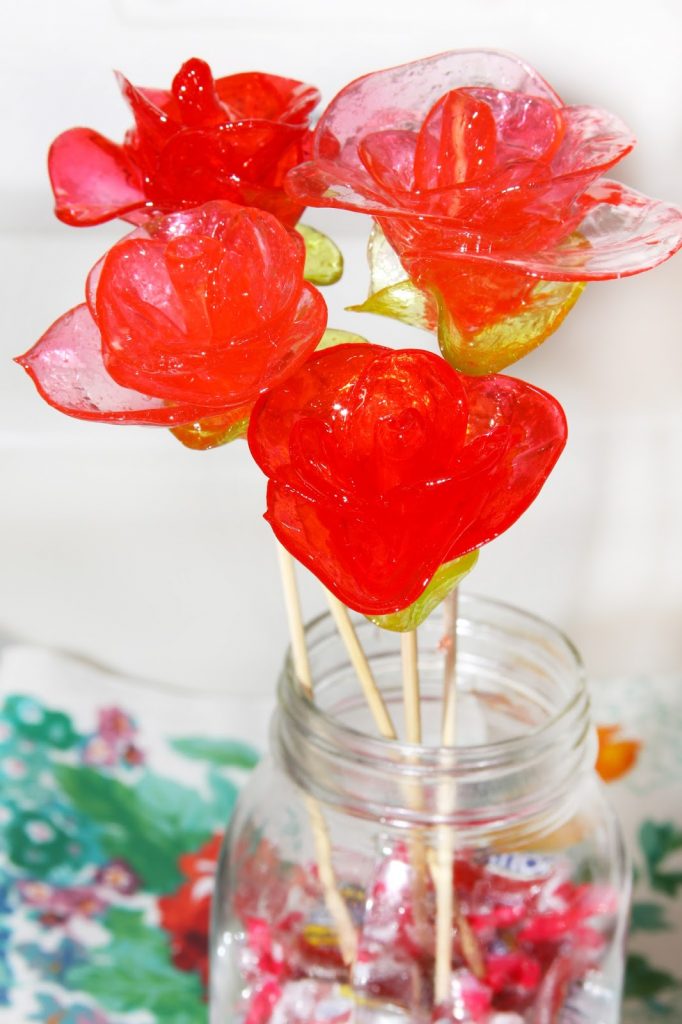
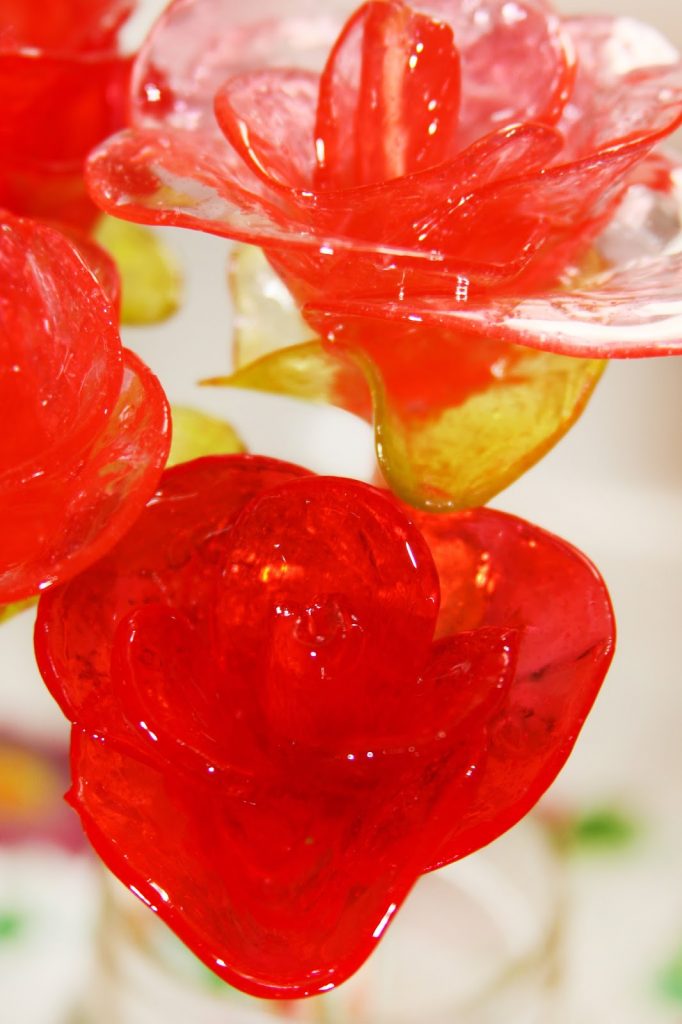
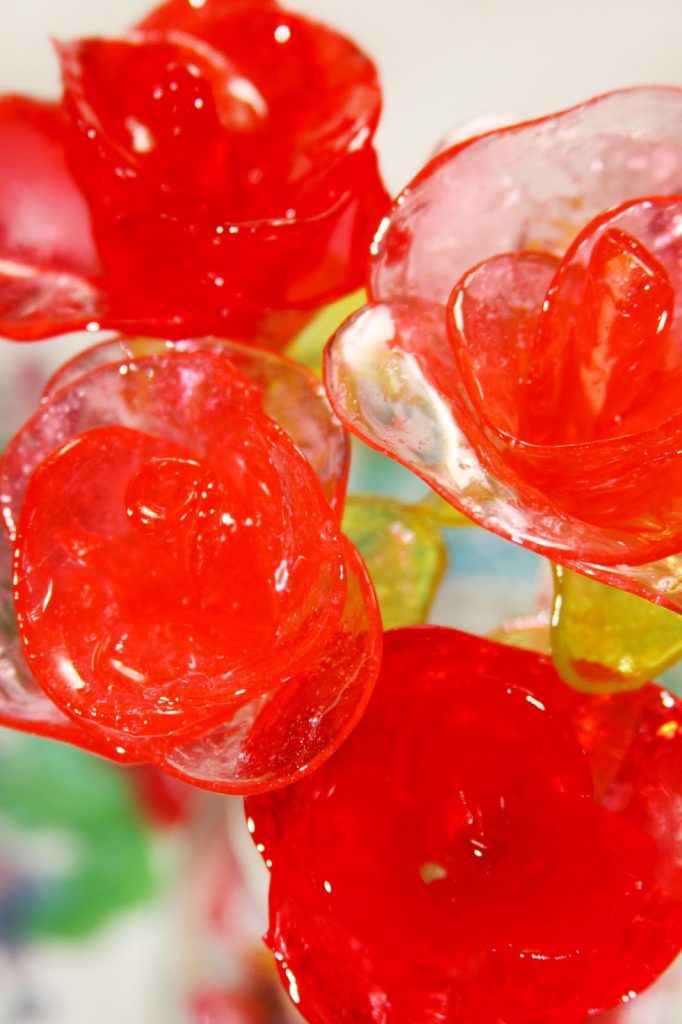
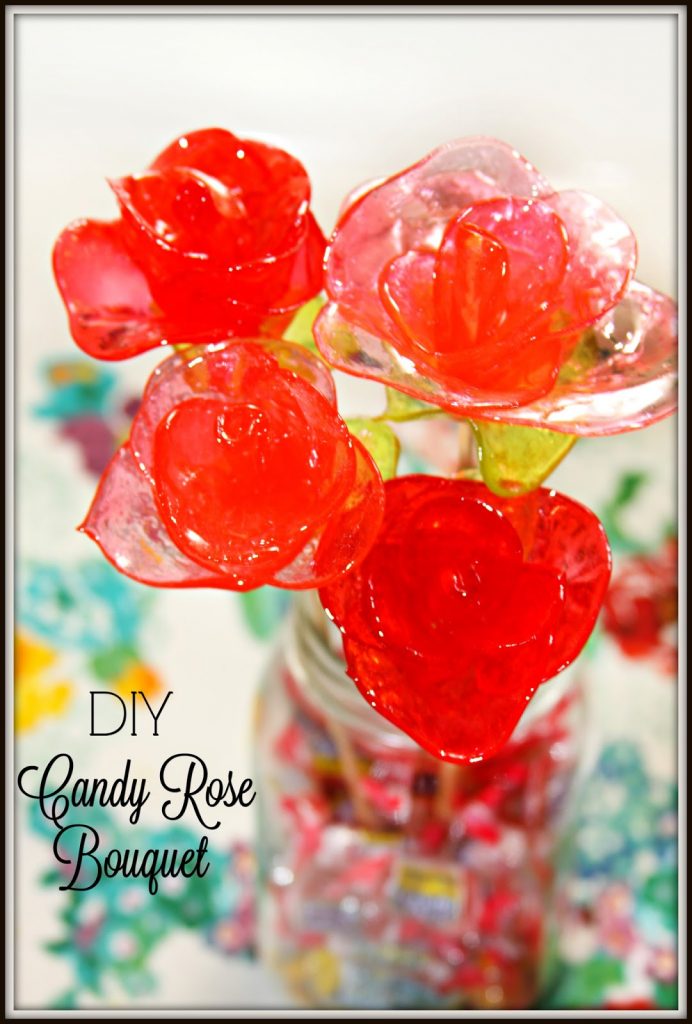
But for her birthday today, my husband and I created this gorgeous Candy Rose Bouquet for our little rose. You are not going to believe how easy it is to make using Jolly Rancher candy!
Be sure to check out our adorable party here.
Today we kept it sweet and simple for her actual bday.
We had a fun coffee date before her dr checkup then we snuck away for a macaroon at our favorite local bakery before picking up big sis at school.
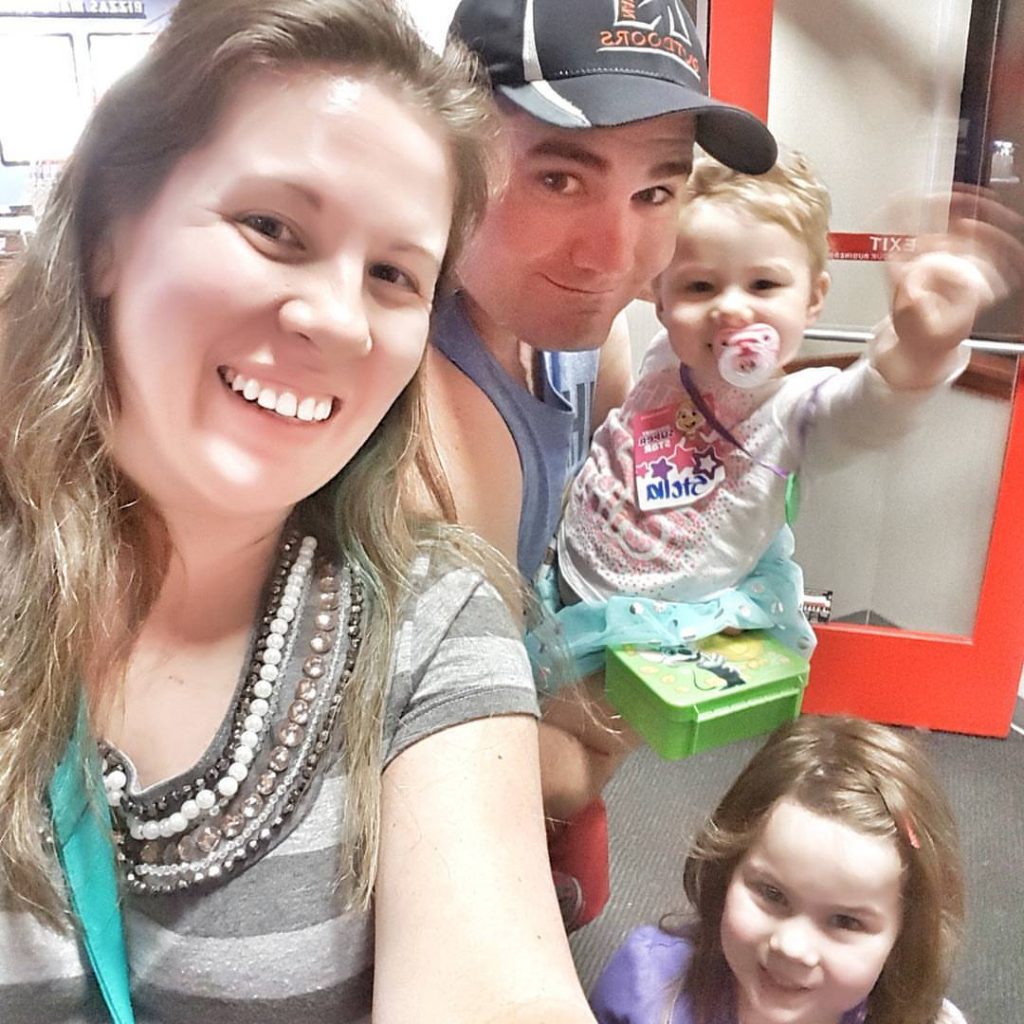
Keeping with tradition, we went to Chuck E. Cheese for a fun filled {and exhausting} evening!
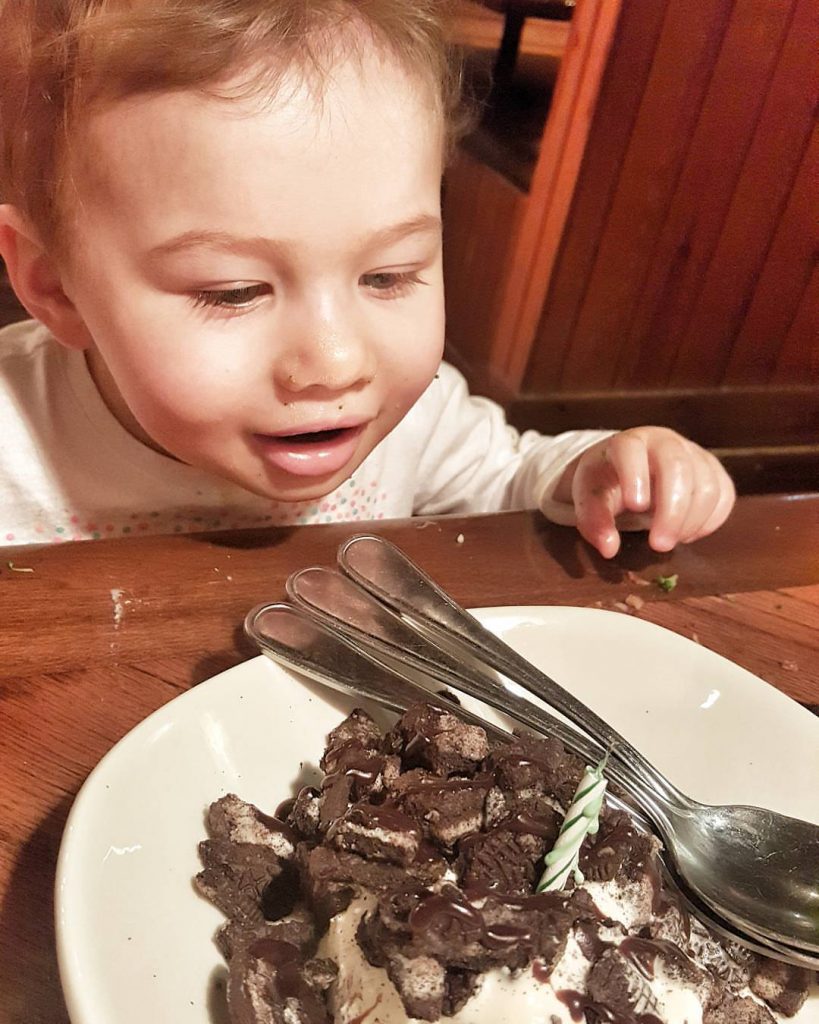
Birthday dinner isn’t complete without a messy chocolate dessert!
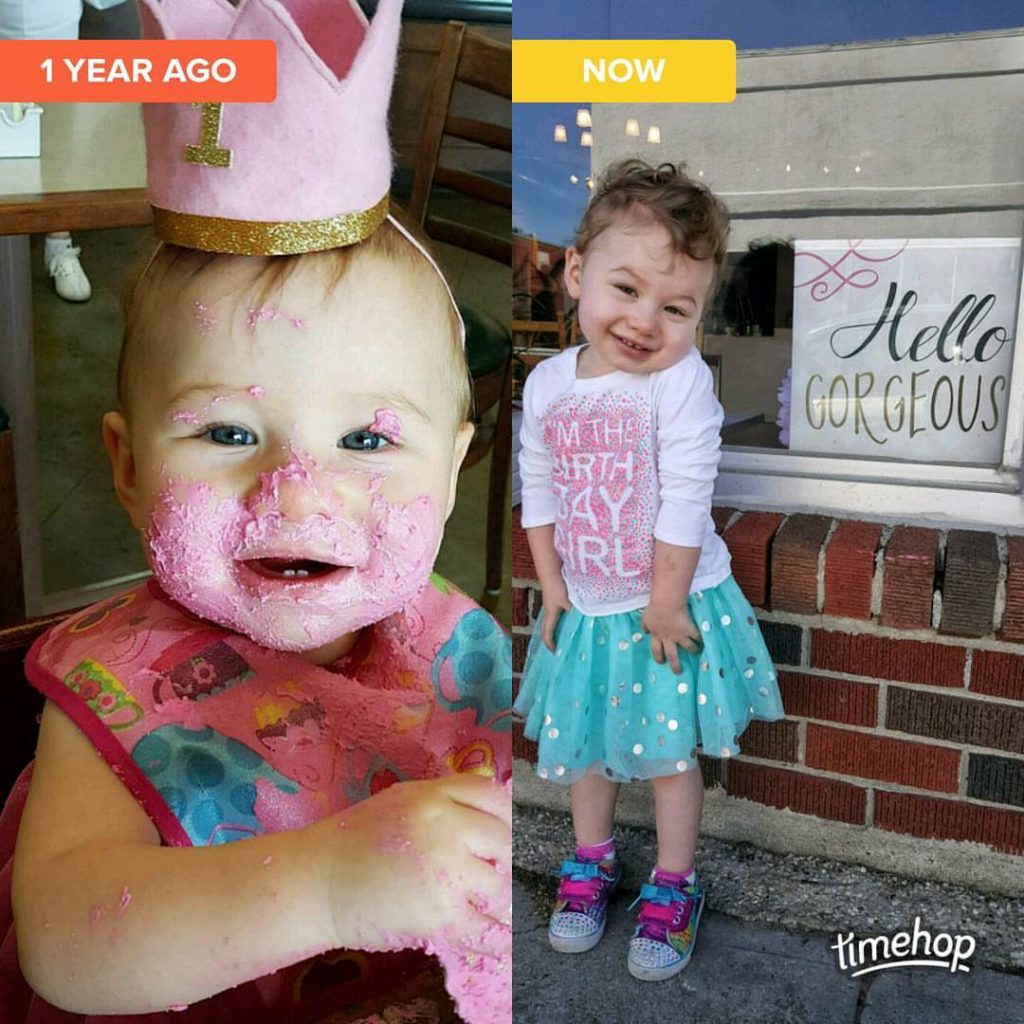
How is it possible that she has grown THIS much is 1 year?!

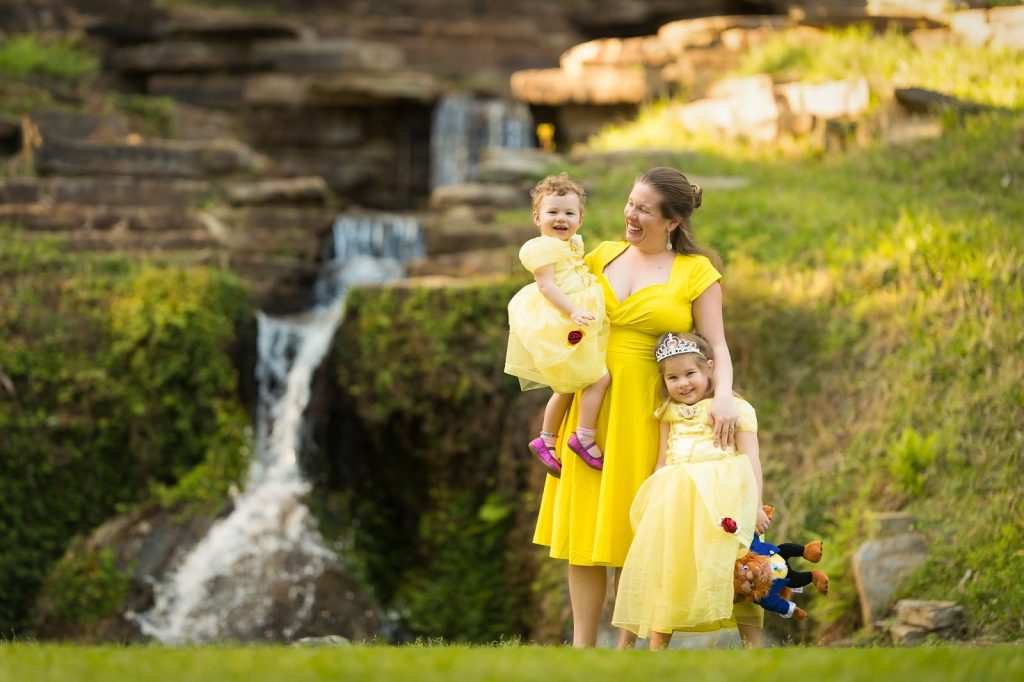
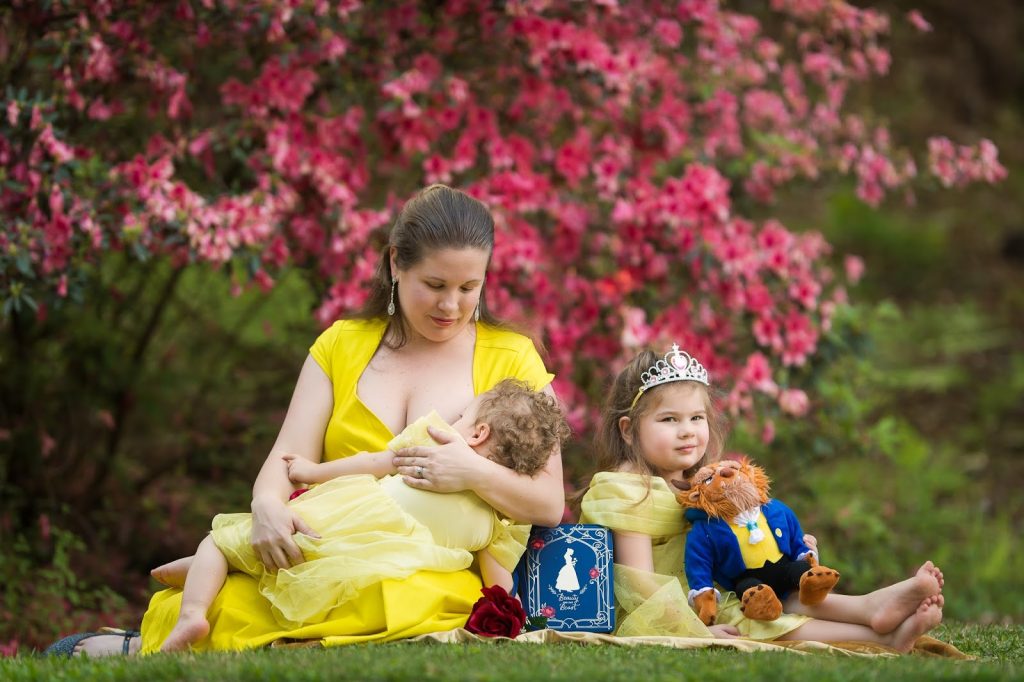
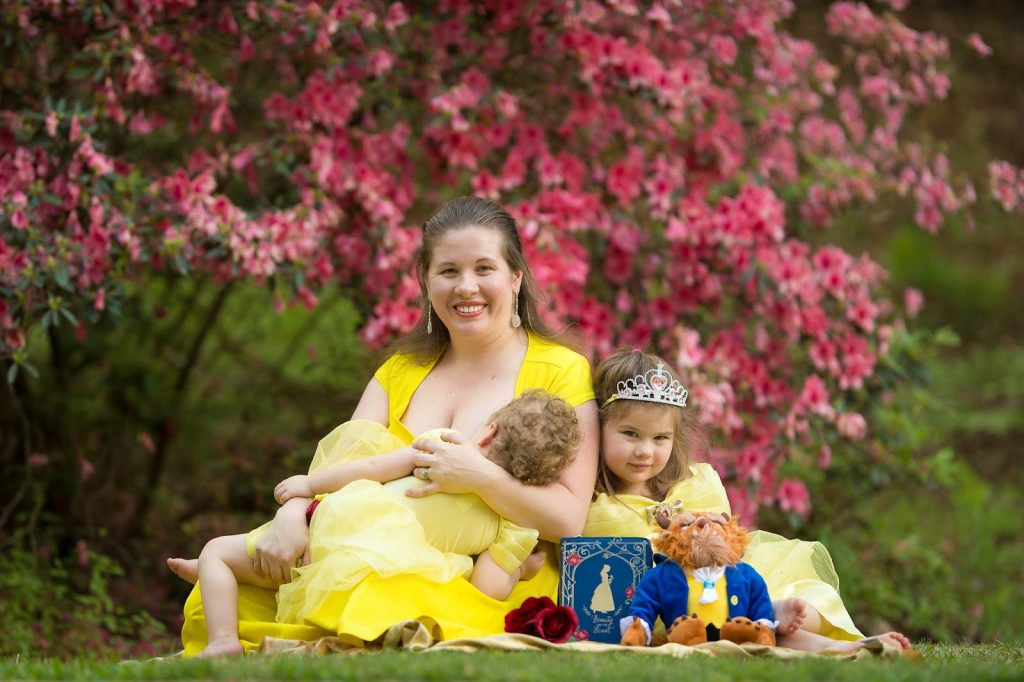
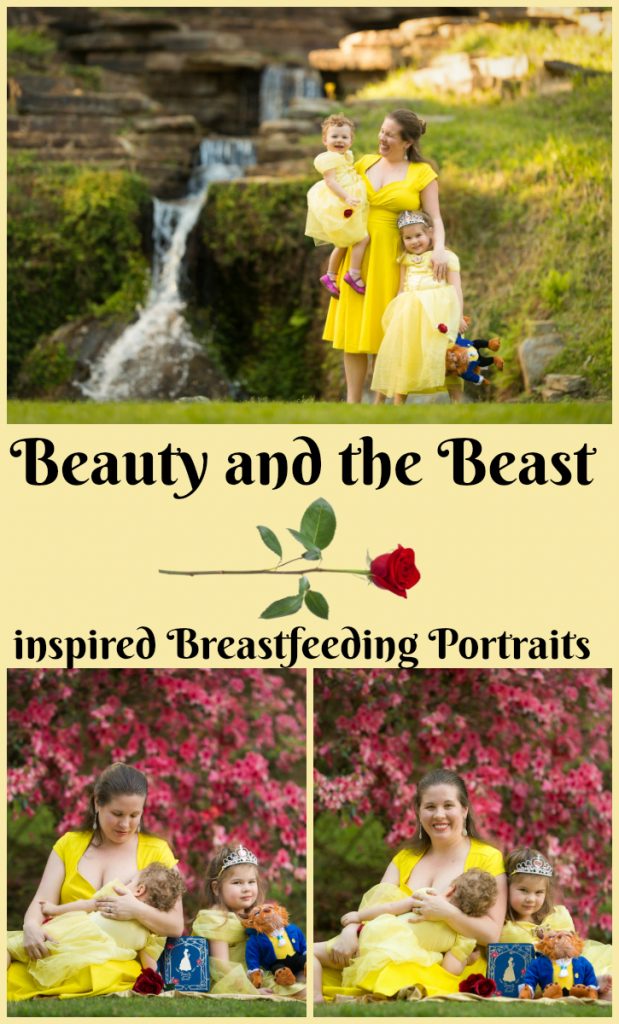
To celebrate 2 years of breastfeeding Stella, we had a breastfeeding photo session at a local state park, Hodges Gardens.
I am in LOVE with these photos! So sweet!
Photos by Ashley Kemper Photography.

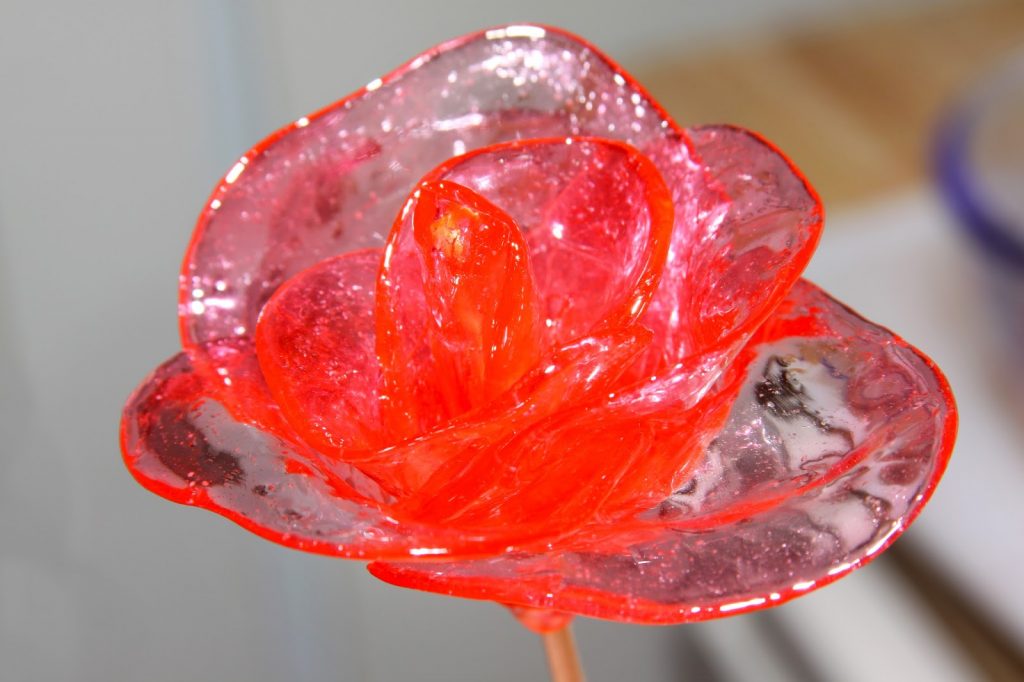
DIY Candy Rose Bouquet
Makes a bouquet of 4 roses
Ingredients
- 24 red or pink jolly rancher candies
- 4-8 green jolly rancher candies
Instructions
- Snip the pointed end off one bamboo skewer for each rose you want to make.
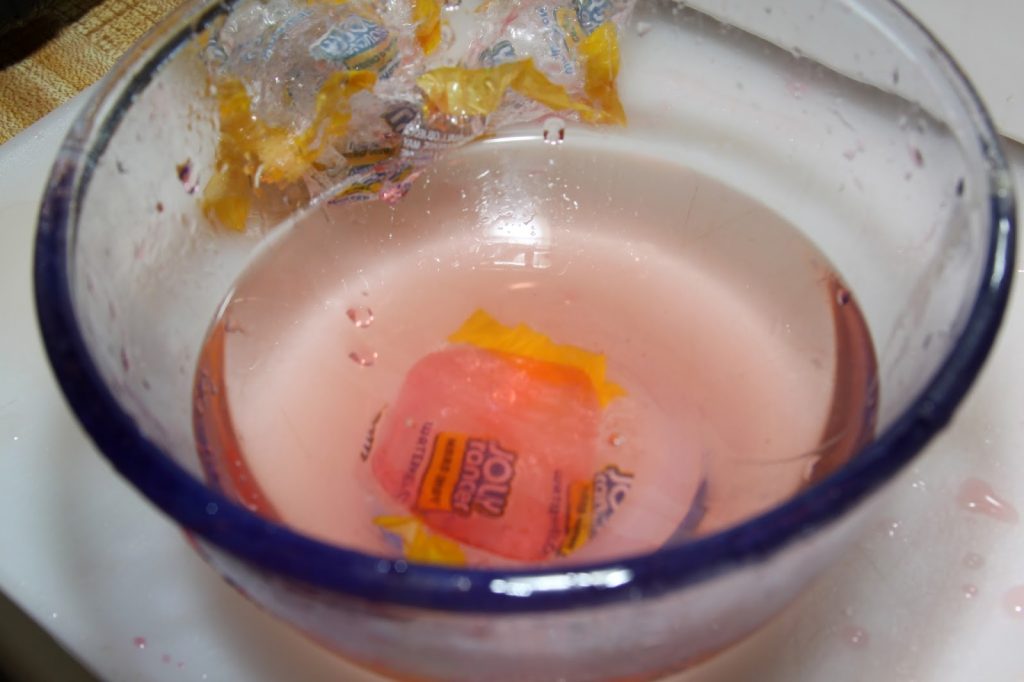
- Add 1 cup of water to a small glass bowl and add a handful of candies (still in their wrappers) to the bowl.
- Microwave for 1 minute.
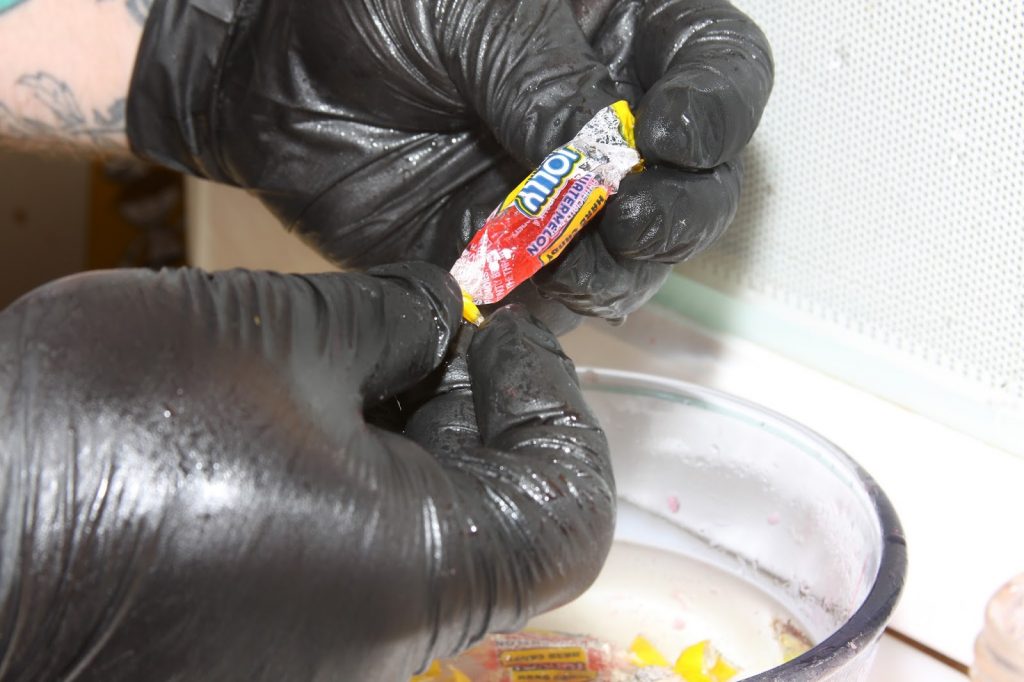
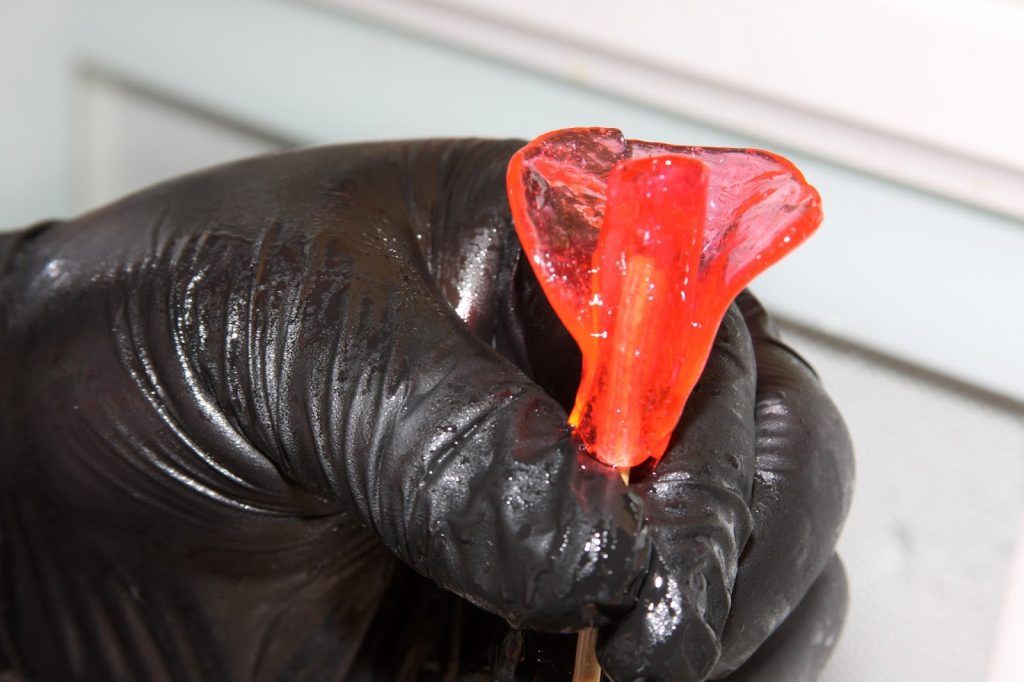
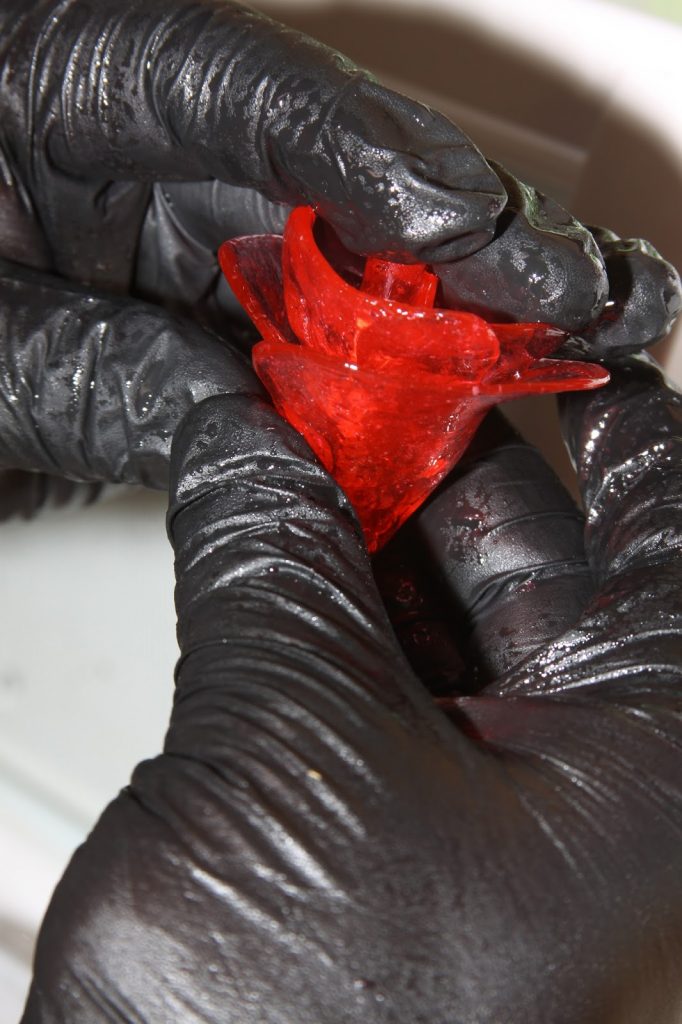
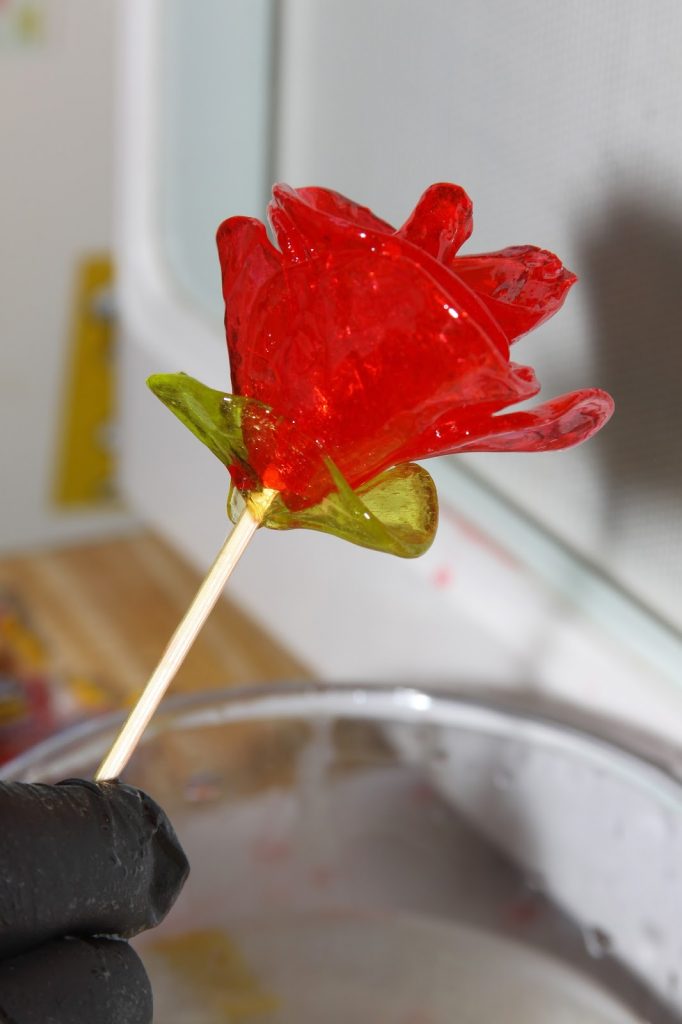
- Wearing food-safe rubber gloves, take one candy from the hot water. Knead the wrapped candy between your thumbs and fingers, flattening and molding it into a rough oval.
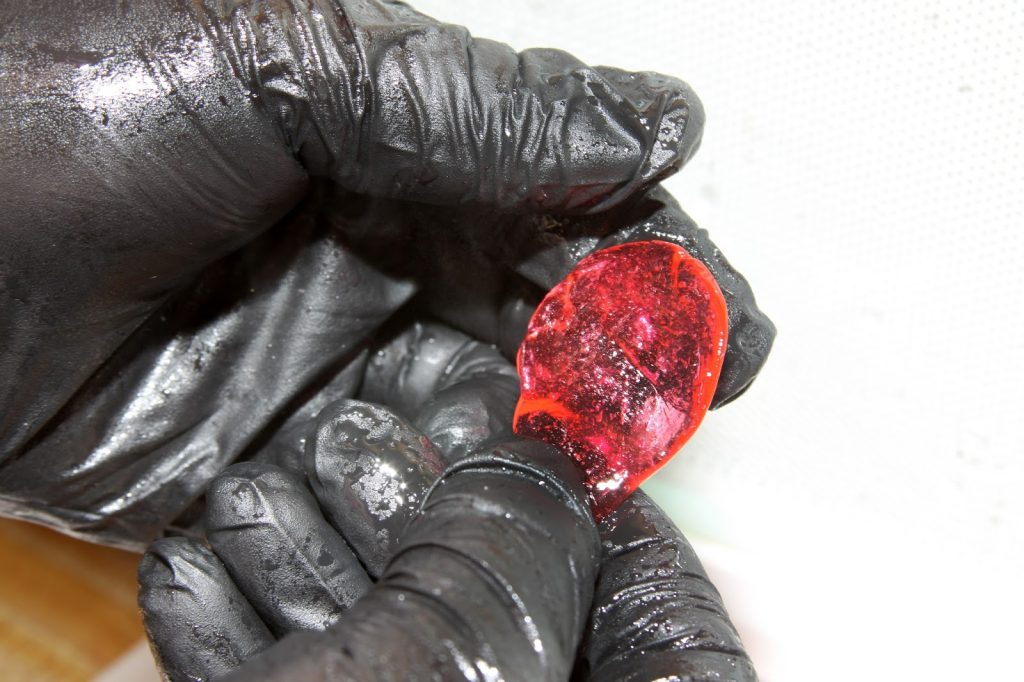
- Unwrap the candy and refine the shape into a petal.
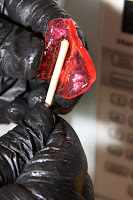
- Roll the candy around the end of the skewer, molding it to look like the center of a rose.
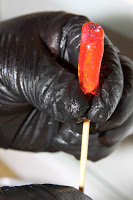
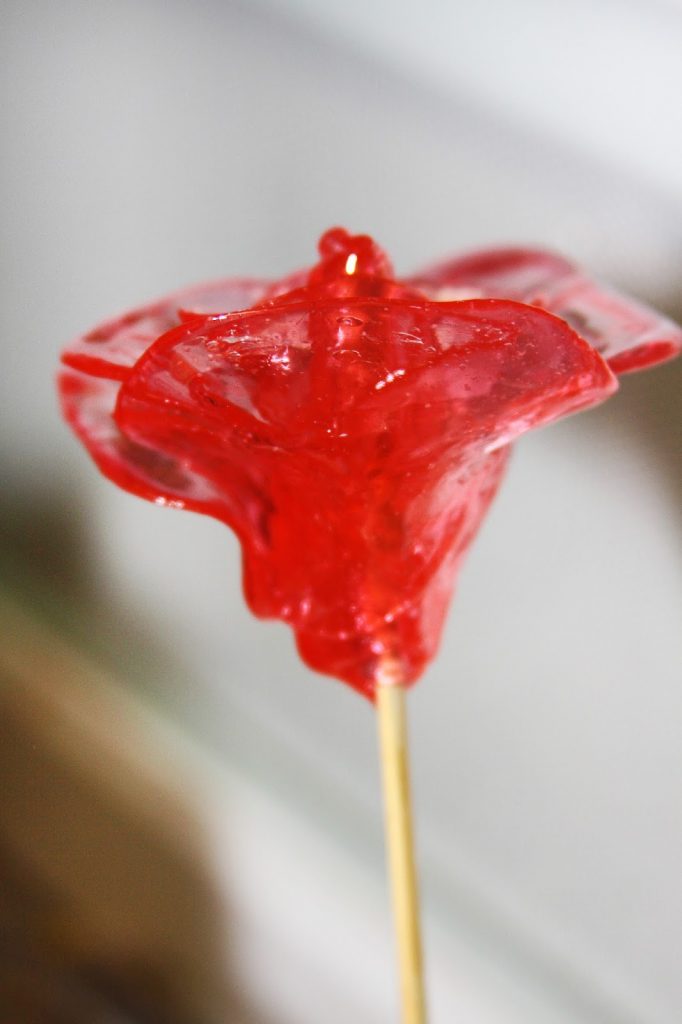
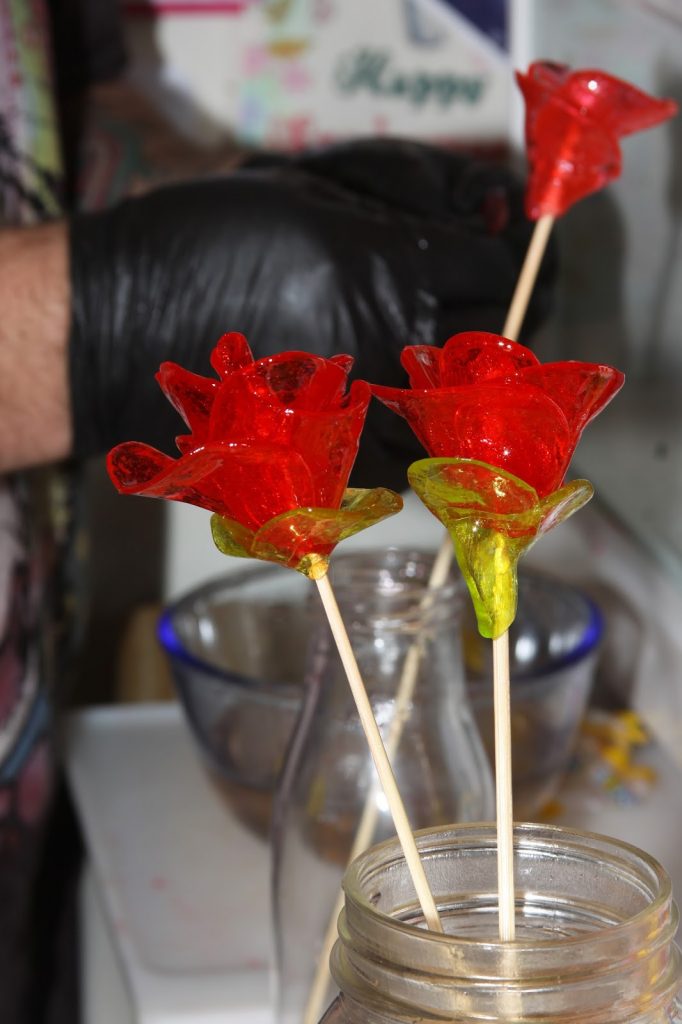
- Continue shaping and adding petals, working in a circle around the skewer, offsetting each candy and curving the petals to create the shape of a rose.
- Repeat to make more roses.
- Put fresh water in the bowl and warm two green candies as described in Step 2.
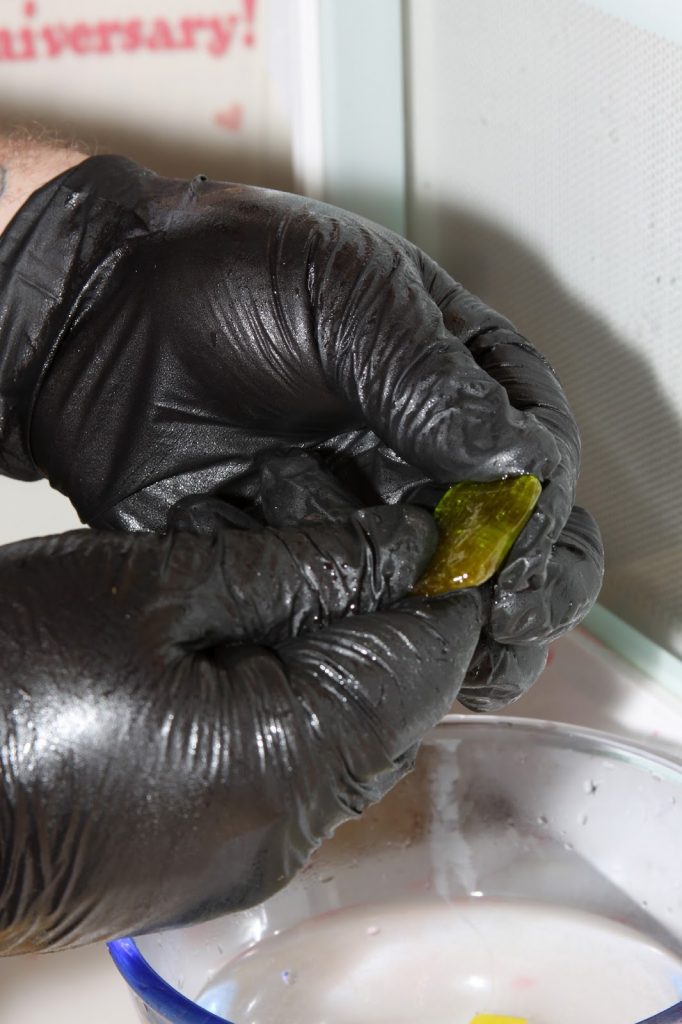
- Knead one wrapped candy between your fingers until it forms a relatively flat oval.
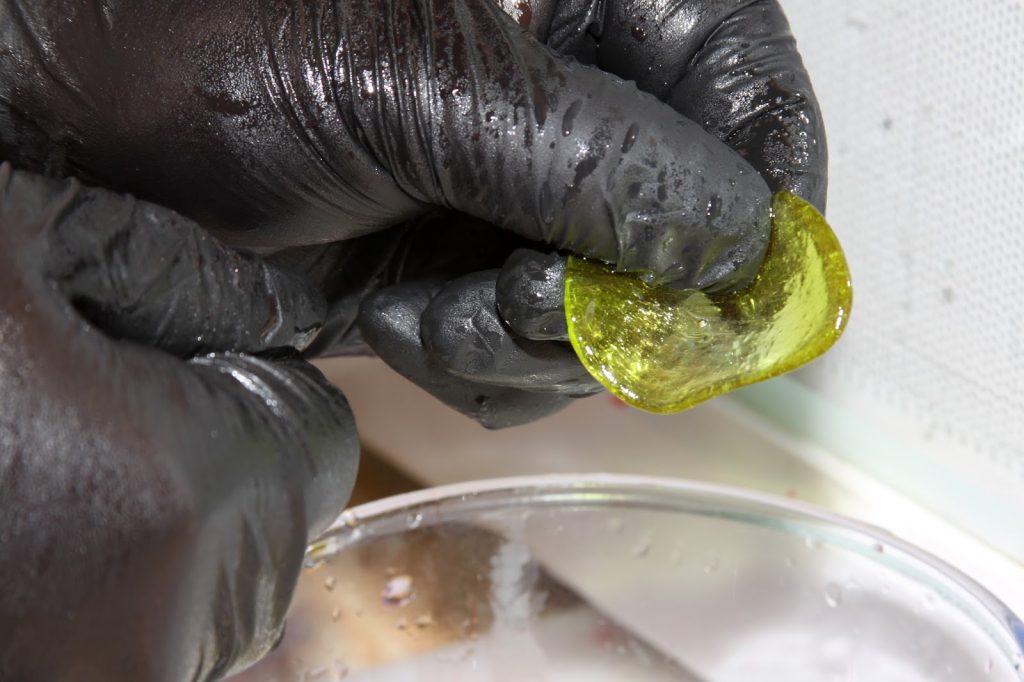
- Unwrap the candy and refine it into a leaf shape, somewhat pointed on the end with slightly curved edges. Mold the leaf around the rose petals.
- Shape the other wrapped green candy into a rough oval. Unwrap the candy and refine the shape a bit.
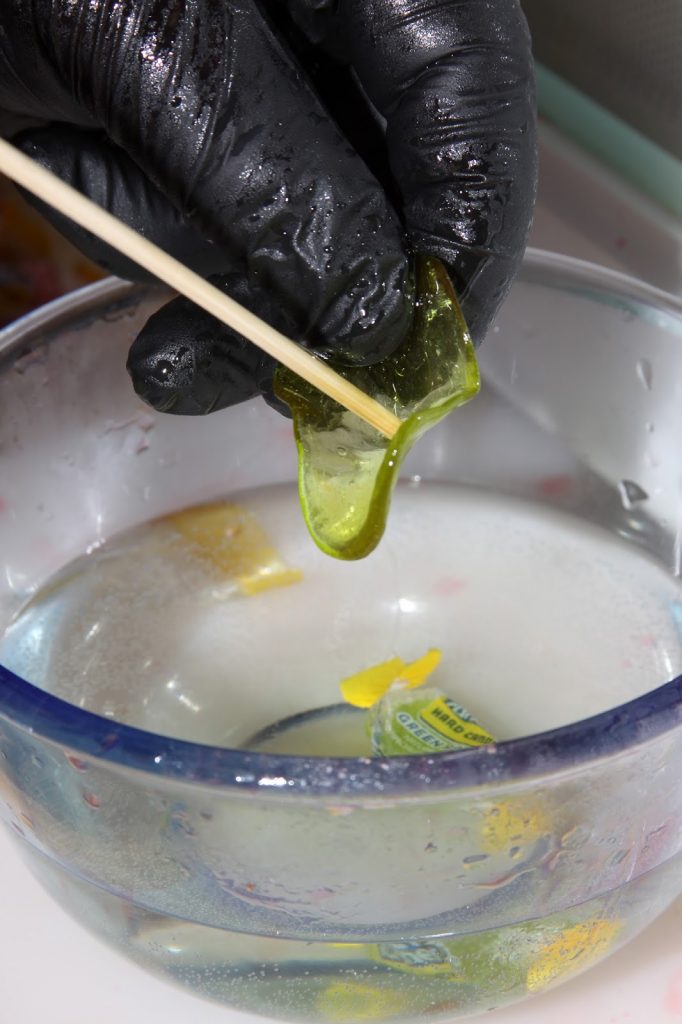
- Poke the end of the skewer through the flattened candy and slide the candy up to the bottom of the rose. Mold the candy to form the base of the rose.
- Place roses in a vase or jar and enjoy your stunning candy art!
Notes
Directions from http://www.ehow.com
Did you make this Recipe?Tag @flchefnicole or hashtag #fortheloveoffoodblog
For The Love of Food Blog

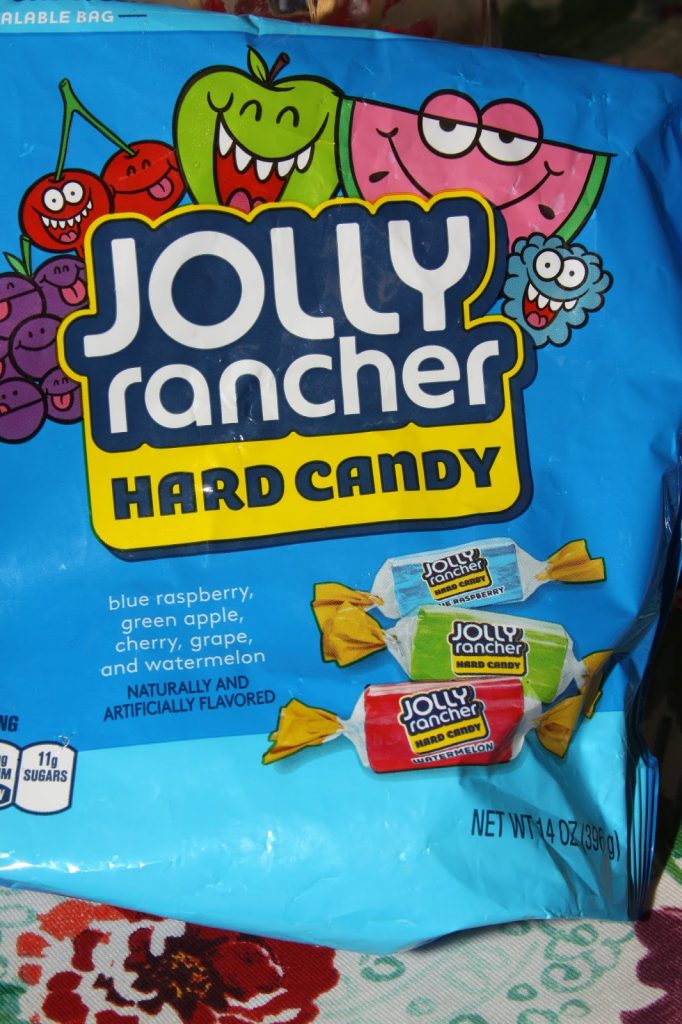
For these roses, I bought a large bag of jolly ranchers candy and picked out the red and green colors.
I also bought a small bag of just red and pink jolly ranchers too.
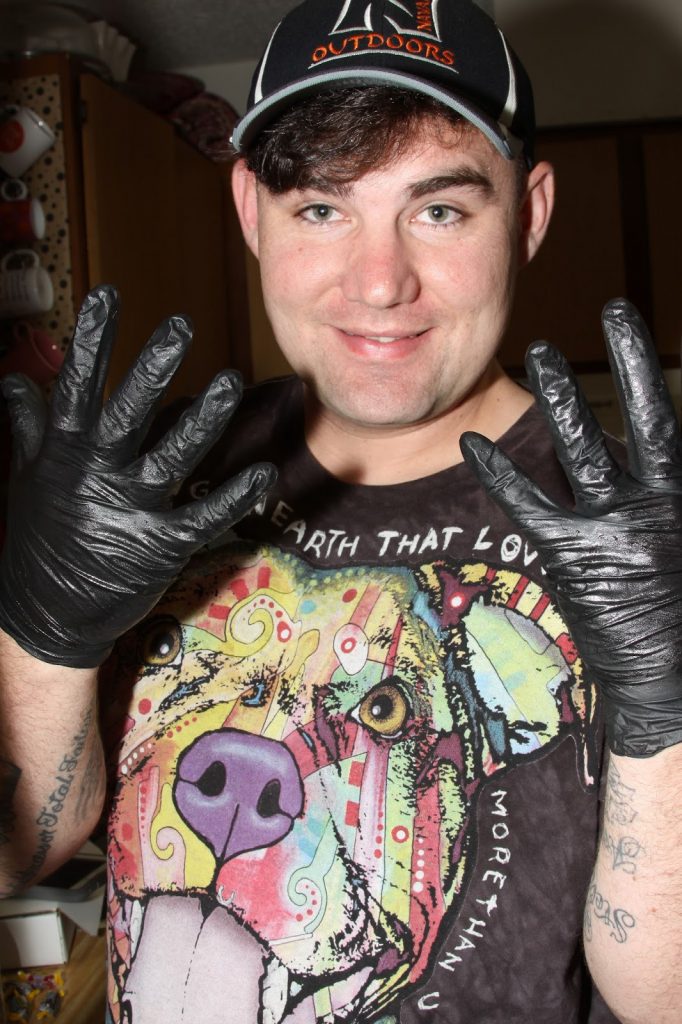
Ashton is the artist in our home so he was in charge of making the roses.
Make sure you were food safe rubber gloves because the candy can be sticky and hot.
I used a mix of red and pink candy to make the rose petals.
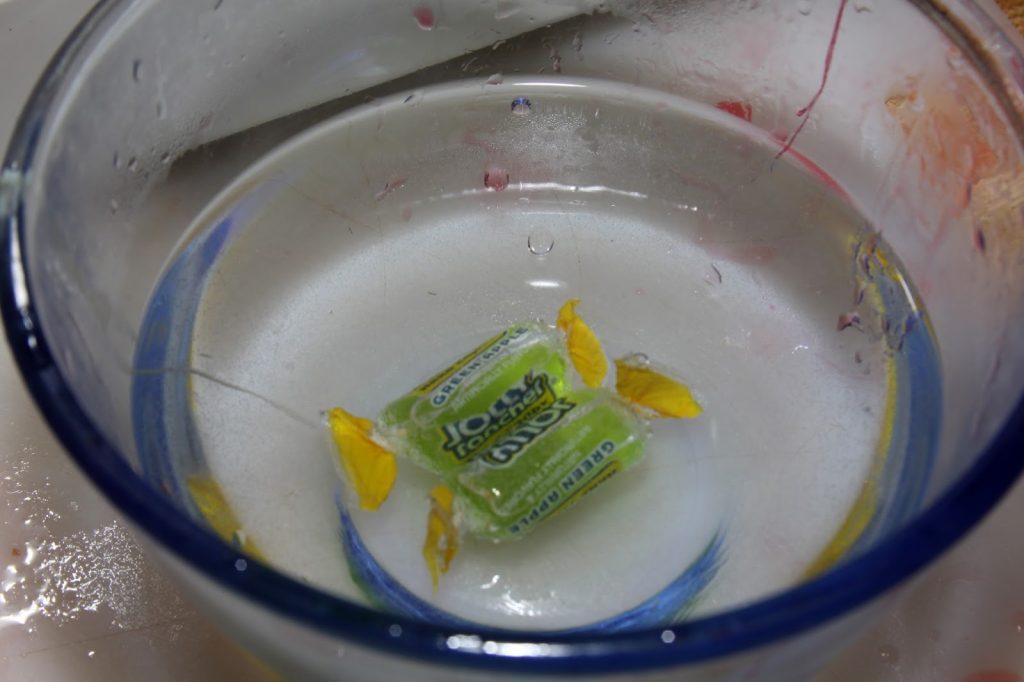
Do not remove the wrapper until after you microwave them
or they will stick to the bowl and each other.
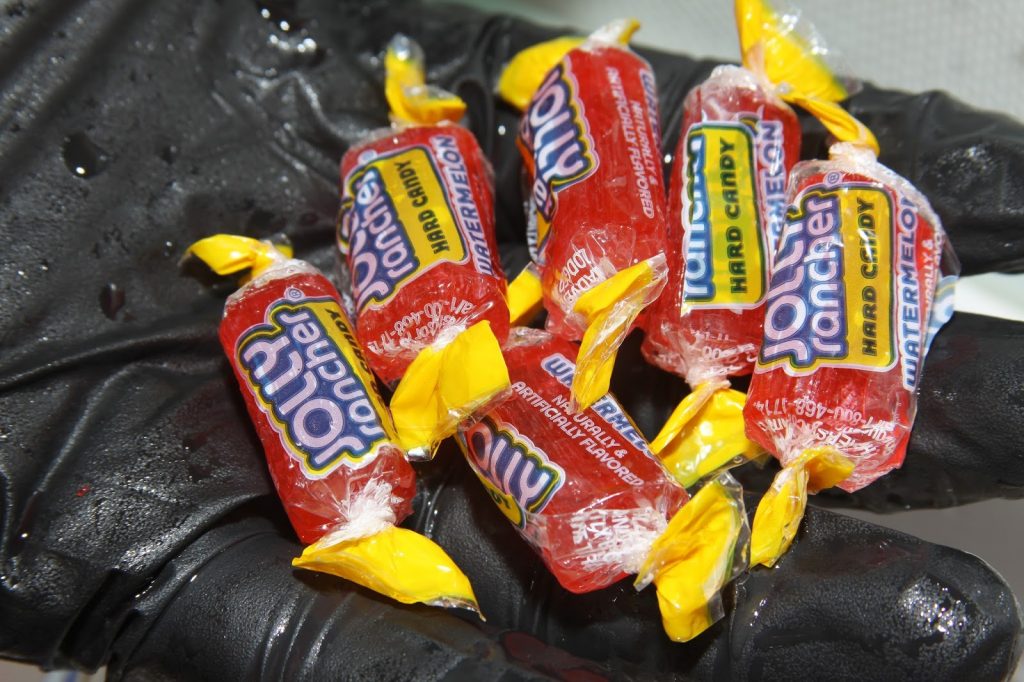
Add 1 cup of water to a small glass bowl and add a handful of candies (still in their wrappers) to the bowl. Microwave for 1 minute.
Wearing food-safe rubber gloves, take one candy from the hot water. Knead the wrapped candy between your thumbs and fingers, flattening and molding it into a rough oval.
Unwrap the candy and refine the shape into a petal.
Roll the candy around the end of the skewer, molding it to look like the center of a rose.
Continue shaping and adding petals, working in a circle around the skewer.
Offsetting each candy and curving the petals to create the shape of a rose.
Work quickly before the candy re-hardens. If necessary, return the candy to the bowl of warm water until it’s pliable again.
Repeat to make more roses.
Put fresh water in the bowl and warm two green candies as described in Step 2.
Knead one wrapped candy between your fingers until it forms a relatively flat oval.
Unwrap the candy and refine it into a leaf shape, somewhat pointed on the end with slightly curved edges. Mold the leaf around the rose petals.
Shape the other wrapped green candy into a rough oval.
Unwrap the candy and refine the shape a bit.
Poke the end of the skewer through the flattened candy and
slide the candy up to the bottom of the rose.
Mold the candy to form the base of the rose.
Use a tall glass or mason jar to hold the rose as you shape additional petals.
Place roses in a vase or jar and enjoy your stunning candy art!
Stella loved them and they look stunning displayed on our dining room table.
Comment below and tell me what you think!

One of my favorite photos ever! Love my little princesses.
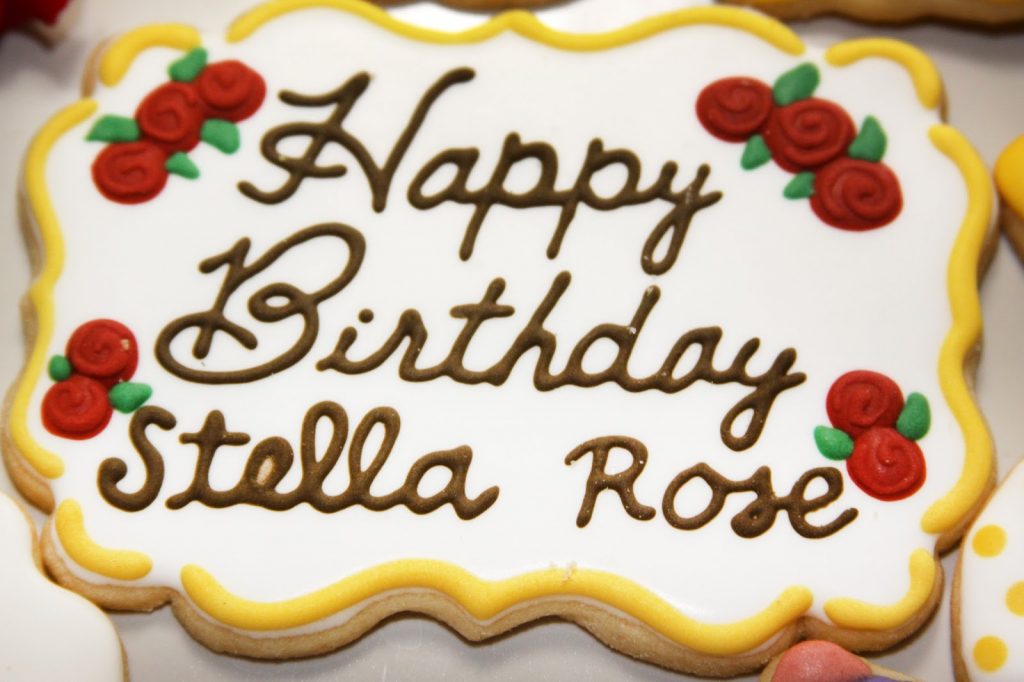
Happy Birthday darling Stella Rose!
We loved our Beauty and the Beast themed cookies from the talented Keichel Cookies.







Leave a Reply