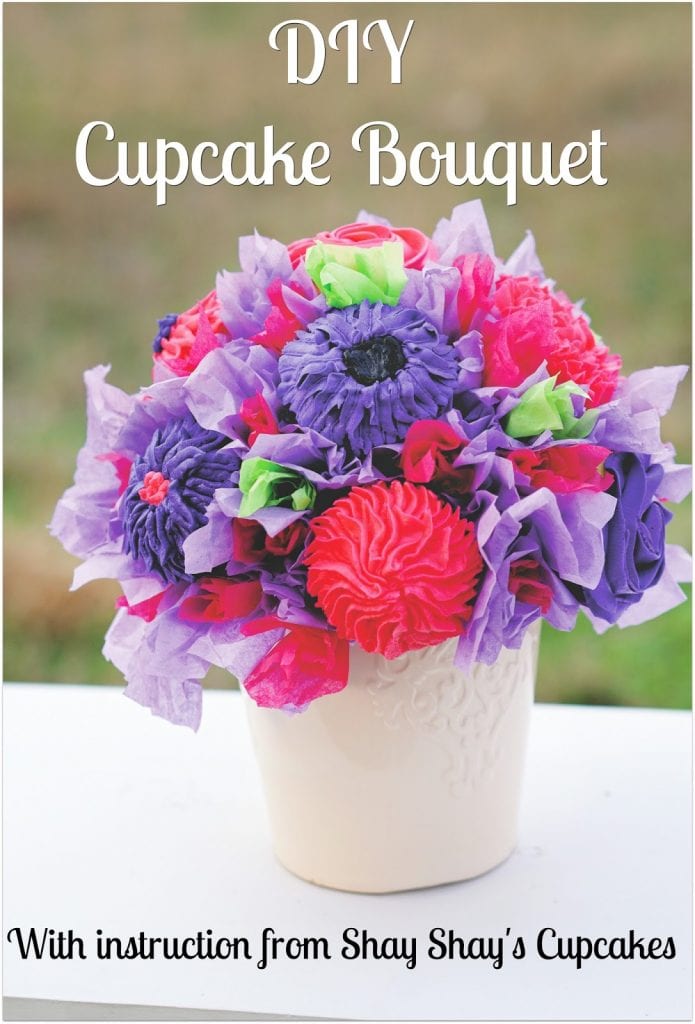
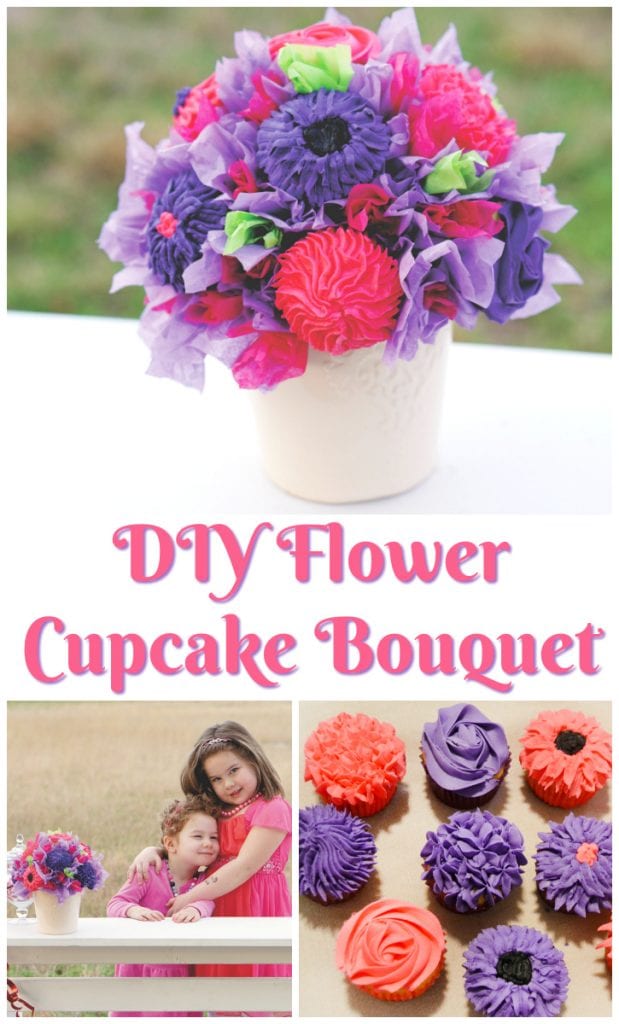
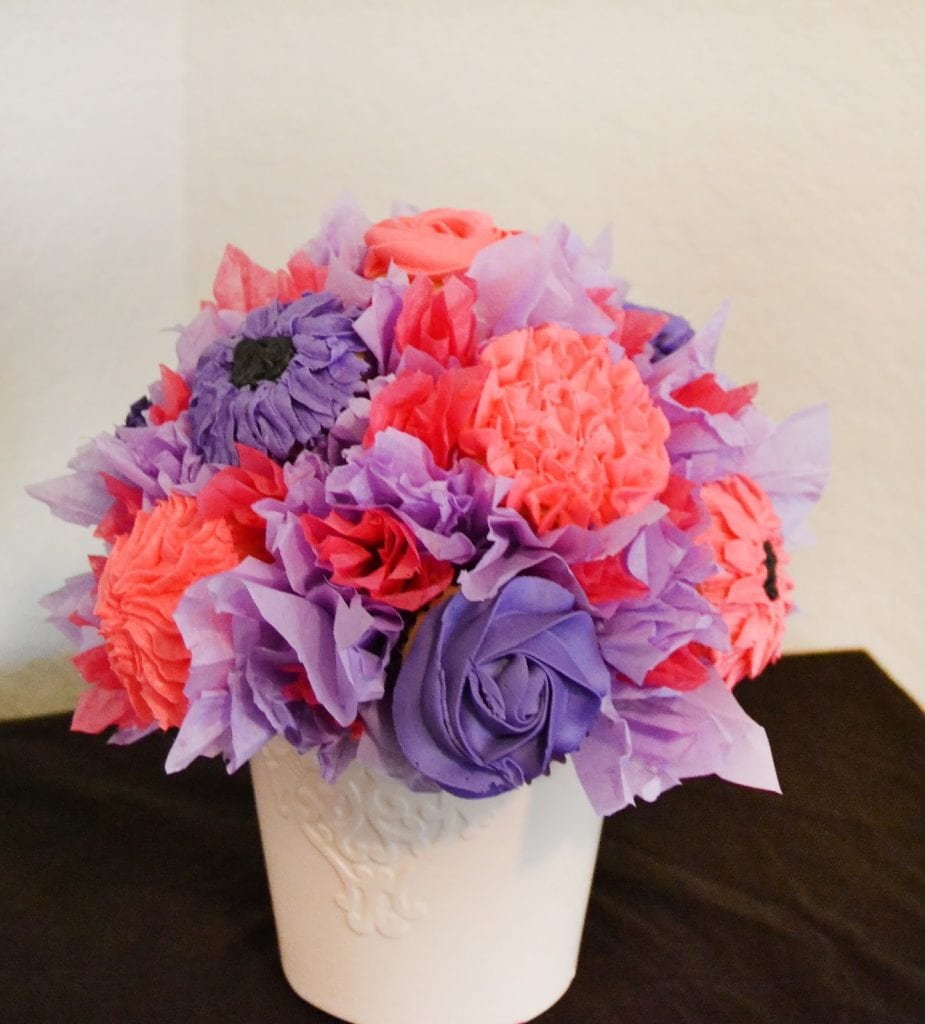
Have you ever seen a Cupcake Bouquet? They are beautiful handmade creations featuring cupcakes decorated like flowers {you can add flowers too}and displayed in a flower pot. They make beautiful gifts and I was lucky enough to get one from ShayShay’s Cupcakes for my daughters’ Valentine’s photos this year.
I know you want a cupcake bouquet too, right?! You can order from ShayShay’s locally or you can make your own! Check out the instructions below and if you are in the San Antonio area be sure to enter our cupcake bouquet giveaway on Facebook here.
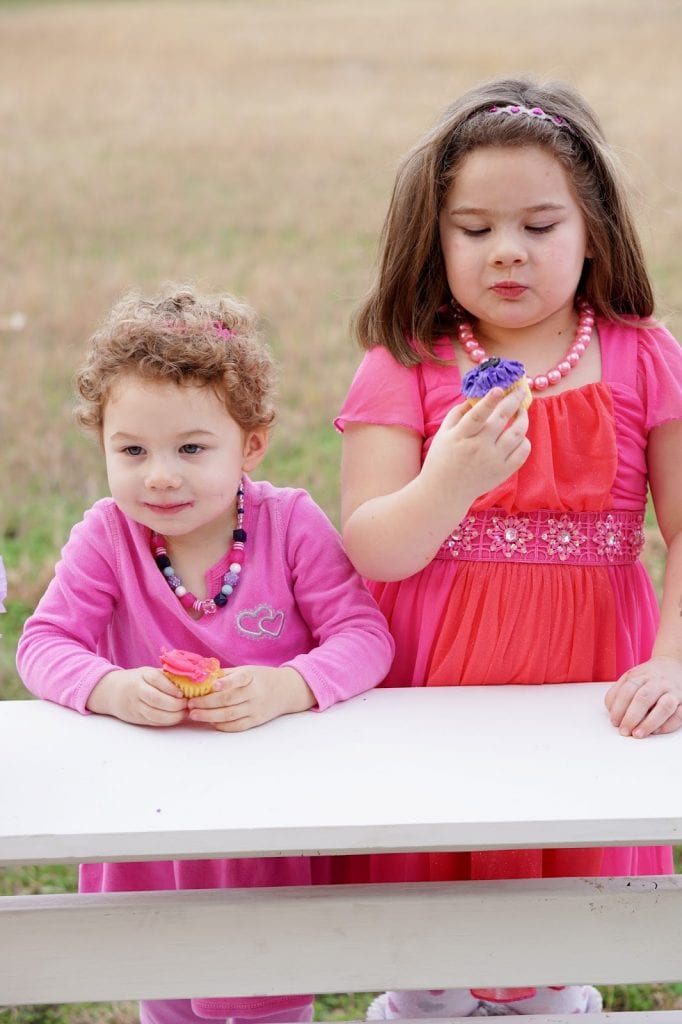
My girls, no surprise, loved their yummy cupcakes and took the most adorable kissing booth pictures for Valentine’s Day this year. Check them out below and be sure to show some Facebook love to the photographer, Brittany at Oh Snap Kid and Family Prop Photography.

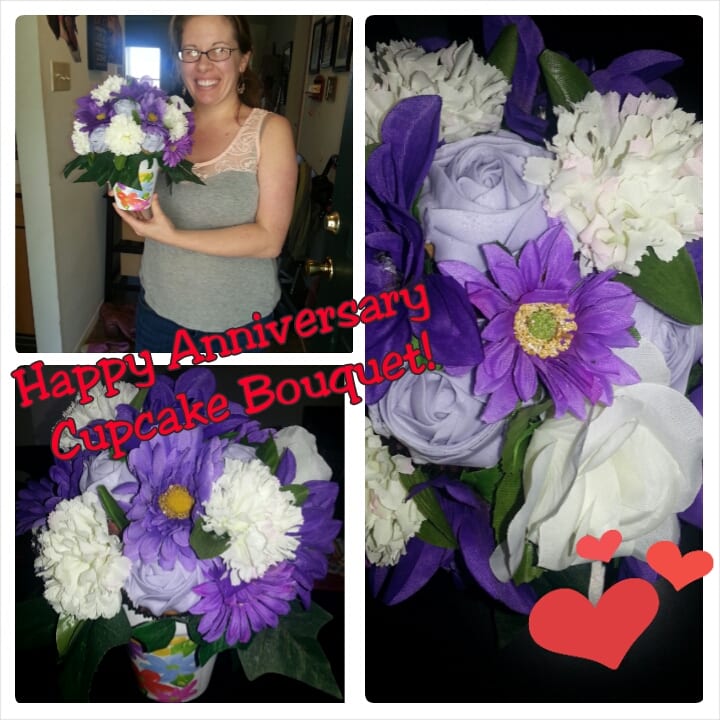
Wayyyyy back in the day for my 2nd wedding anniversary my husband, who was deployed overseas, sent me a Cupcake Bouquet. It is still one of my favorite gifts and was from ShayShay’s Cupcakes, then located where we were stationed in Ft Polk, LA.
Ever since then I have shared their beautiful creations and I was lucky to move with my family to San Antonio, TX this year which is conveniently where they are now located.
Let the cupcake devouring sampling begin!
Ingredients:
- 10-12 decorated cupcakes {get decorating tips and recipe here}
- 30-36 toothpicks
- 5 to 6 inch Styrofoam ball
- hot glue
- 2-3 different shades of tissue paper, about 20 sheets cut into squares
- decorative flower pot
Directions:
- Add hot glue to the outer rim of a flower pot.
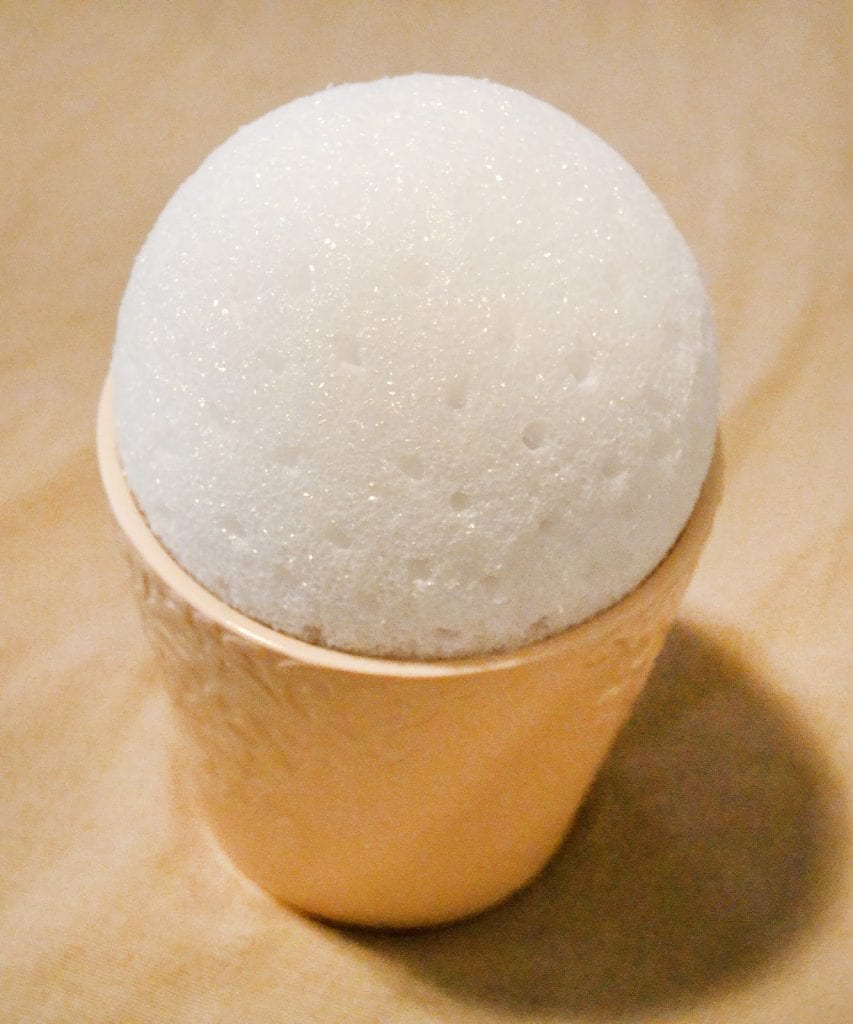
- Place Styrofoam ball into the flower pot, leaving the top half exposed to create a domed surface.
- Insert 3 toothpicks in each area you want to place a cupcake, making about 10-12 sections.
- Gently press bottom of each cupcake onto toothpicks and cover as much of the Styrofoam ball as you can.
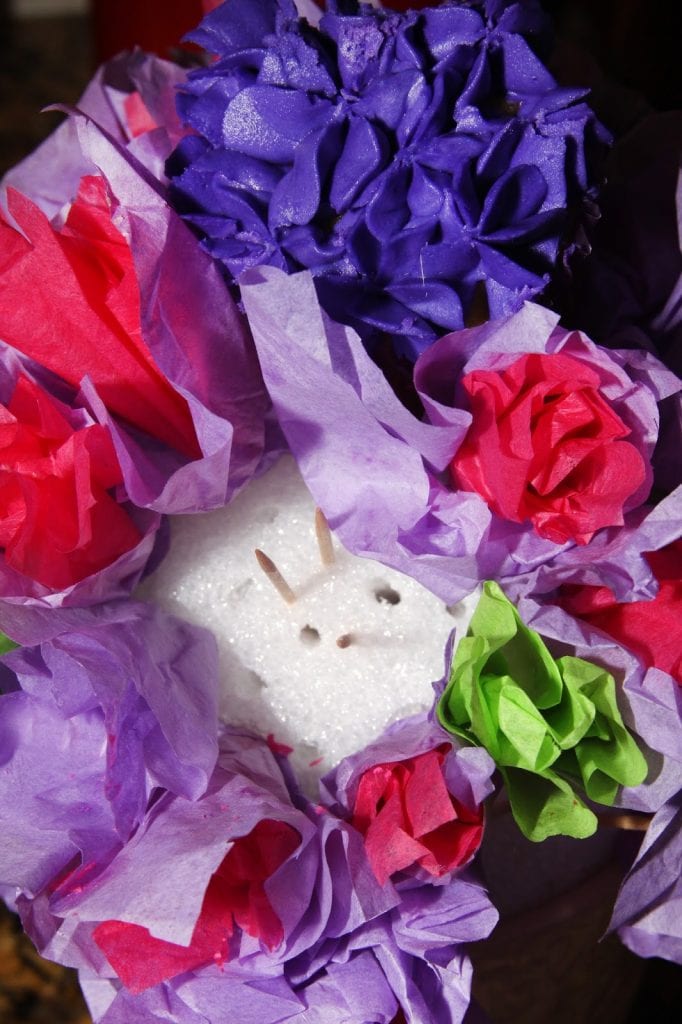
- Pinch the bottom or use a pencil and press and twist the different colors of tissue paper.
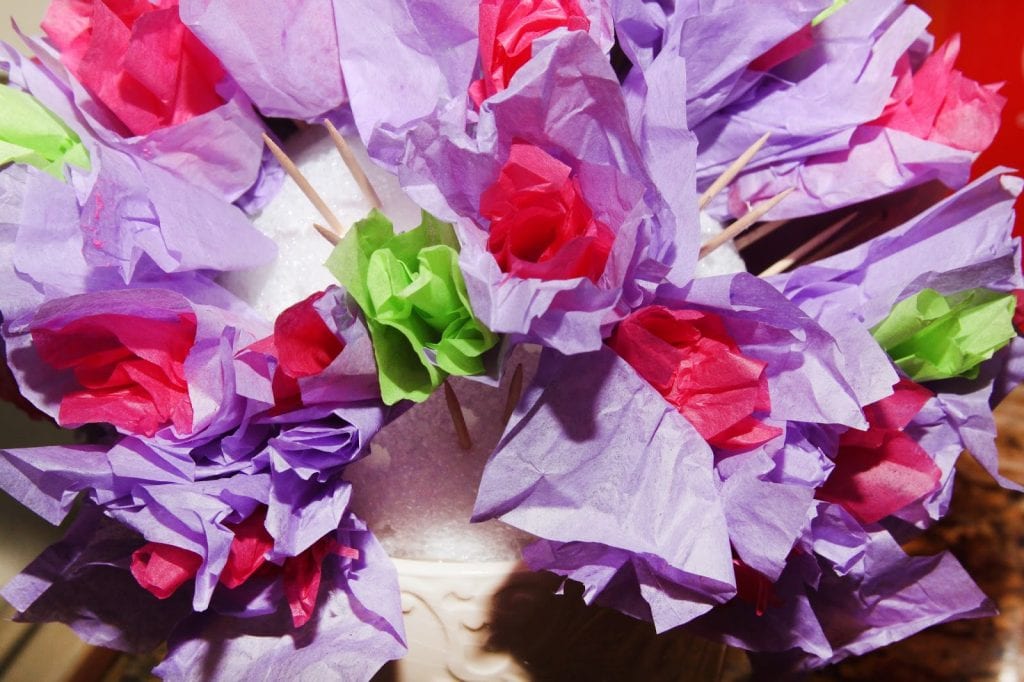
- Add glue to the ends and press onto the Styrofoam ball to fill the gaps between the cupcakes and make “petals” and “leaves”.
- When ready to eat, gently remove the cupcakes and serve. Continue to use the tissue paper bouquet and flower pot as decor.
Tip: Store the cupcakes in the refrigerator while you prepare the flower pot, so the frosting will harden.

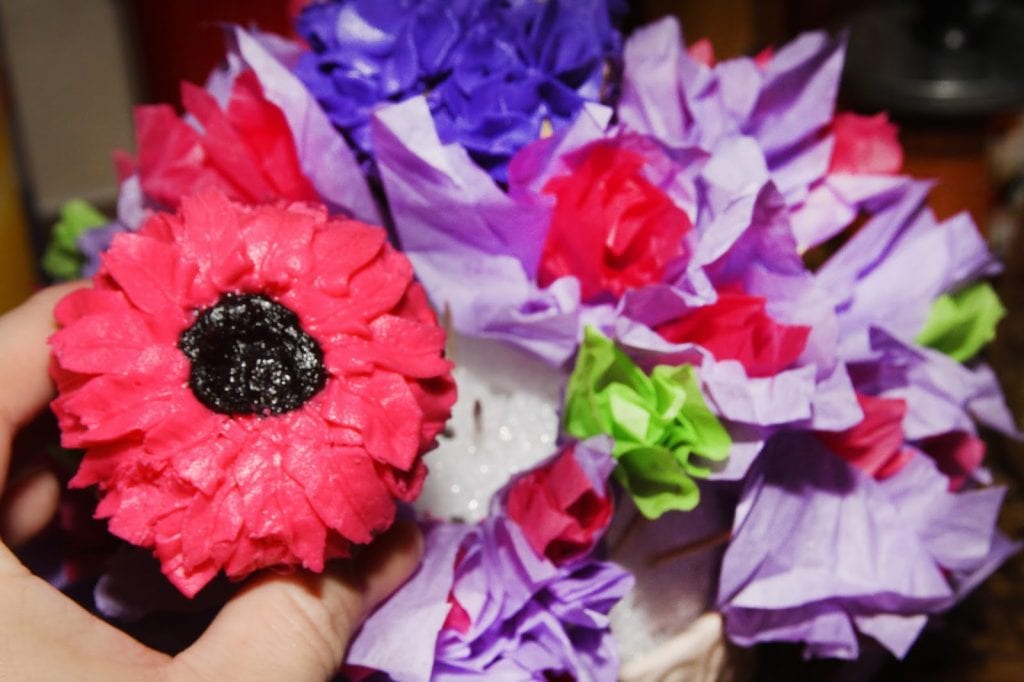
You can create a cupcake bouquet many different ways. For this tutorial we used both flower decorated cupcakes and colorful tissue paper “petals” and “leaves”. You can also add artificial flowers and stems.
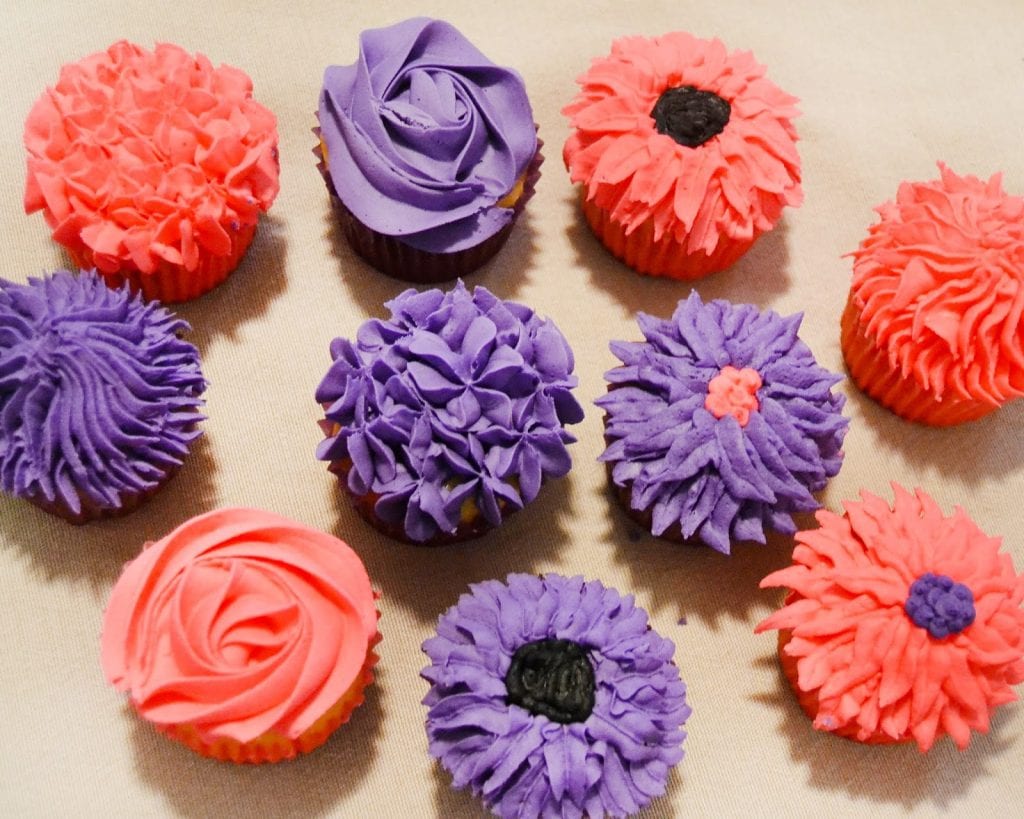
A few of the fun floral designs.
Check out this previous post on how to make perfect buttercream frosting for cupcakes.
Add hot glue to the outer rim of a flower pot.
Place Styrofoam ball into the flower pot, leaving the top half exposed to create a domed surface.
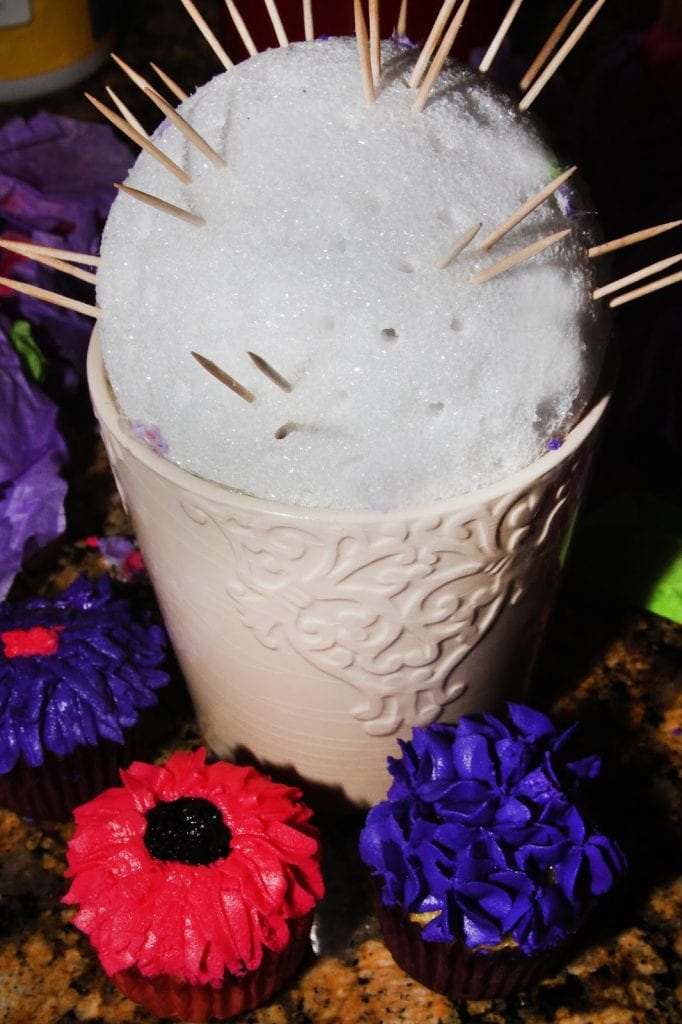
Insert 3 toothpicks in each area you want to place a cupcake, making about 10-12 sections.
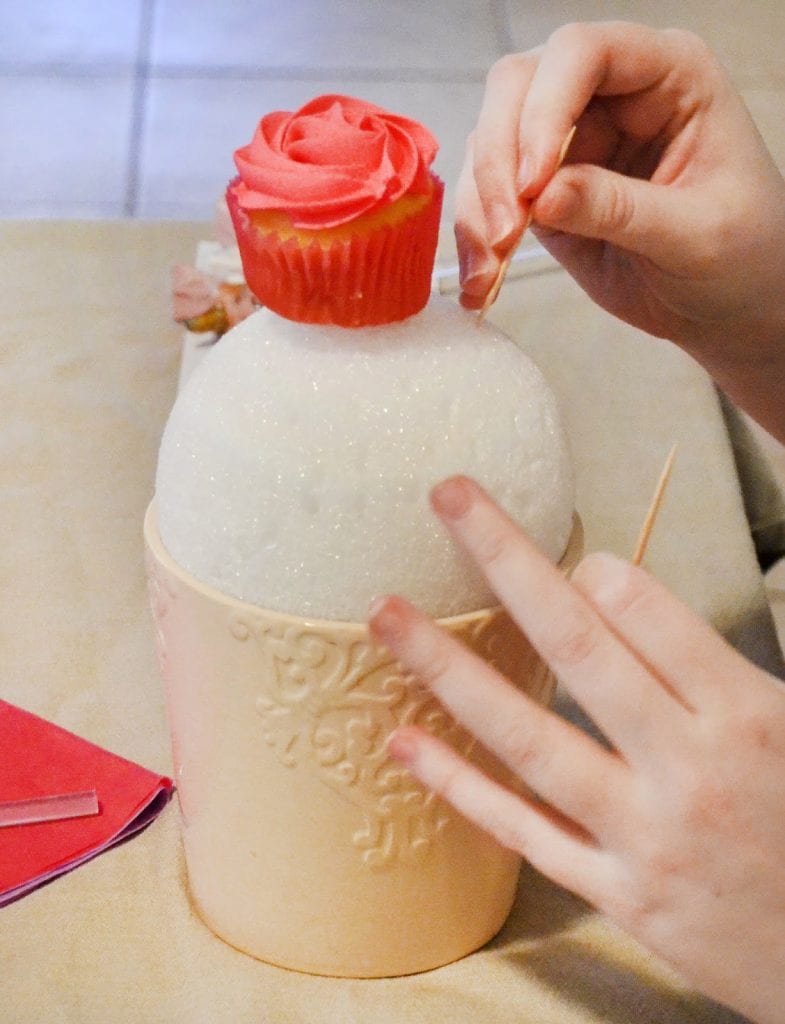
Gently press bottom of each cupcake onto toothpicks
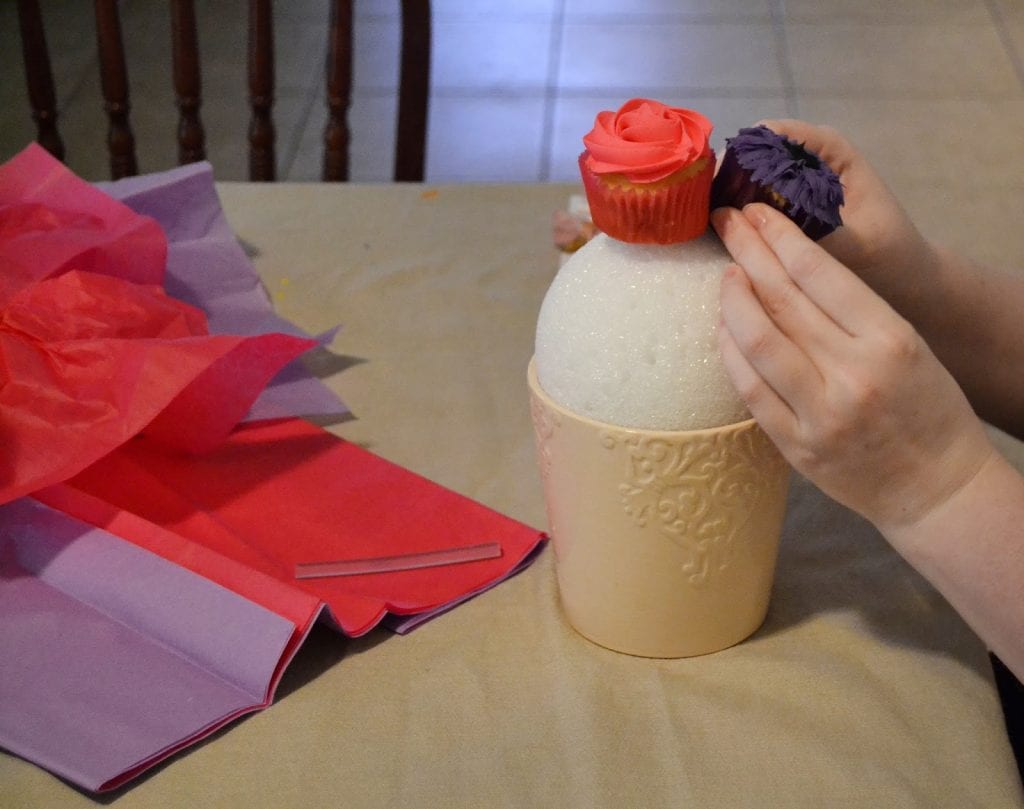
Cover as much of the Styrofoam ball as you can.
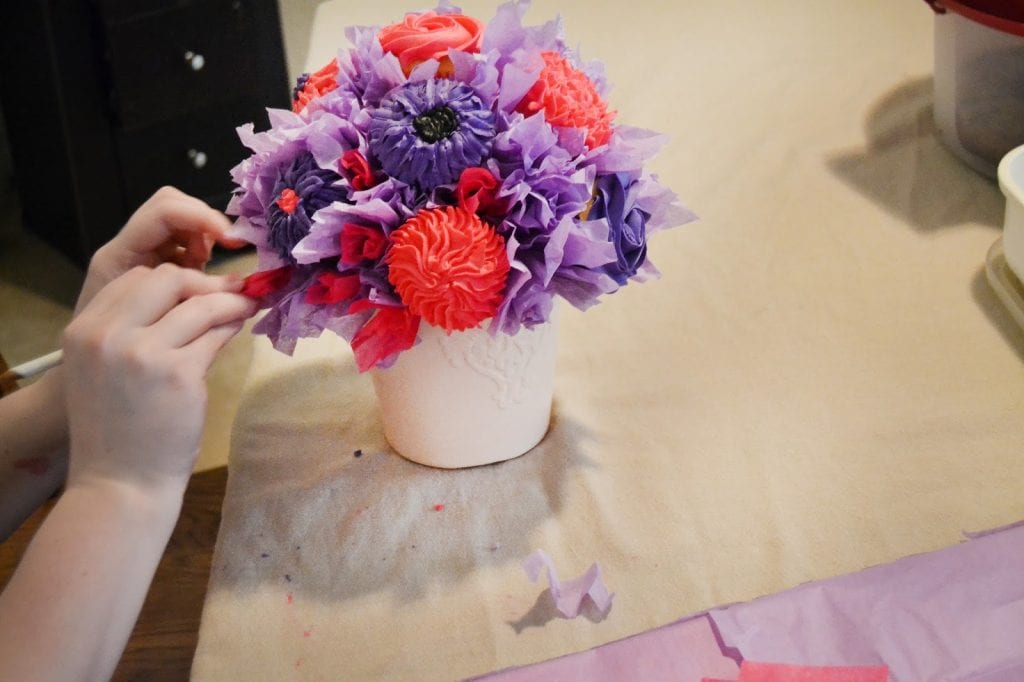
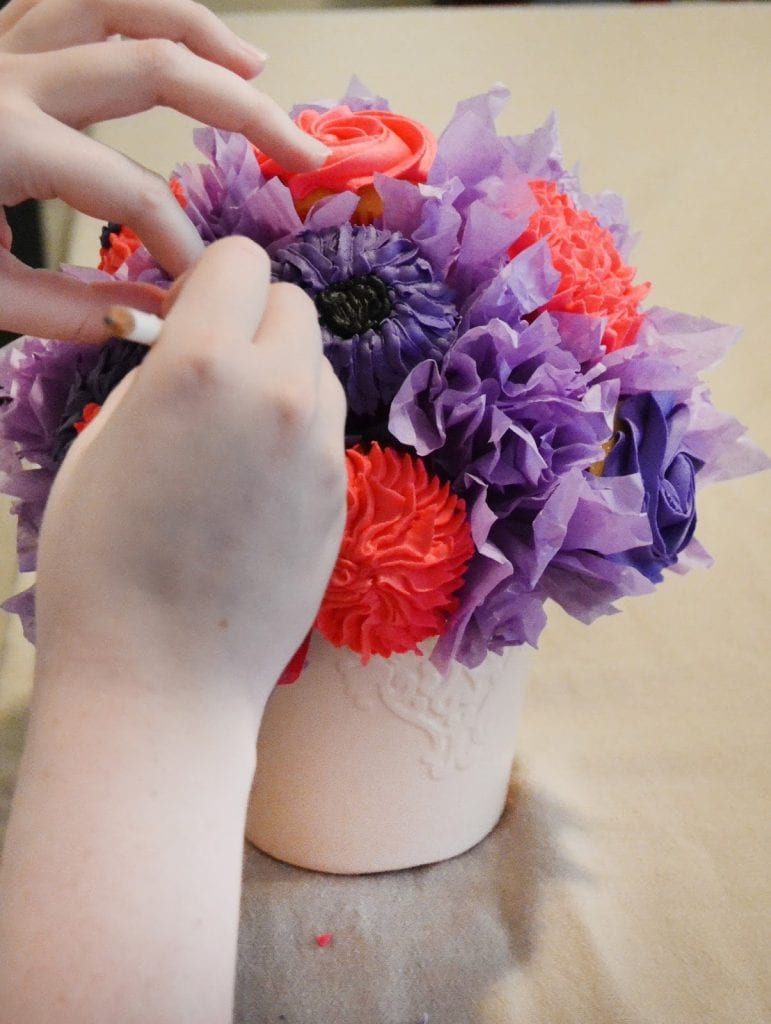
Pinch the bottom or use a pencil and press and twist the different colors of tissue paper.
Add glue to the ends and press onto the Styrofoam ball to fill the gaps between the cupcakes and make “petals” and “leaves”.
When ready to eat, gently remove the cupcakes and continue to use the tissue paper bouquet
and flower pot as decor.

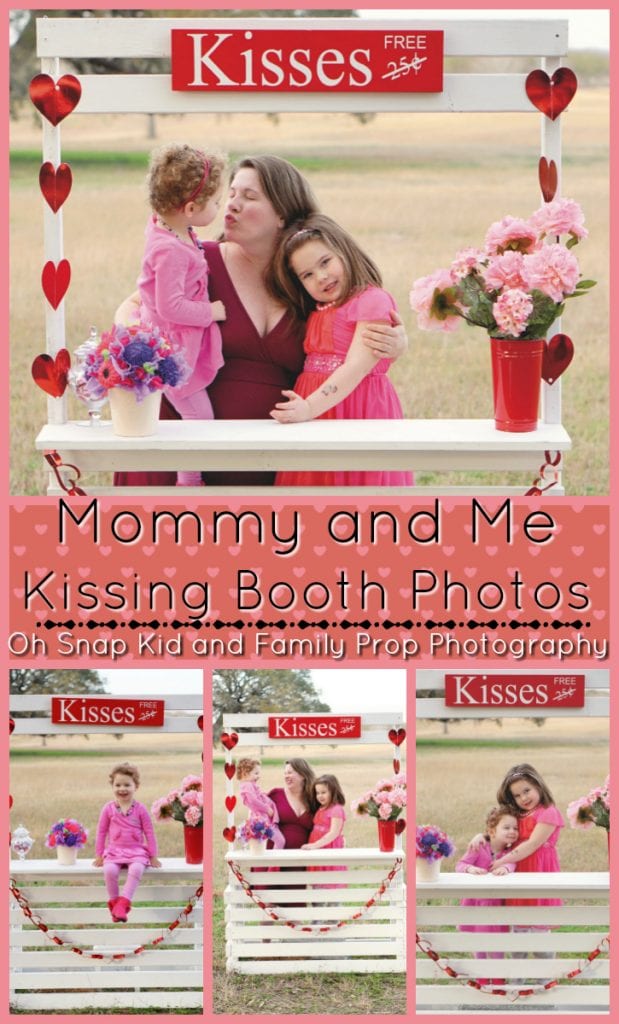
Now it’s time to share my kiddos adorable Valentine’s shoot with ya’ll. This year we did a kissing booth theme in the Texas countryside.
Talented Brittany from Oh Snap Kid and Family Prop Photography in George West, TX. planned and captured these cute themed photos at Majestic Oaks Event Venue.
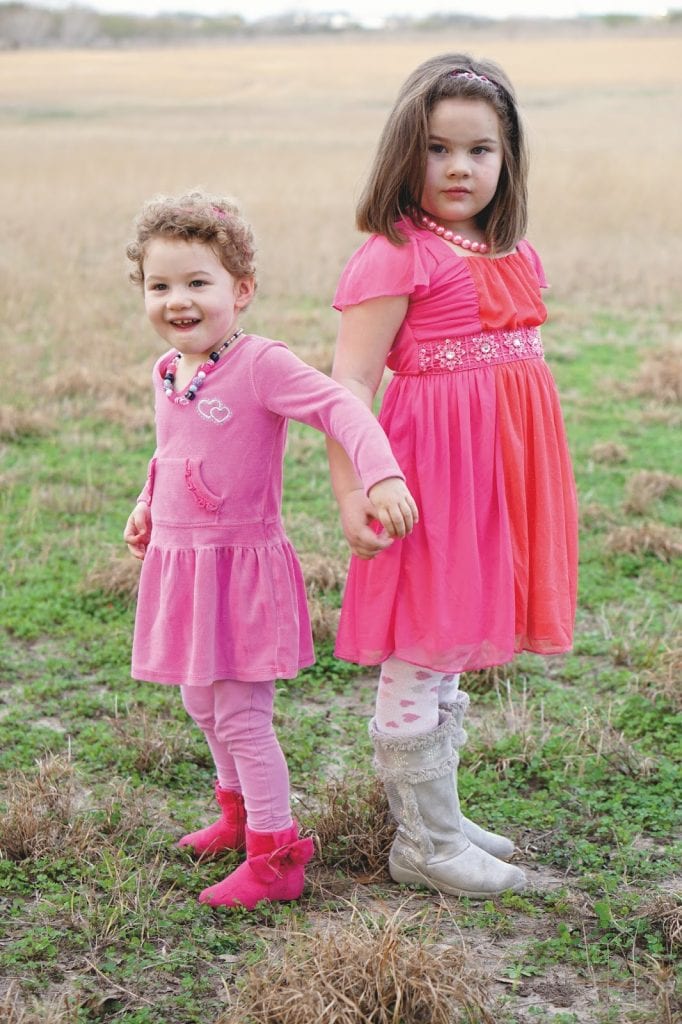
Stella and Ava, my two Valentine’s.
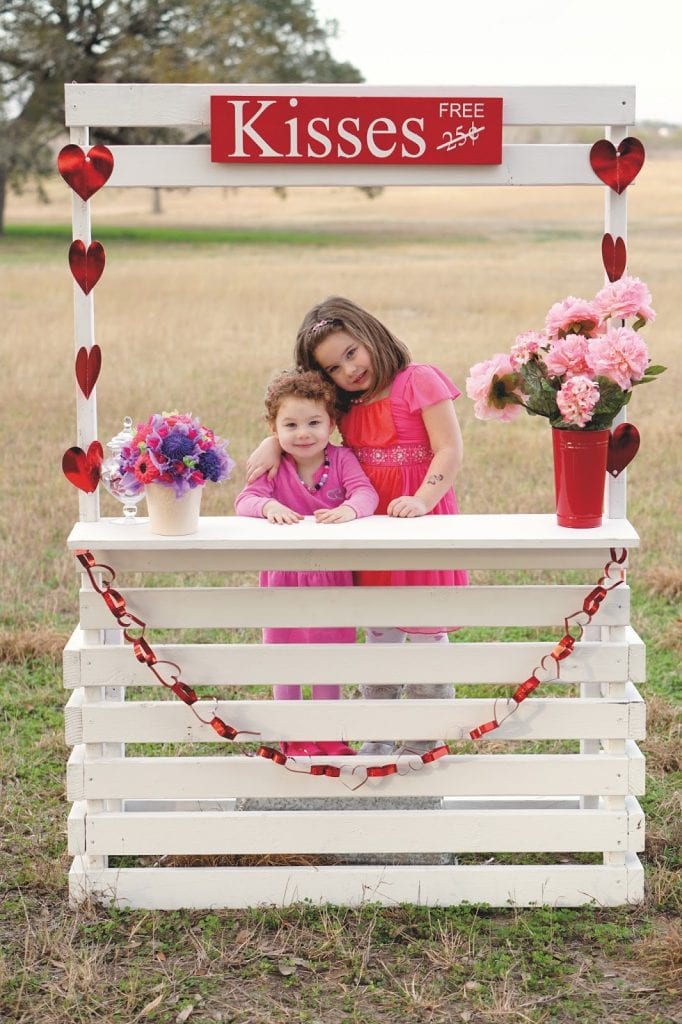
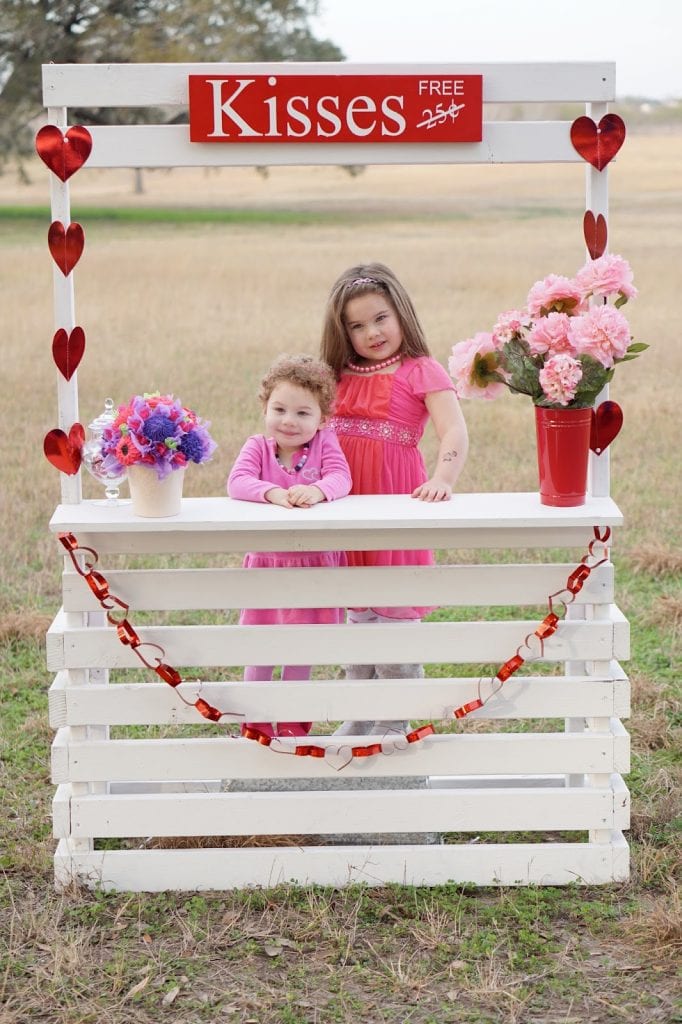
I love all of Brittany’s ideas especially this kissing booth. Simple and sweet!
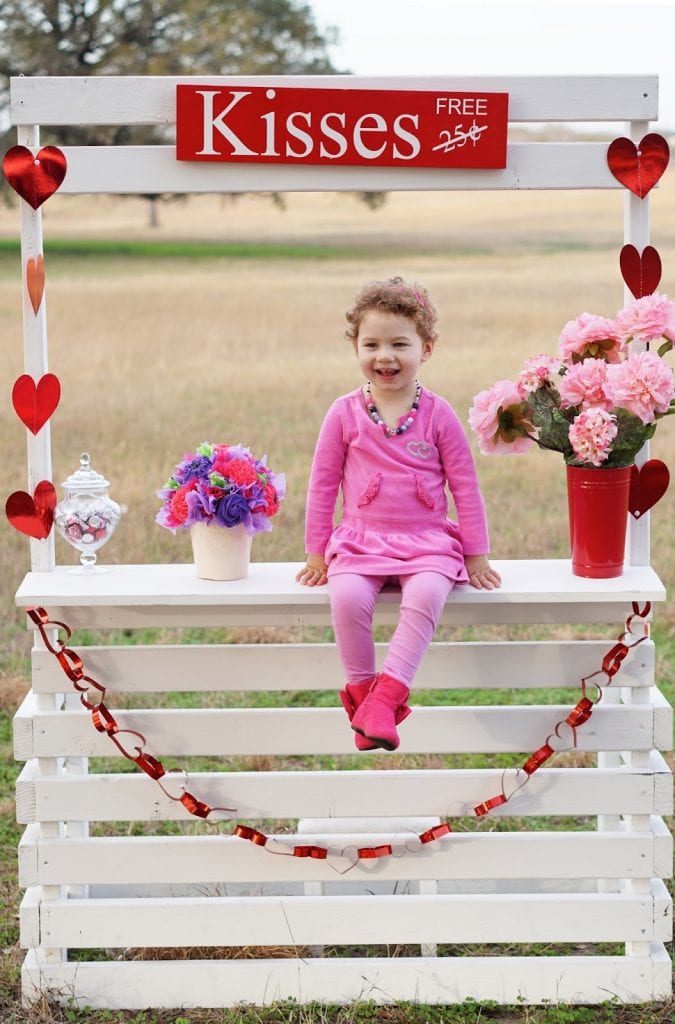
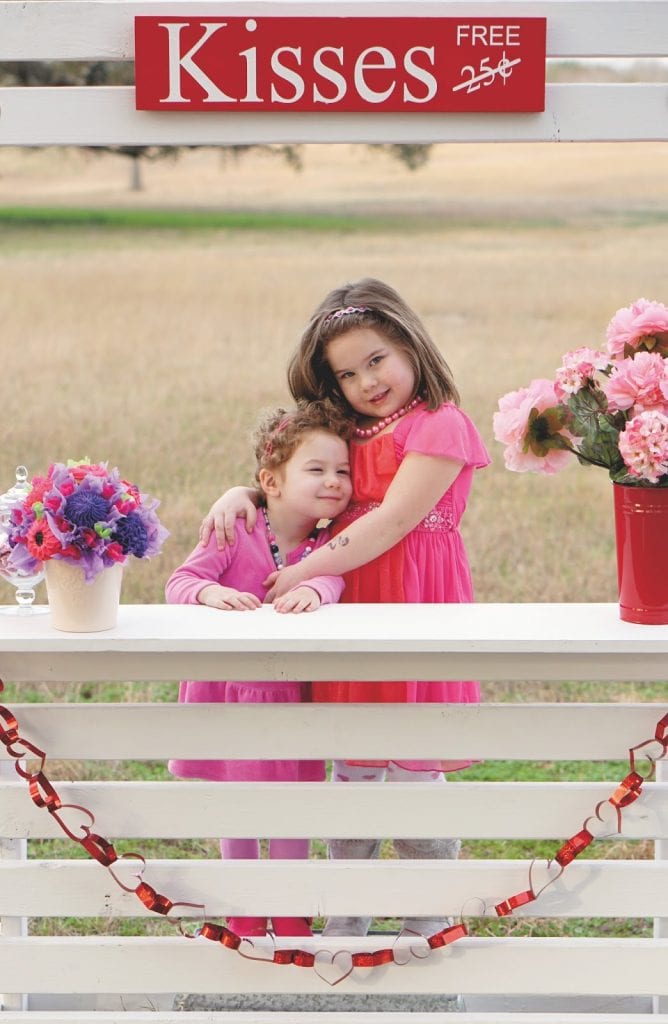
Happy Stella and sweet sisters.
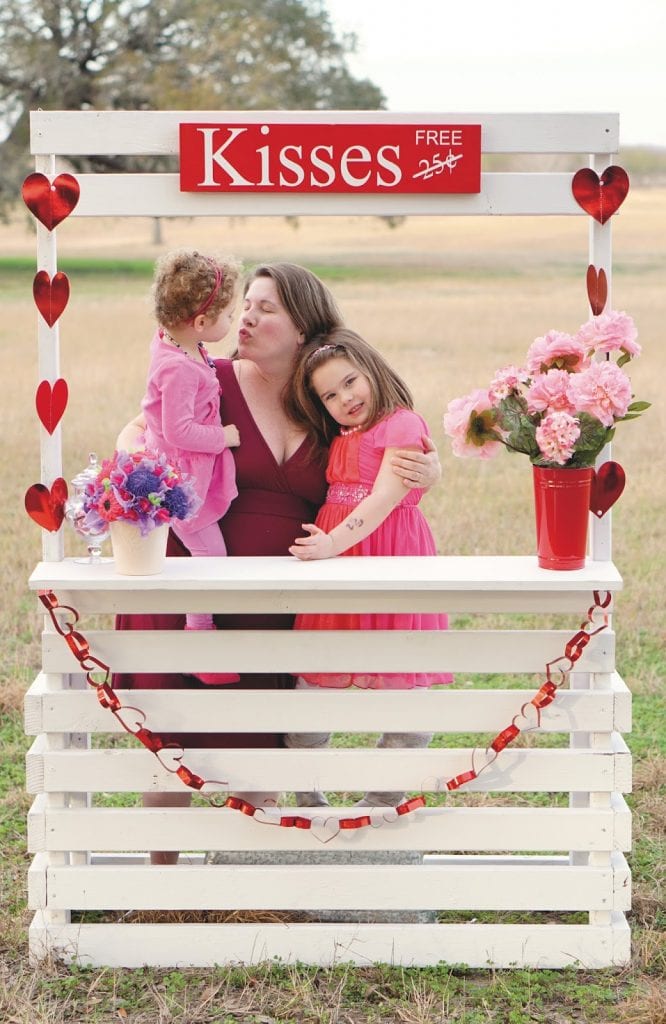
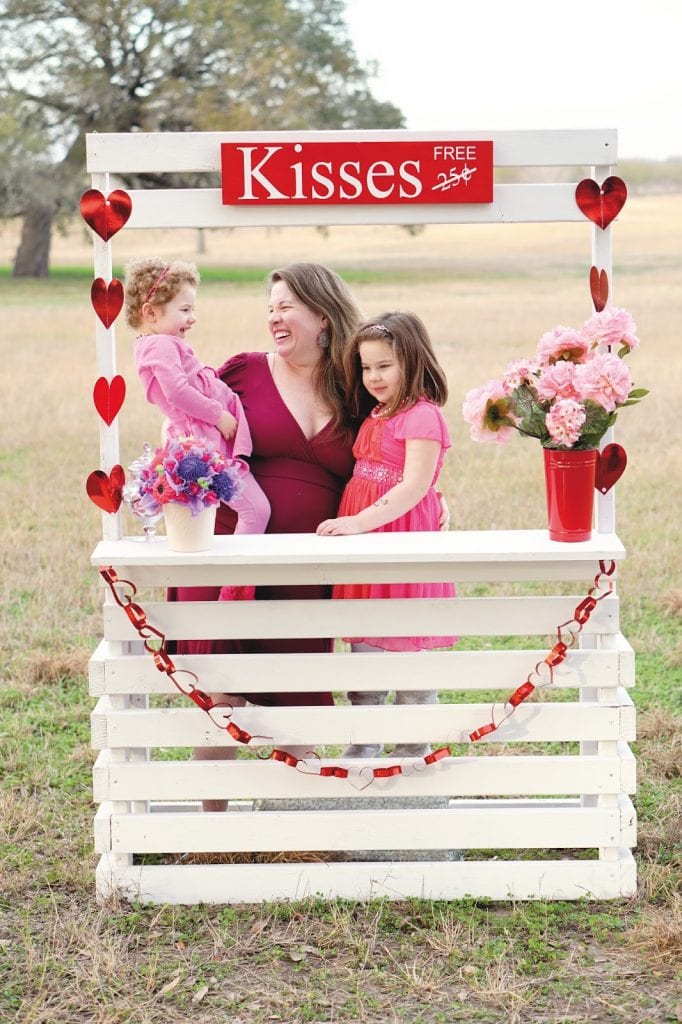
Mama and her girls.

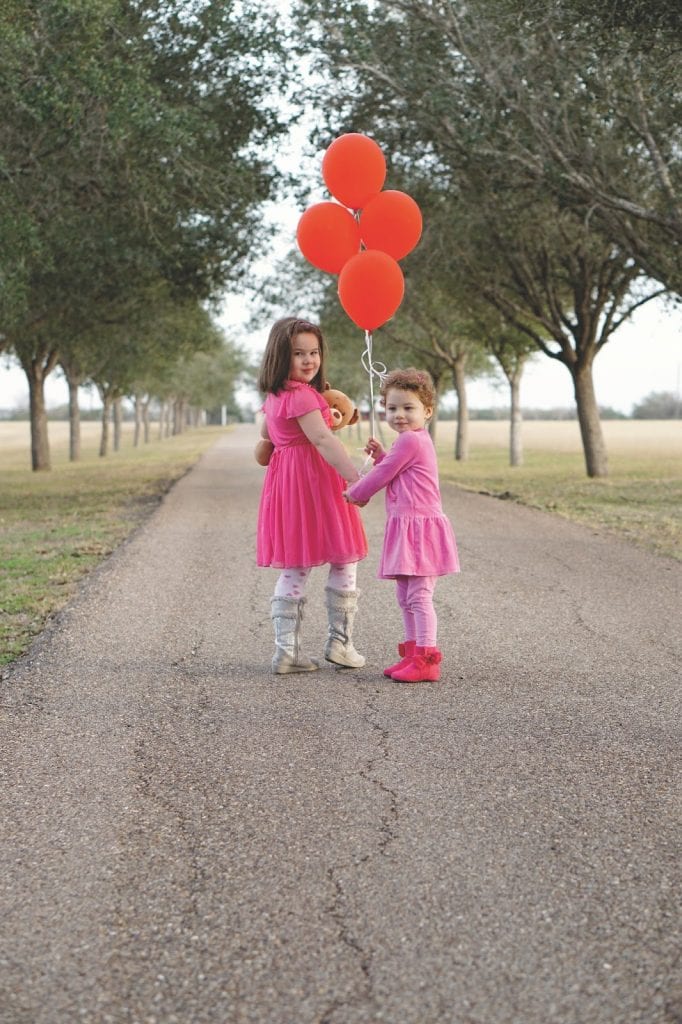
The balloons and bear were such a precious addition. I’m framing these for sure!
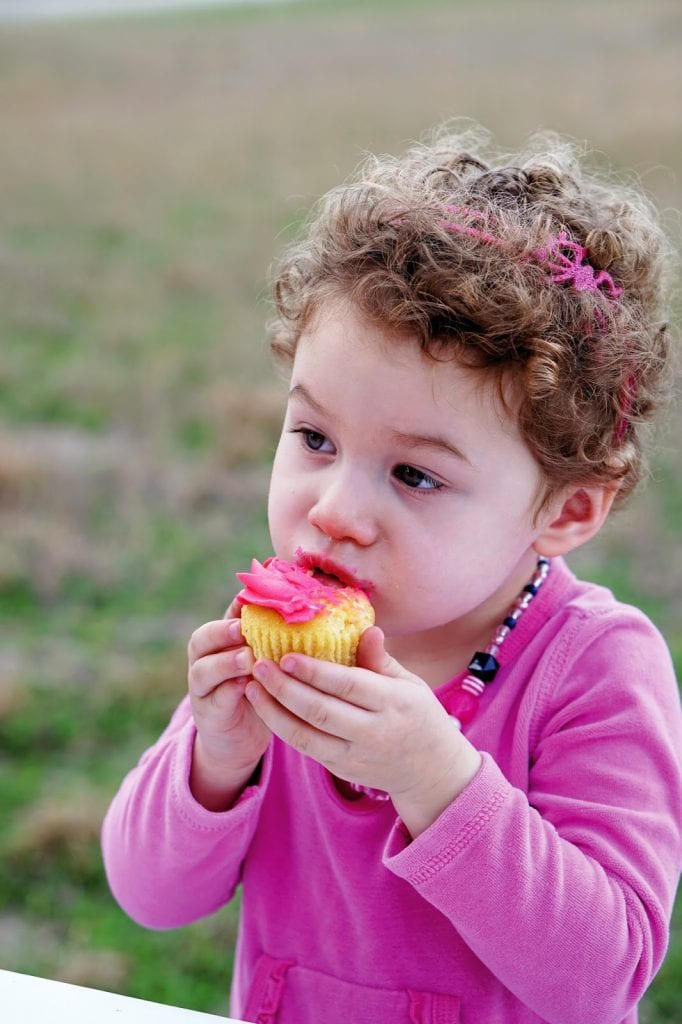
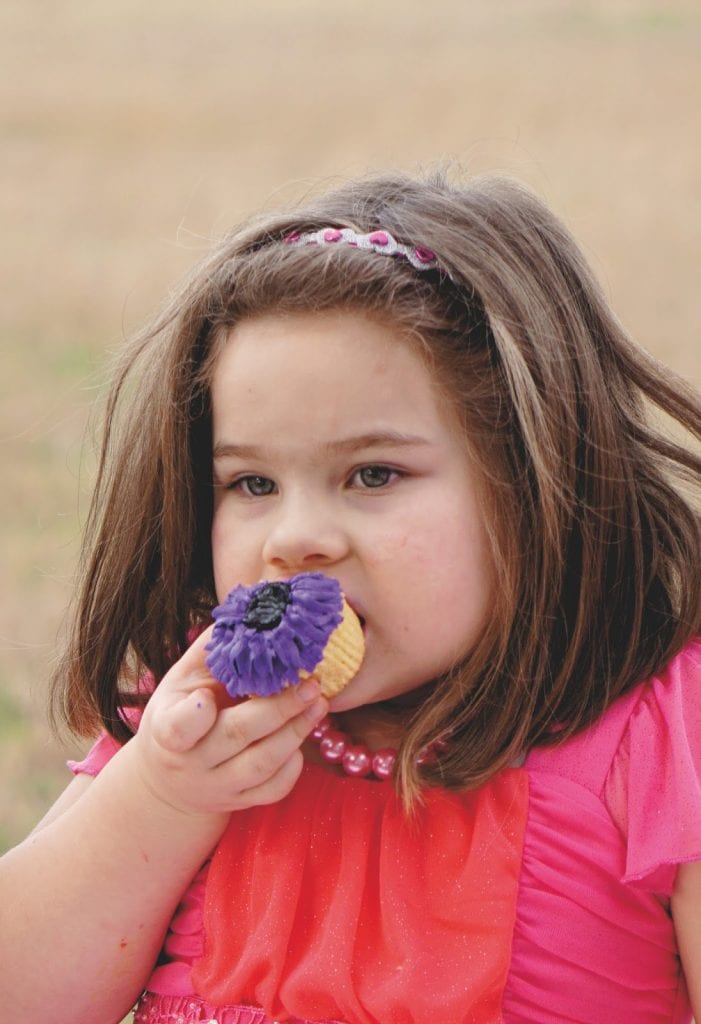
Saved the best {treat} for last! Cupcakes make everyone happy!
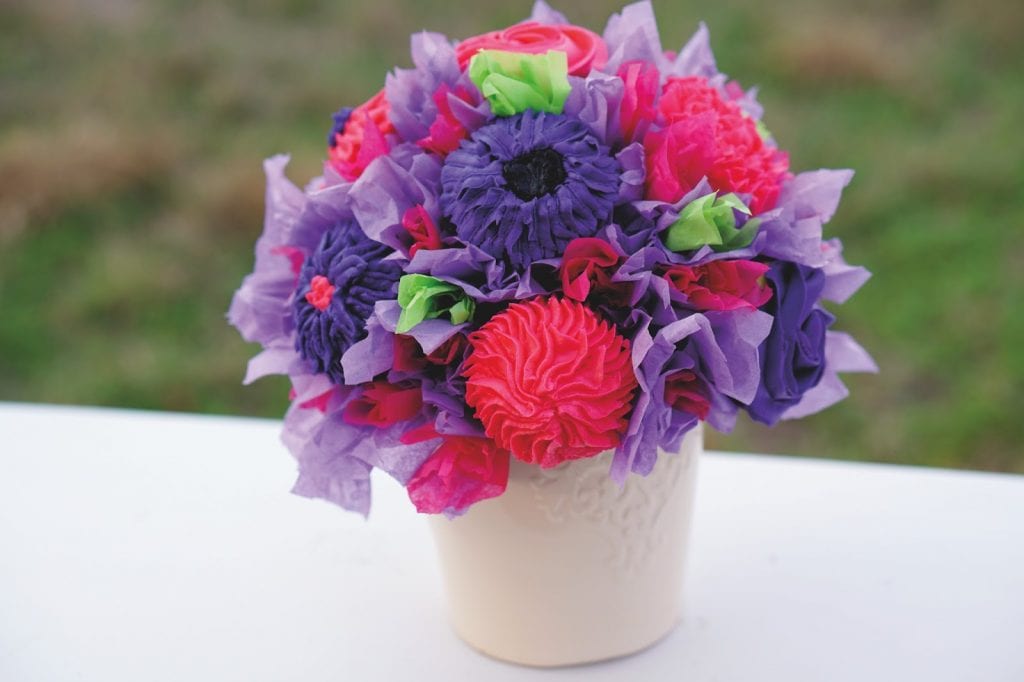
Thanks again to ShayShay’s Cupcakes for the tutorial and cupcake bouquet
and Oh Snap Kid and Family Prop Photography for the photos.


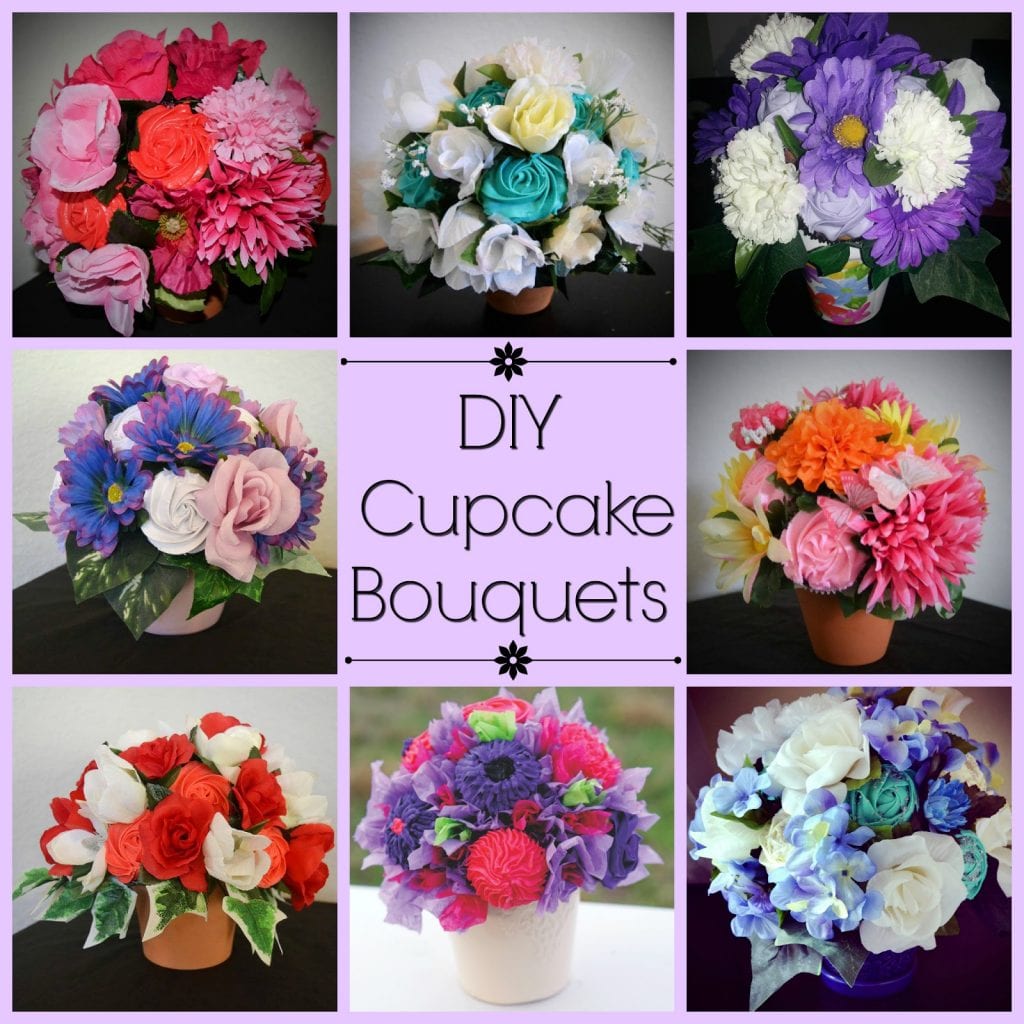





Okay, this i seriously amazing!!! #DIY goals!!!
How sweet! This is so fun and creative! I doubt I am talented enough to try to make this, but yours is amazing!
I really love this idea! They look fabulous and way better than fresh flowers. At least in my opinion!
ok this is seriously the coolest thing ever! what a fun mom you are! i want to try this with my daughter!
I absolutely love this idea! This is great for a Mother's Day brunch!