 |
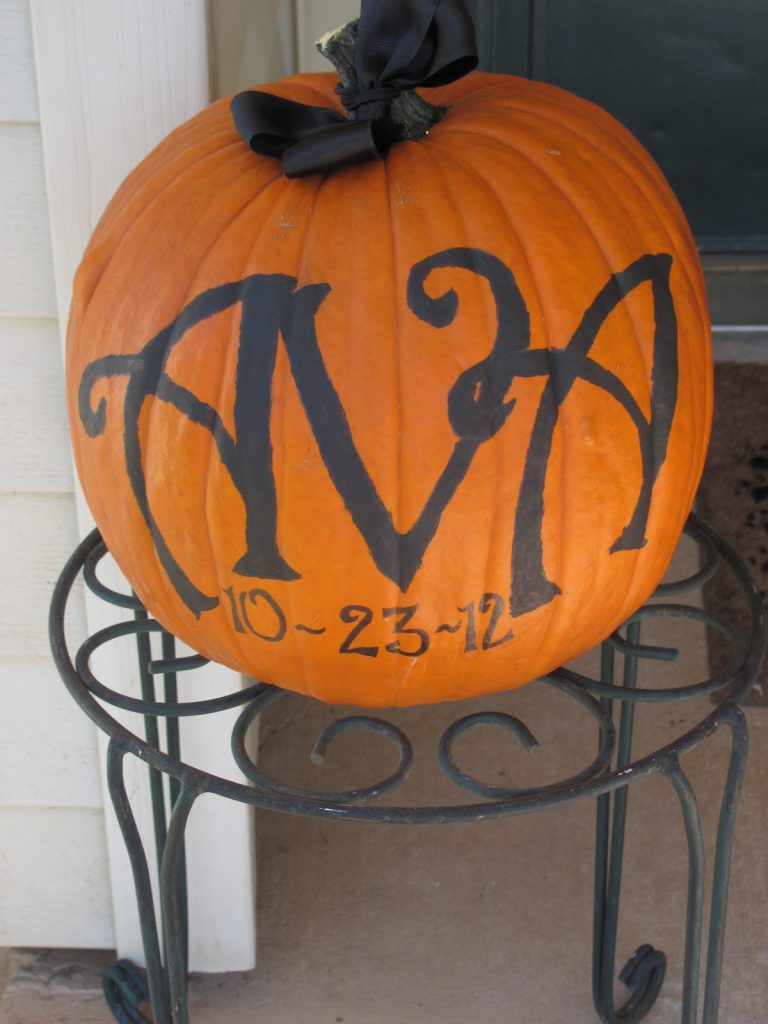
| Painted Name Pumpkin |
I used WORD and using font Harrington size 500 for the name.Then I made it an outline. I then printed it out (one letter per sheet of paper) and cut the outline out and traced it on the pumpkin. Then I used acrylic paint to paint it on. Next time I will use glossy paint instead of matte and add some glitter!
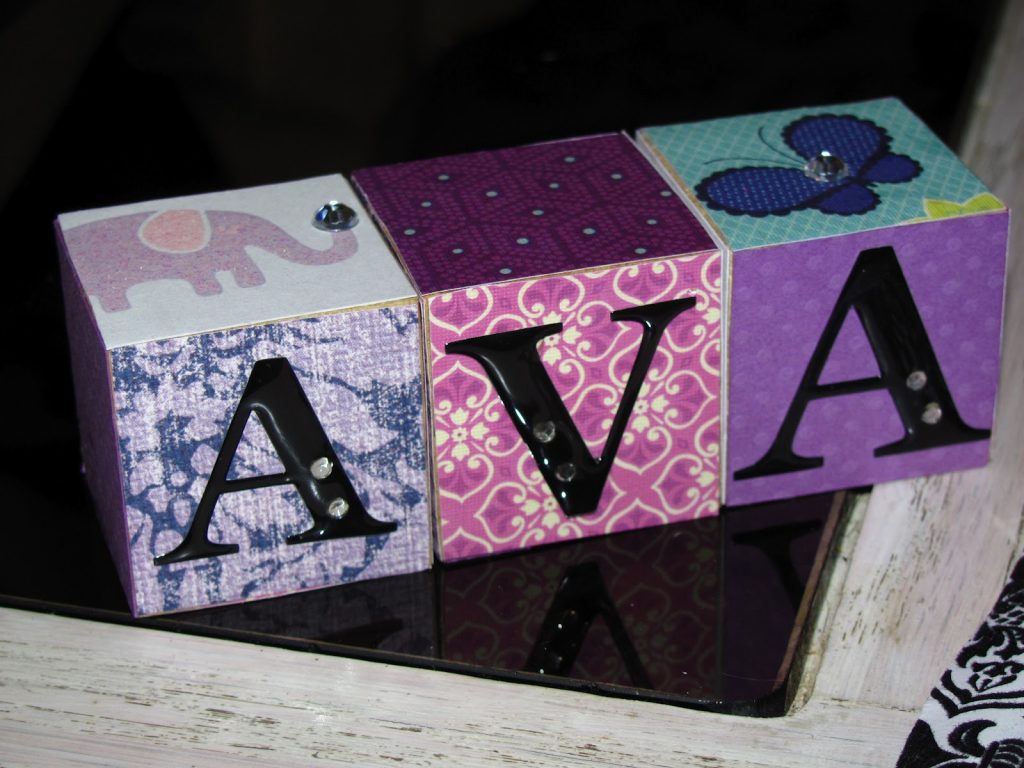 |
| Baby Name Blocks |
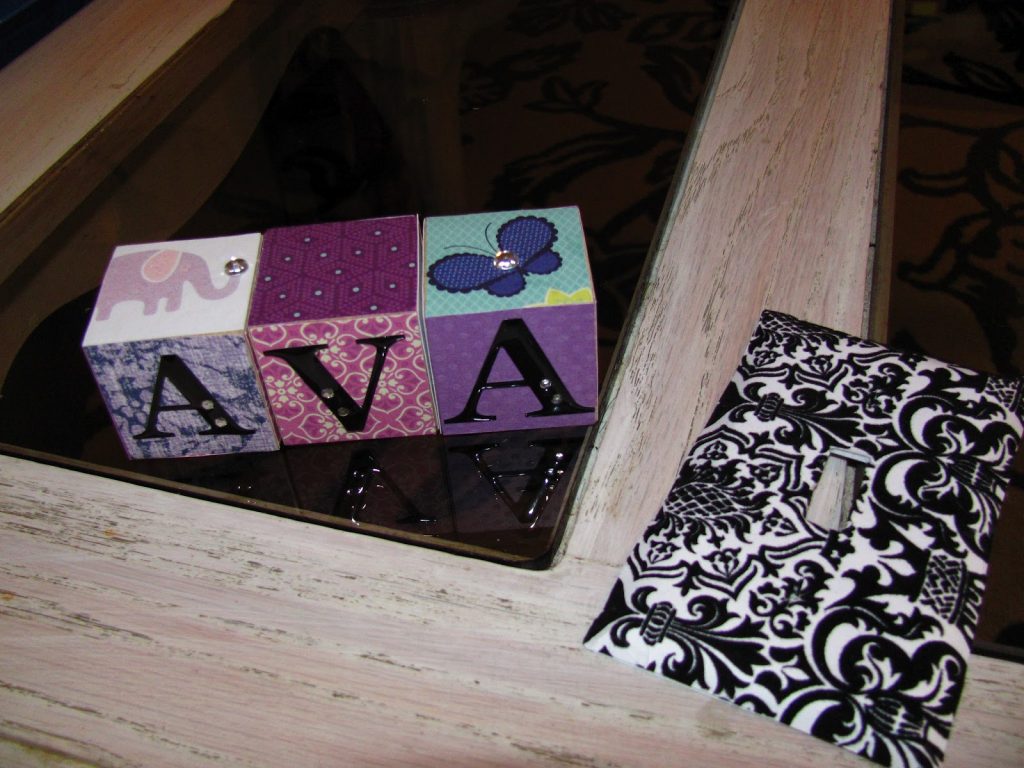
I bought small wooden blocks at Michael’s and used different scrapbook
paper to cover all the sides of each block. I, of course, used Mod Podge
Glossy on both sides of the paper. I then added scrapbook stickers on
one side to spell her name and then added adhesive rhinestones.
paper to cover all the sides of each block. I, of course, used Mod Podge
Glossy on both sides of the paper. I then added scrapbook stickers on
one side to spell her name and then added adhesive rhinestones.
 |
| Decorated Lightswitch Cover |
So simple! I used felted scrapbook paper and cut to cover a plain lightswitch cover (50 cents at Walmart).
I glued with Mod Podge.
 |
| Easy Hair Clips |
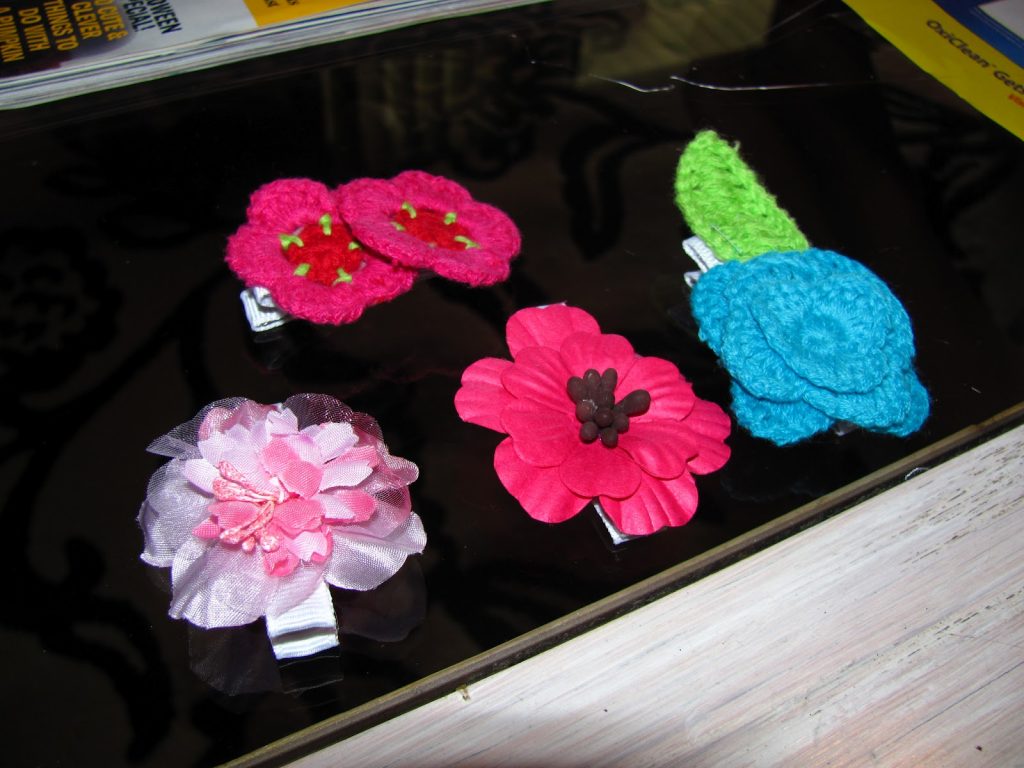
Molly used scrapbook and craft flowers we found on sale Michael’s. She used metal hair clips bought at Sally Beauty Supply and hot glued ribbon to cover them (so they won’t poke baby’s head) and then hot glued the flowers on!
 |
| Nursery Name Sign |
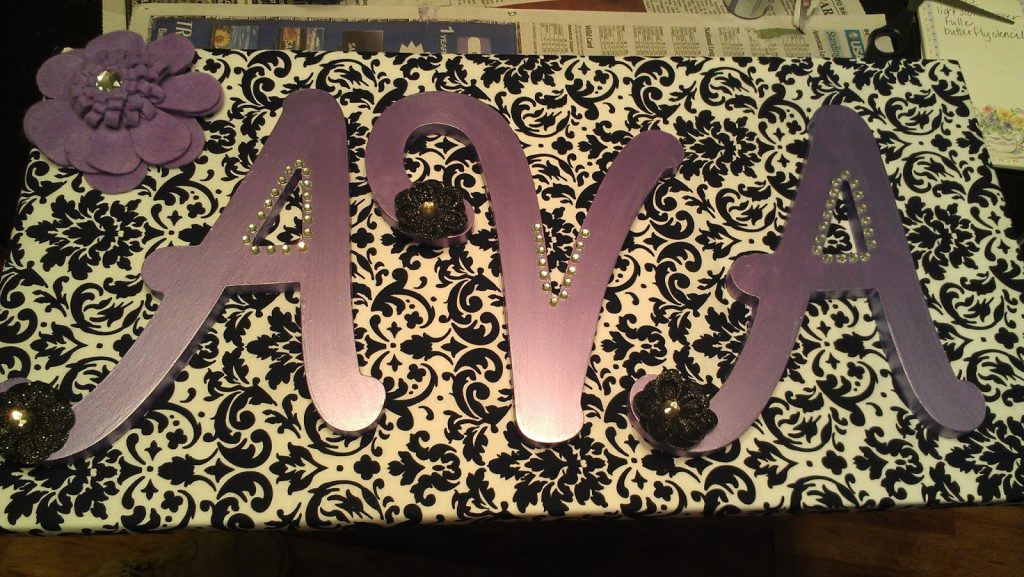
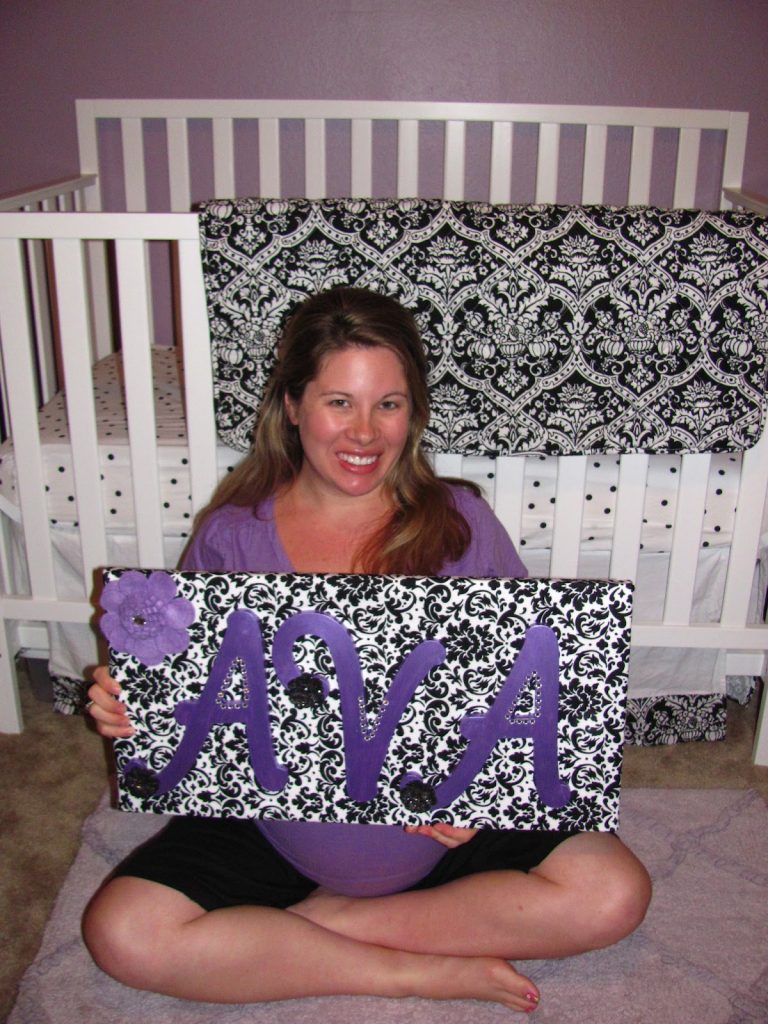
My first big project! I bought a canvas board and, using my staple gun, tightly stapled fabric to cover the front. Then I painted large wooden letters with acrylic metallic paint (about 5 coats). Then I added adhesive rhinestones and decorative fabric flowers. I used heavy duty Mod Podge to glue the letters to the canvas.
 |
| Bow Holder |
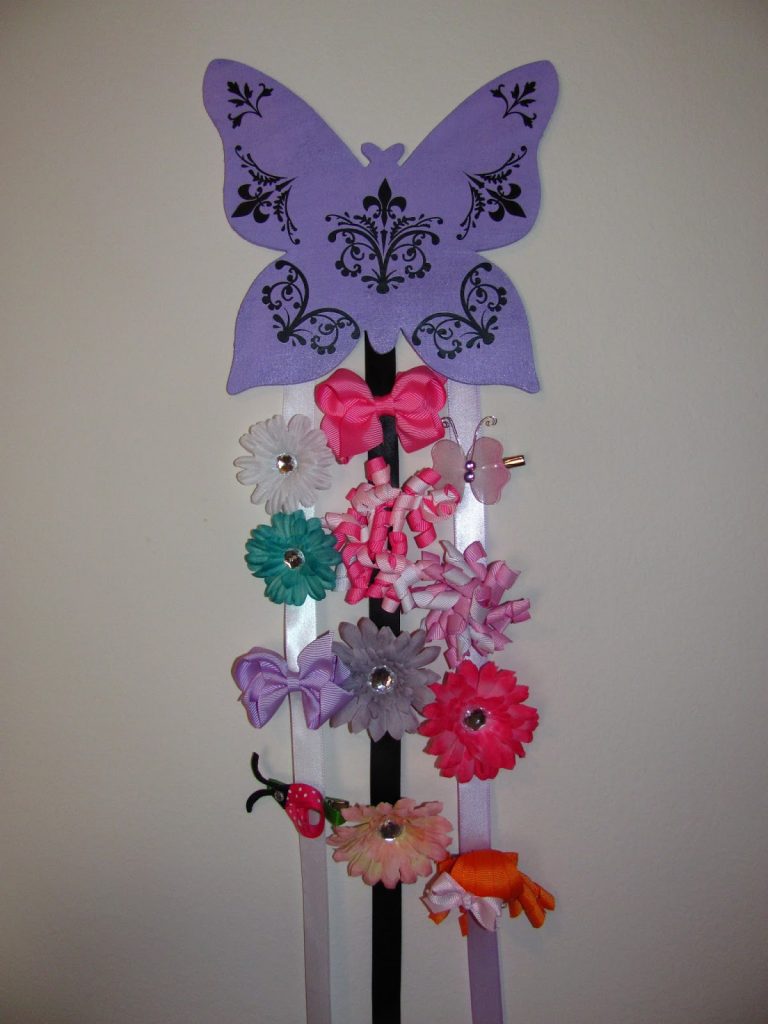
I found this plain wooden butterfly in the craft section at Walmart. I painted it purple to match Ava’s room then I used Damask rub on transfers (also Walmart) to decorate it. Finally I hot glued long wide pieces of ribbon to the bottom. Then I just simply clip hair bows and barrettes to it.
  |
||
| Nursery Book Wall |
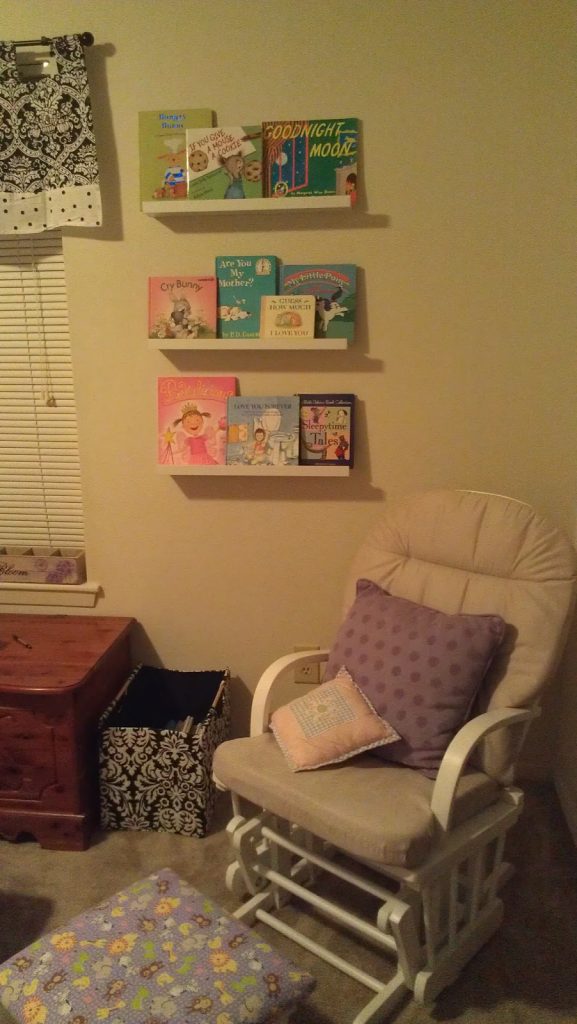
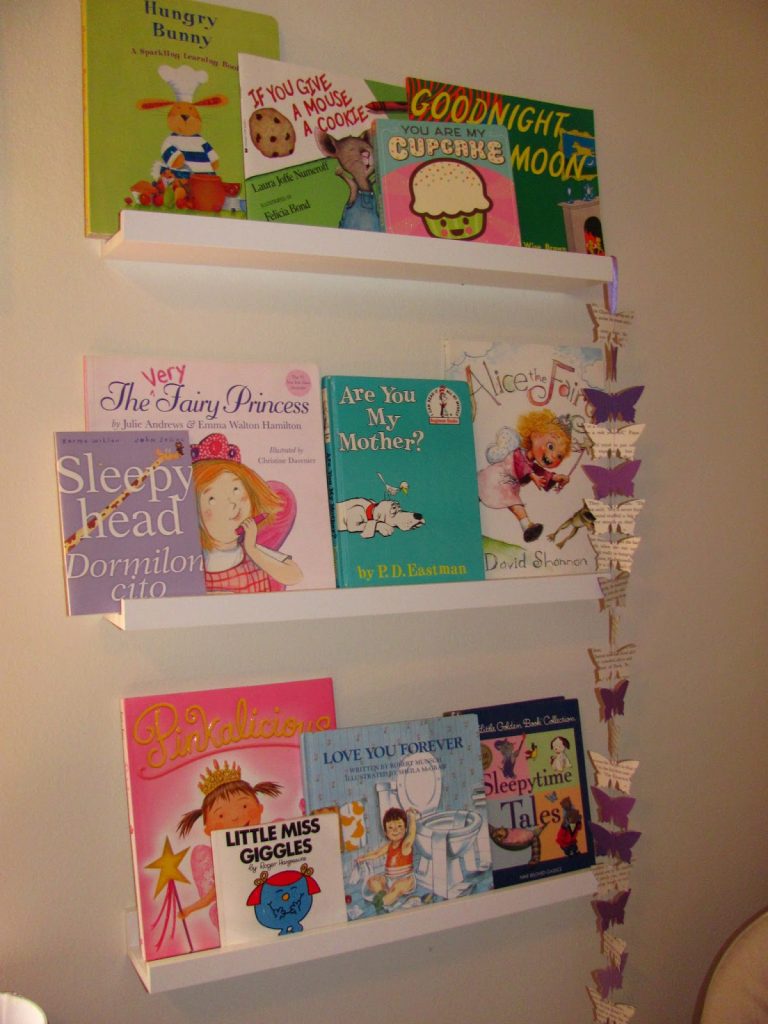
I bought these at Ikea in the photo section. They are “Short Length Photo Ledges”.
Perfect for displaying colorful children’s books!
I bought the butterfly book garland on Etsy: http://www.etsy.com/people/youngheartslove
Printable Jar Labels
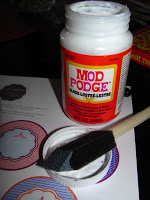
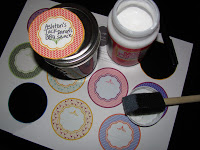
I hand wrote my labels but I loved the bright colors and fun designs of these Mason Jar Labels! I printed on white card stock and covered the back with Mod Podge and the labels sealed right on the jar!
Go here to download for free: Printable Labels
Name Onesie and Baby Shadowbox
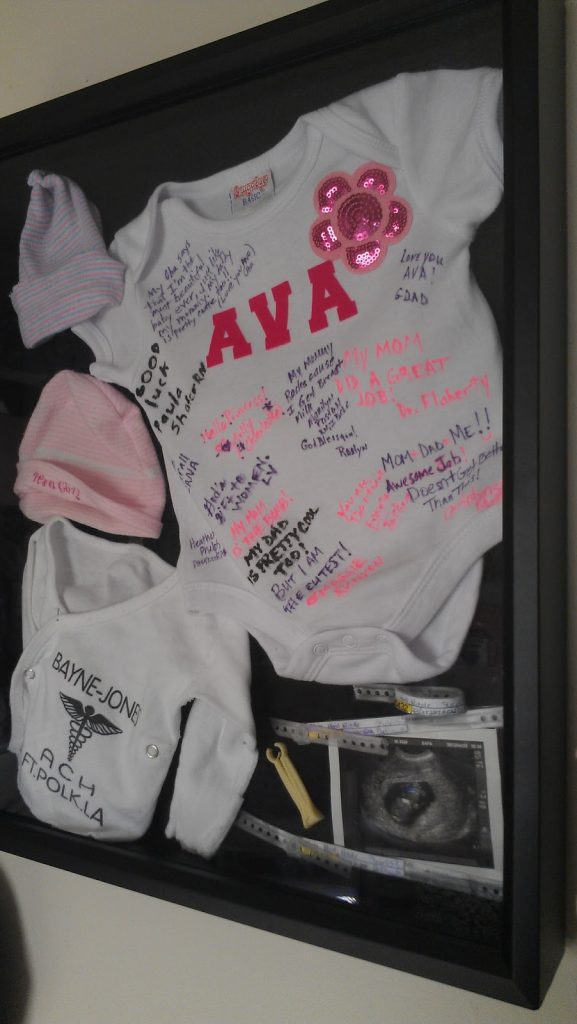
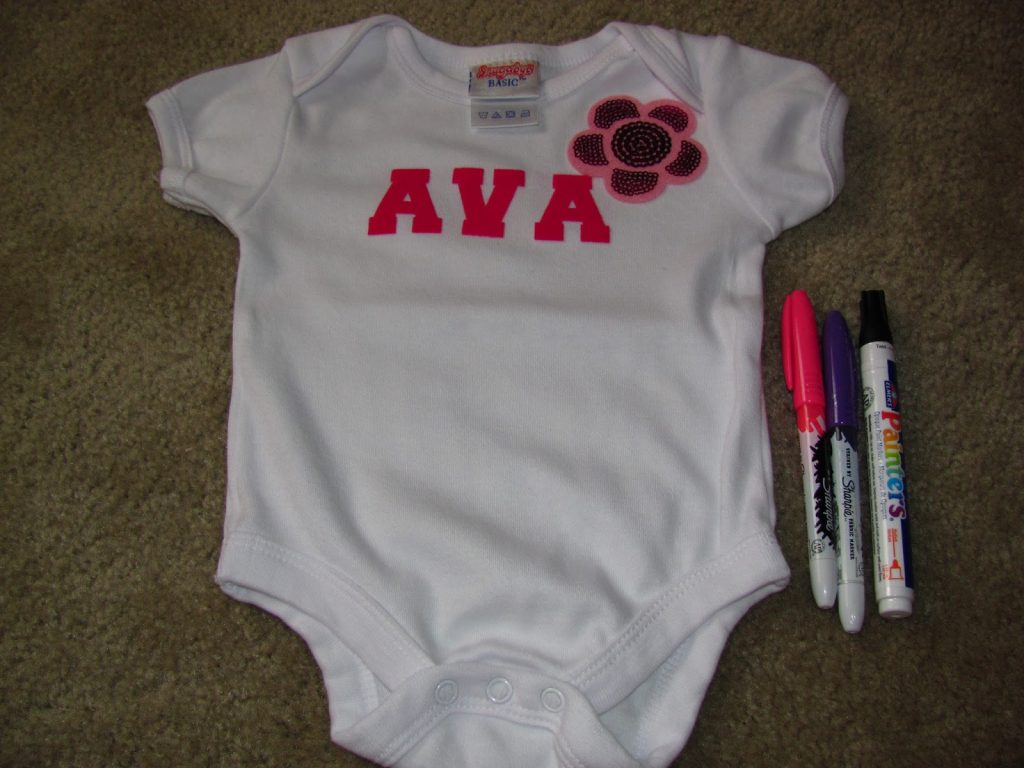
I bought a plain onesie and ironed on pink felt letters on the front and added an adhesive sequin flower.
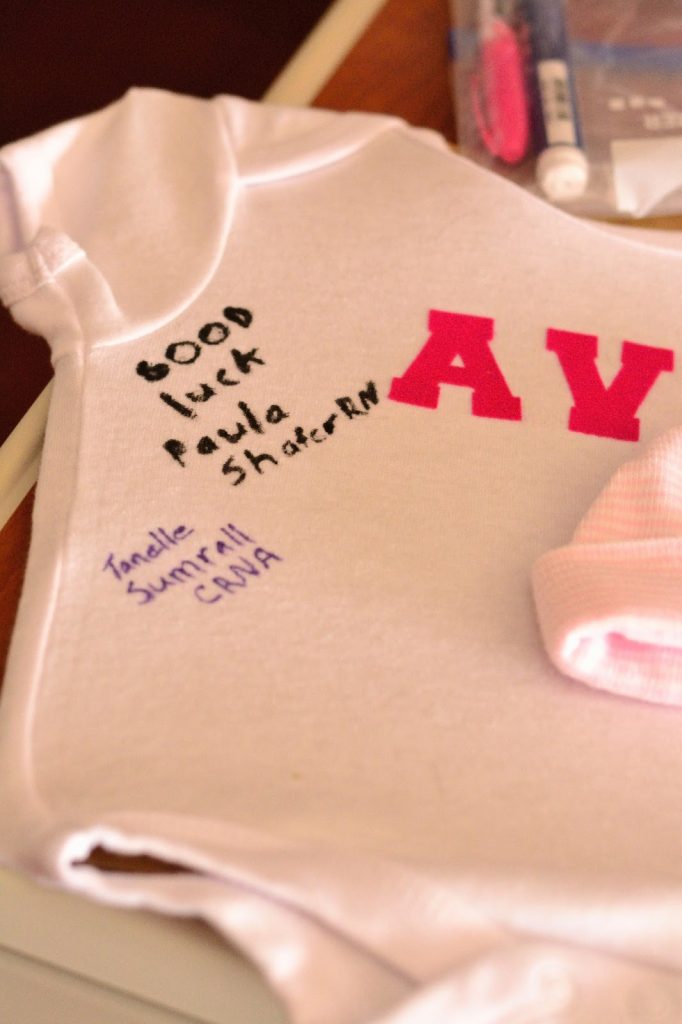
Then I bought fabric paint pens and brought it with me to the hospital when I had Ava. I had the nurses, doctor, and all our friends and family who visited sign the onesie. Then I made a shadowbox featuring her signed onesie, her hospital bracelet, shirt, hats, etc. I also added an ultrasound pic but I think I am going to switch it out for her stamped footprints from the hospital.
 |
| Stenciled lampshade |
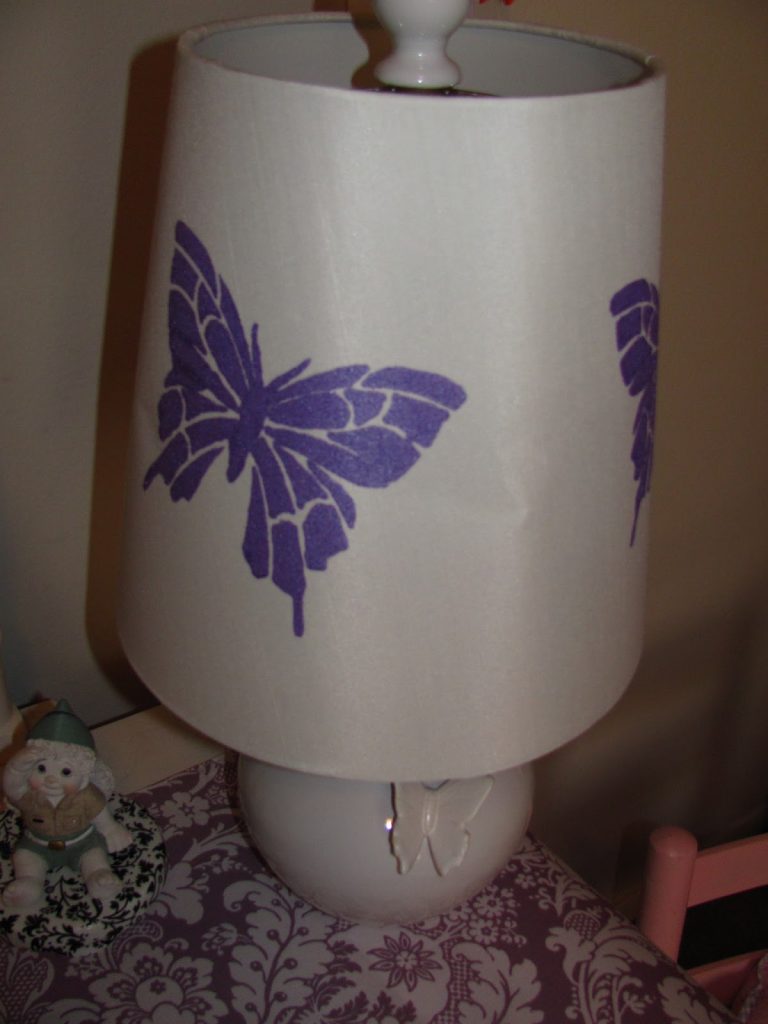
I found this cute butterfly lamp at Marshalls but the shade was a boring white. So I found a large butterfly stencil and using my favorite metallic purple acrylic paint I painted a couple butterflies on the lampshade. I love how it came out!
  |
| Tissue Paper PomPoms |
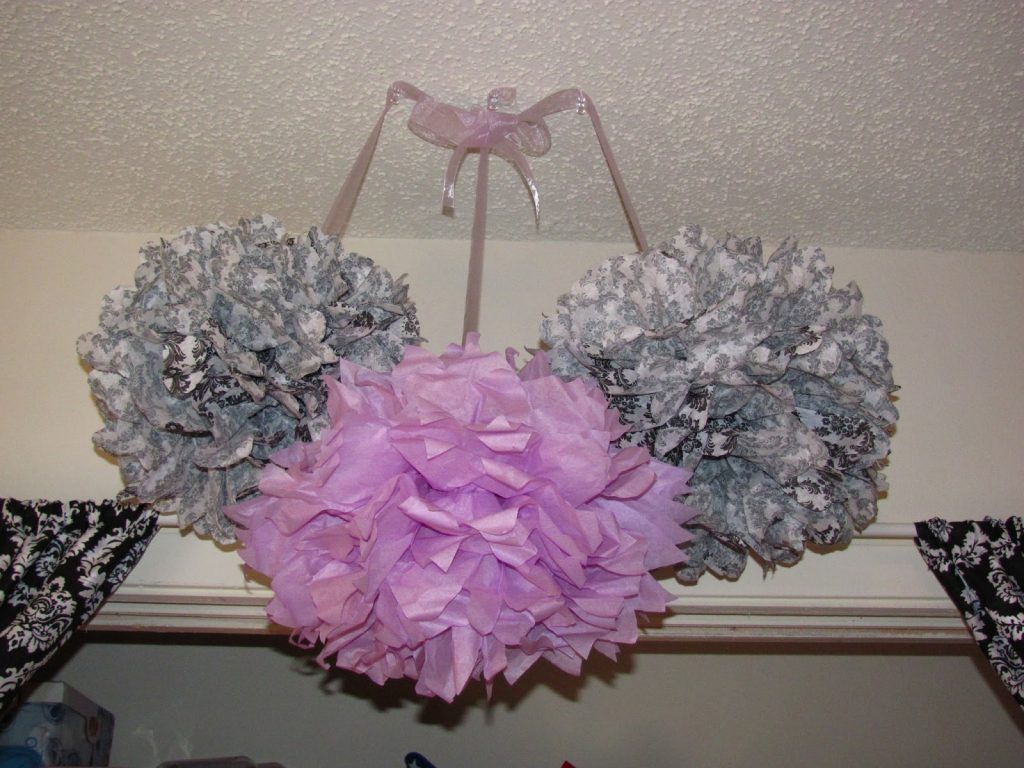
I found these on Etsy and Groopdealz. Extra Large size.
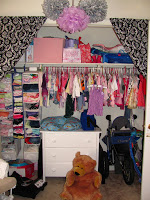
I added ribbon and tacked them to the ceiling, over the closet.
Find them here: http://www.etsy.com/people/pomtree
 |
| Picture Ornament |
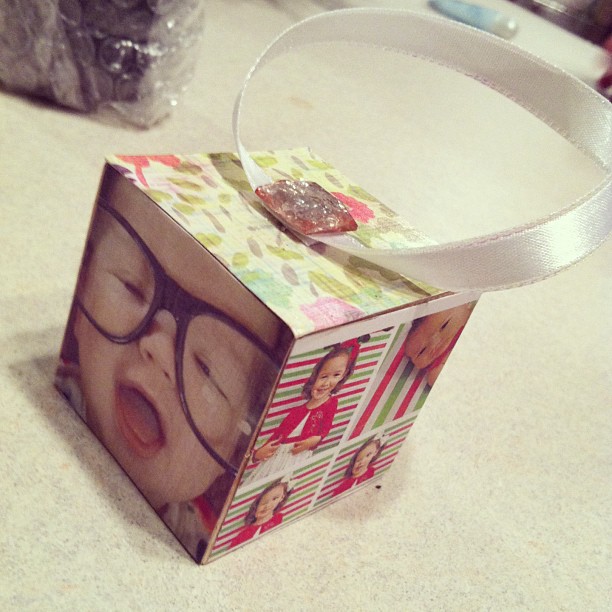
I bought large wooden blocks and printed out small pictures on cardstock.
I then cut the pics to fit, and Mod Podged them on (back and front) with glossy Mod Podge.
I Mod Podged colorful scrapbook paper on the top and bottom then hot glued ribbon as a hanger.
Finally I glued on a decorative jewel or rhinestone. Such a pretty, unique gift!
Picture by Chelsey Ping
Fabric Covered Canvas Picture Display
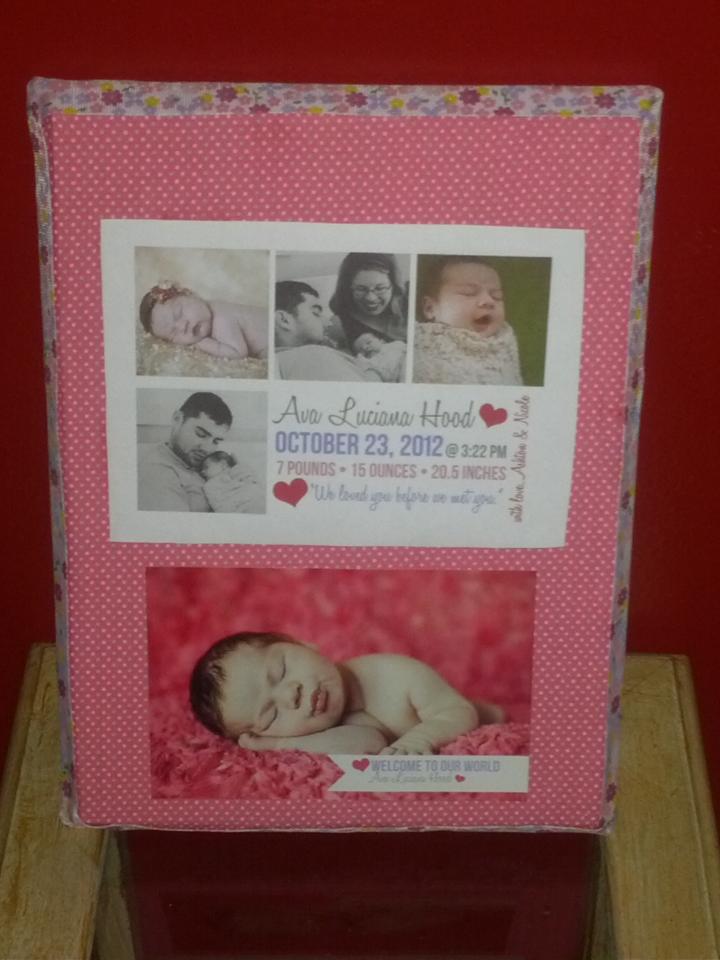
You can use large wood rectangles or canvas for this project. I tightly stapled colorful fabric over the front of the canvas (with wood you can Mod Podge on and smooth down). I then hot glue wide ribbon around the sides and printed my baby’s birth announcement on 5X7 card stock and Mod Podged the pictures on the front. Great gift for the grandparents!
 |
| Wooden Letter Collage |
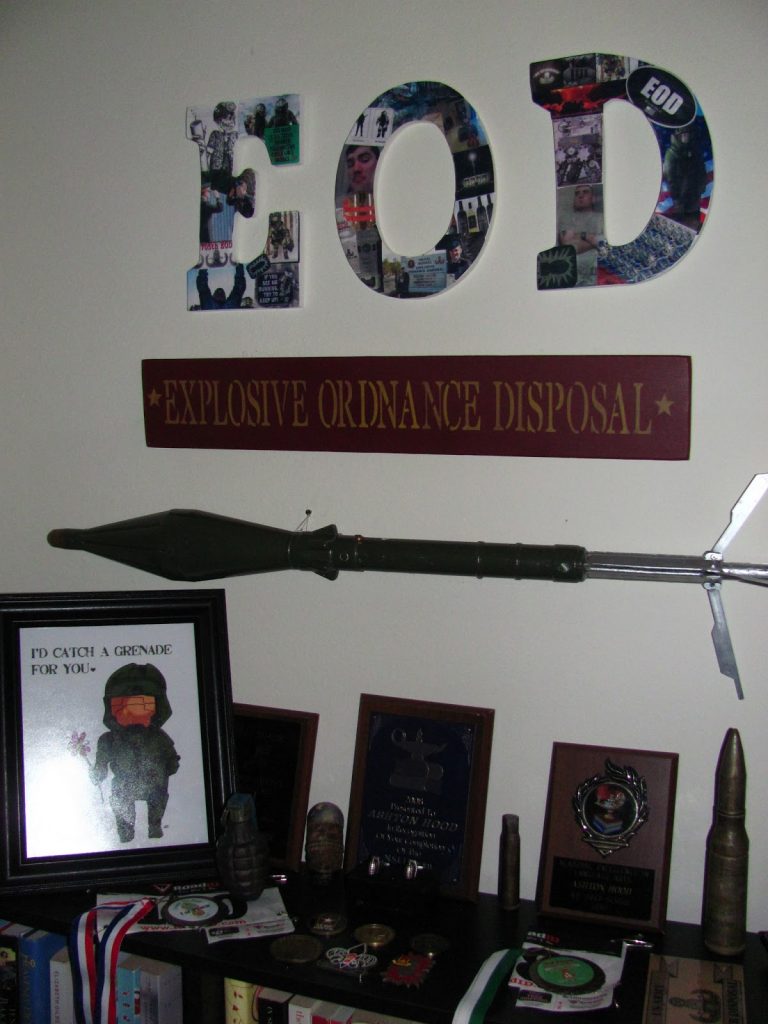
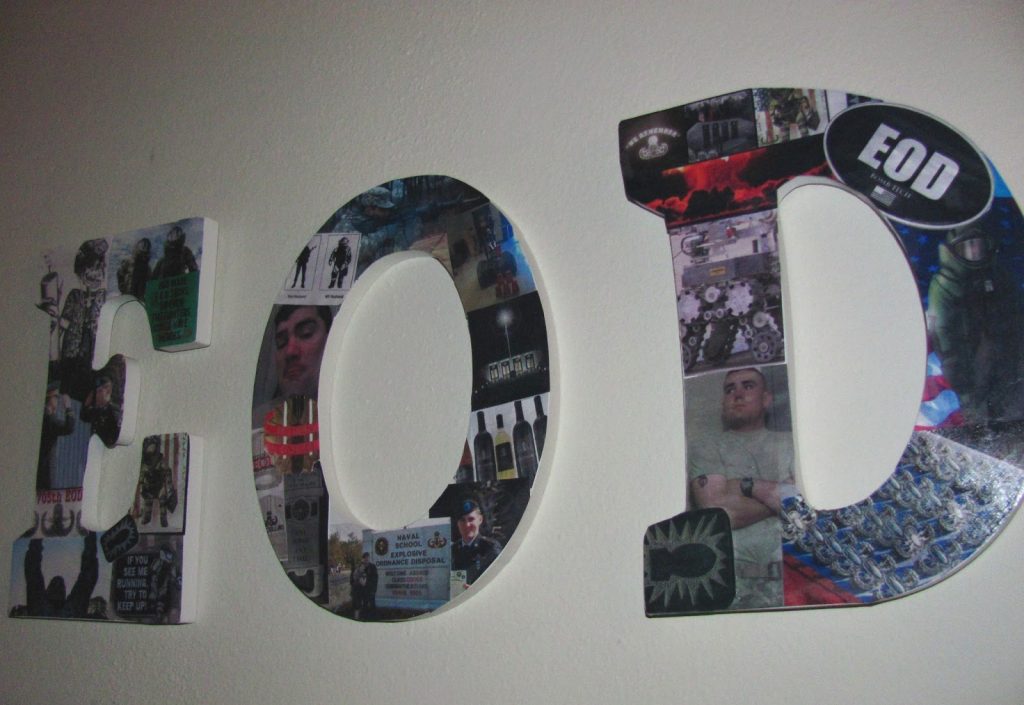
I bought large wooden letters at the craft store. I then printed out pictures, logos, stickers, etc to go with my EOD theme (my husband is an Army EOD tech) and shaped them and Mod Podged them on. Then I covered it all in gloss Mod Podge.
 |
| Wrapping Paper Photo Mat |
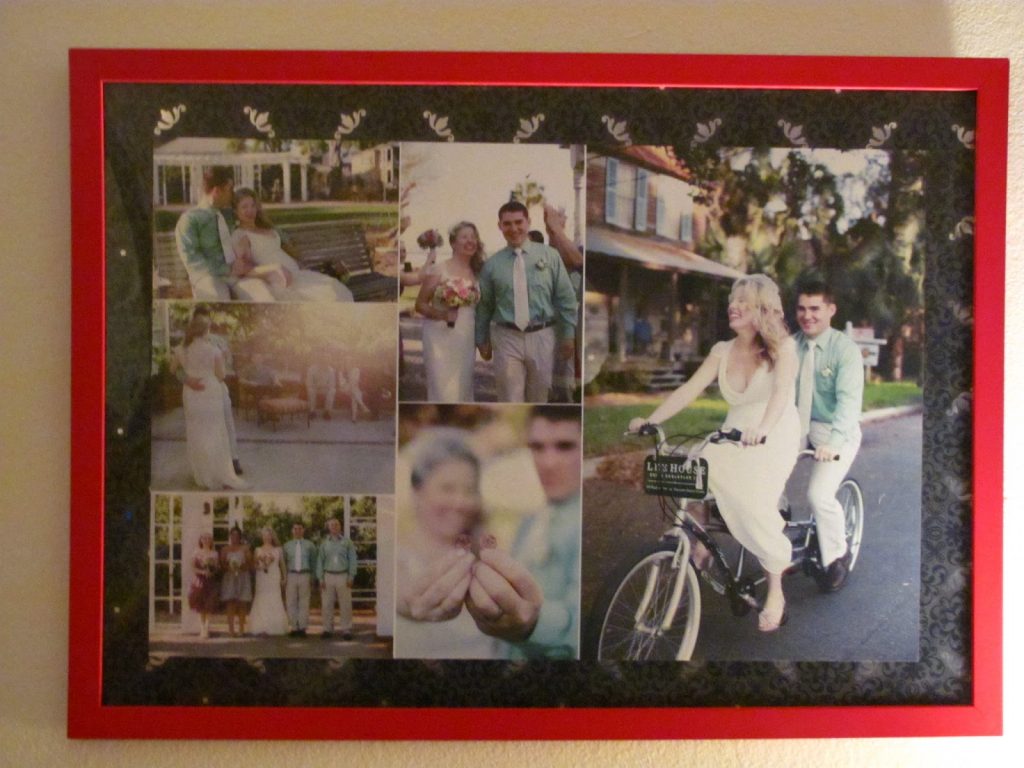
I had this large wedding collage in an odd size 18X24, I think. So I bought a larger frame at Ikea then I bought this fun wrapping paper at Target and taped it to the inside of the frame so it created a frame mat. Then I just taped my photo collage to it.
