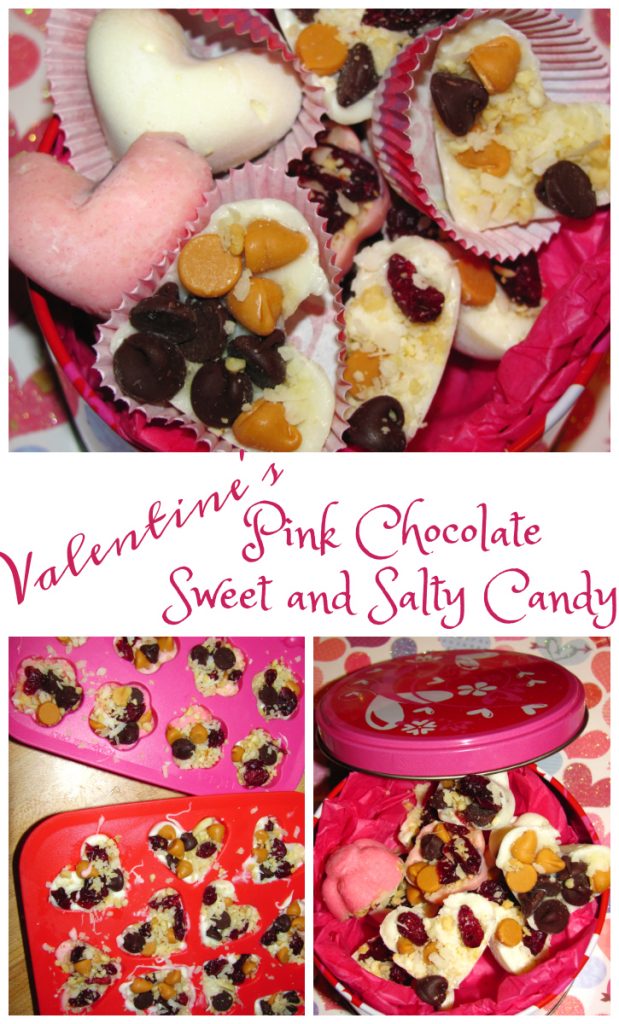
These bite size sweet and salty candies are the perfect treat for kids, friends,
or your special someone this Valentine’s Day! They only take a few minutes to make and you can customize the toppings using just about any crunchy, sweet, salty, and fruity items you can think of!
Pink Chocolate Sweet and Salty Candy
Ingredients
- 6-8 oz chopped white chocolate baking bars or white chocolate chips
- 2 tbsp salted peanuts chopped or crushed
- 4-5 small salted pretzel chips finely chopped or crushed.
- 2 tbsp chopped dried cranberries
- 2 tbsp butterscoth chips
- 2 tbsp semi sweet chocolate chips
- 2 tbsp shredded sweetened coconut
- red or pink food/icing coloring
- heart flower, star or another fun shaped ice cube tray
Instructions
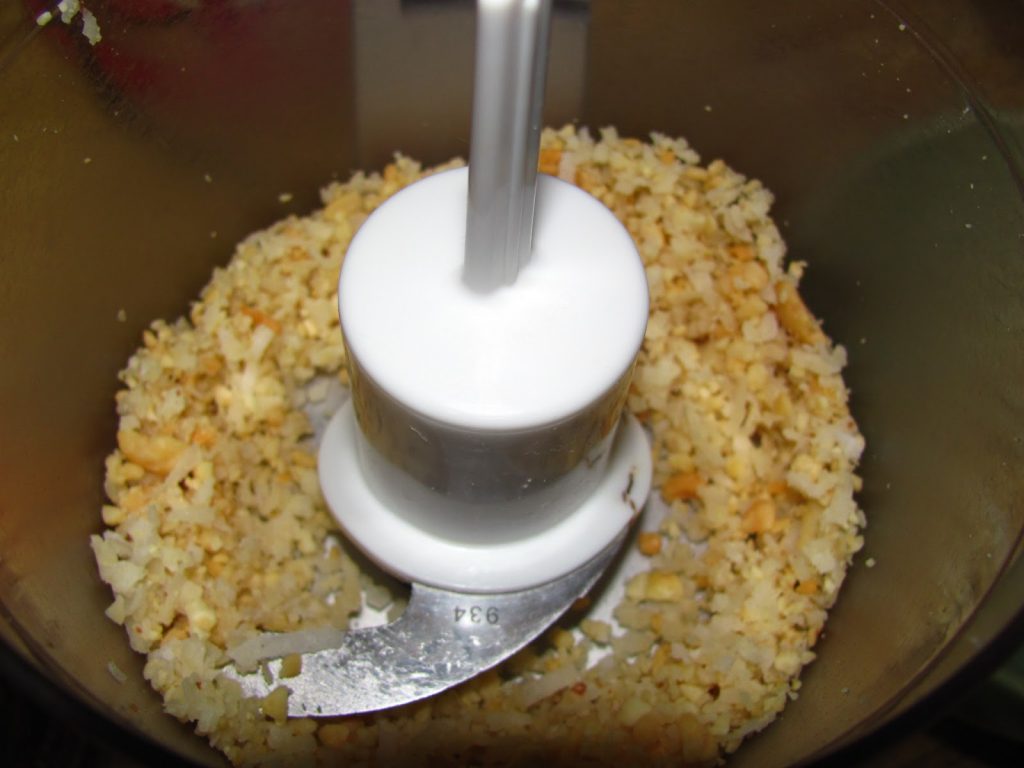
- Using a food processor (or a knife) grind the peanuts, pretzels, and coconut for a couple seconds.
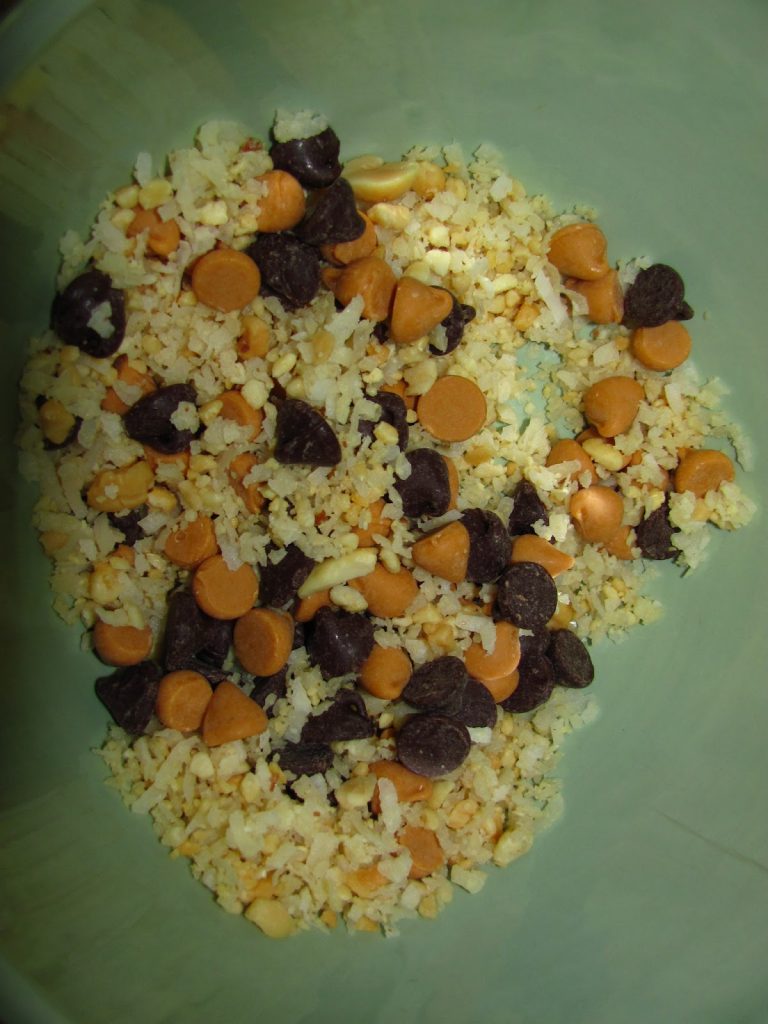
- Pour into a small bowl and add chocolate and butterscotch chips and chopped cranberries.
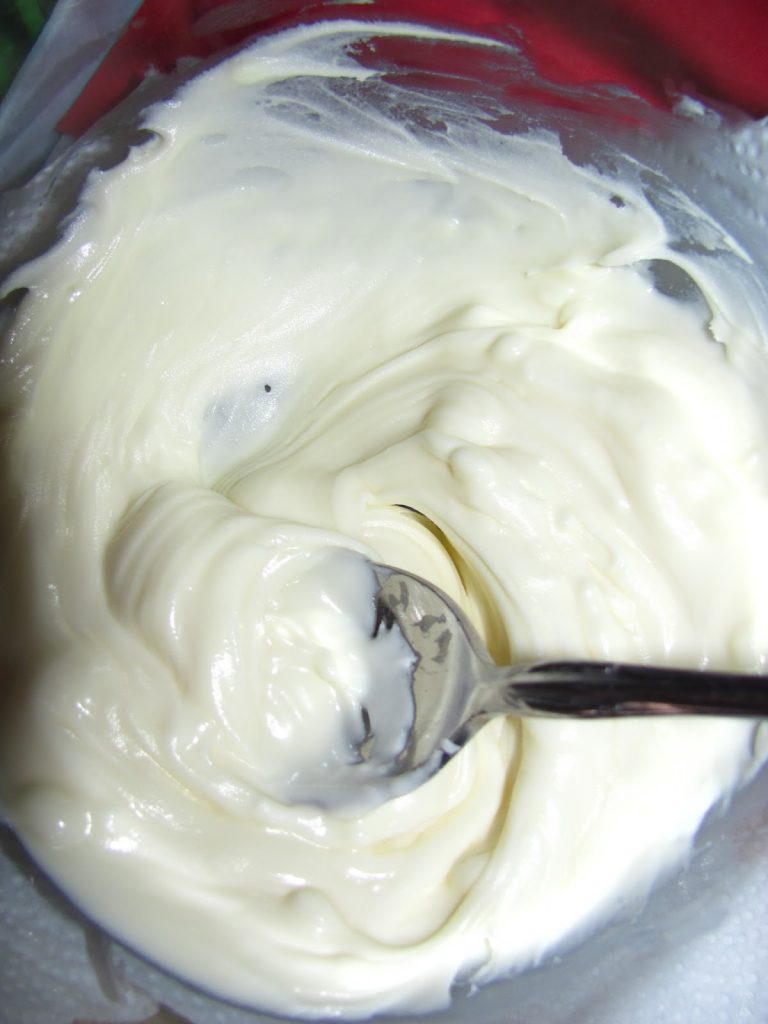
- Put white chocolate in a microwaveable bowl and microwave for one minute, then stir. Then cook for another 30 seconds and stir again. Keep heating for 10 second intervals until it is smooth when you stir it.
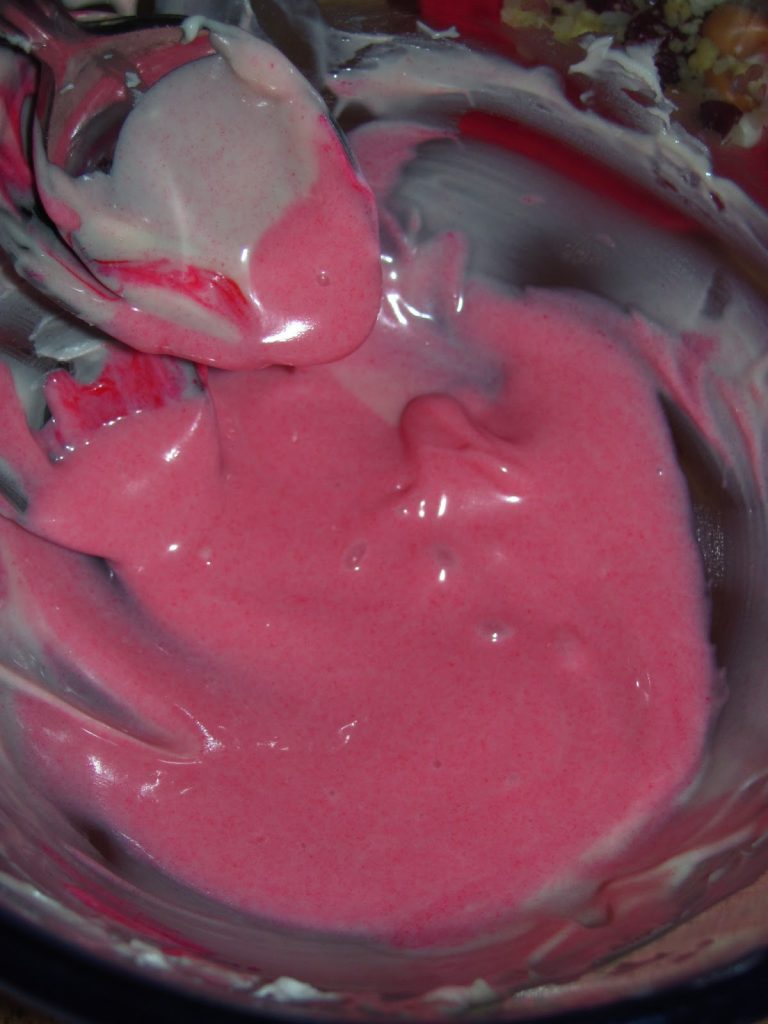
- Add one or two drops of coloring until you get the pink shade you want.
- Spoon warm pink chocolate into the molds of an ice cube tray, filling half way.
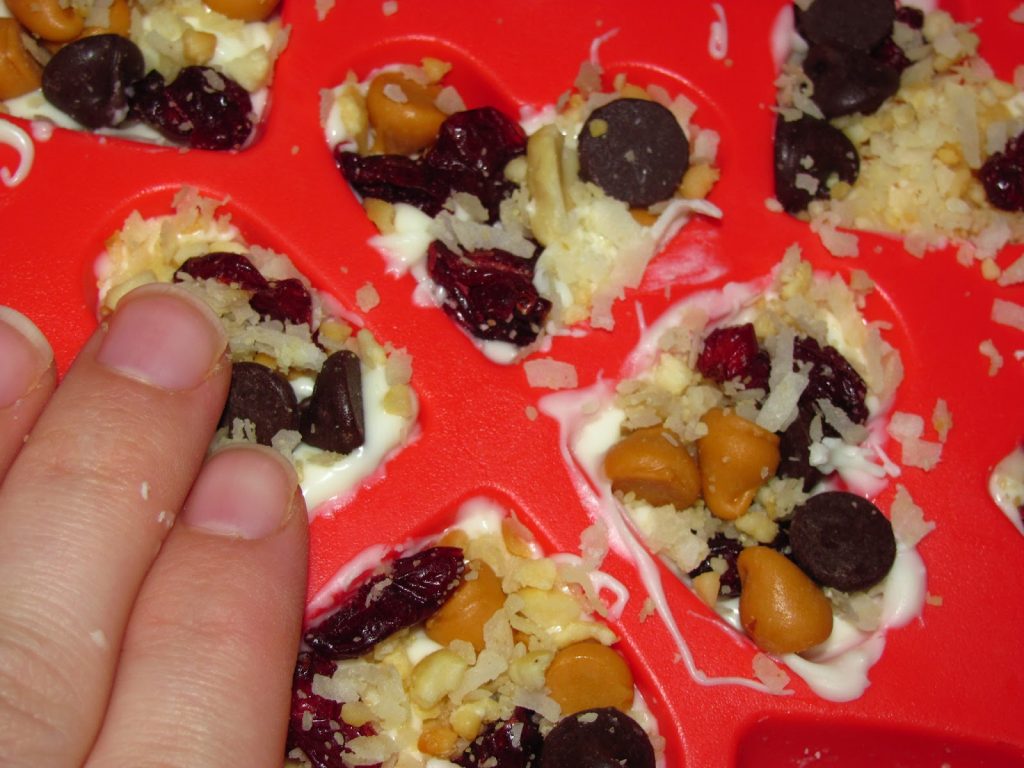
- Sprinkle topping on top of the pink chocolate and press in.
- Place molds in the fridge until the candy hardens, then pop out and place in treat bags or tins.
Notes
Adapted from the Party Bark recipe from www.happyhourprojects.com
Did you make this Recipe?Tag @flchefnicole or hashtag #fortheloveoffoodblog
For The Love of Food Blog

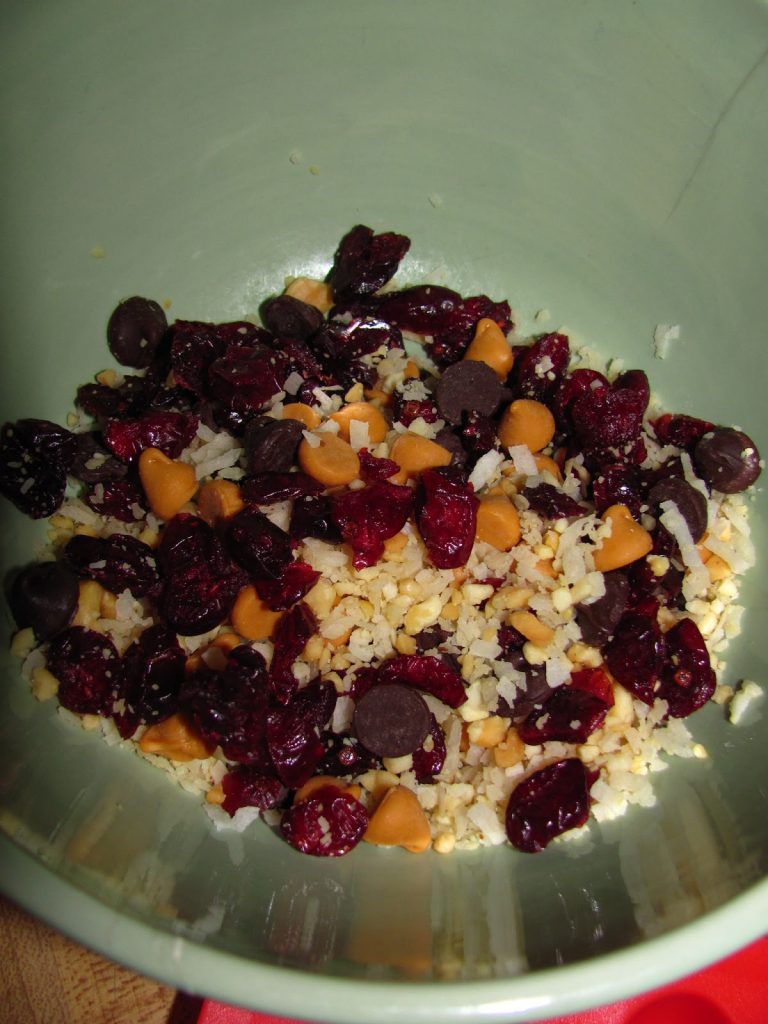
Combine all the sweet and salty mix ins together in a bowl.
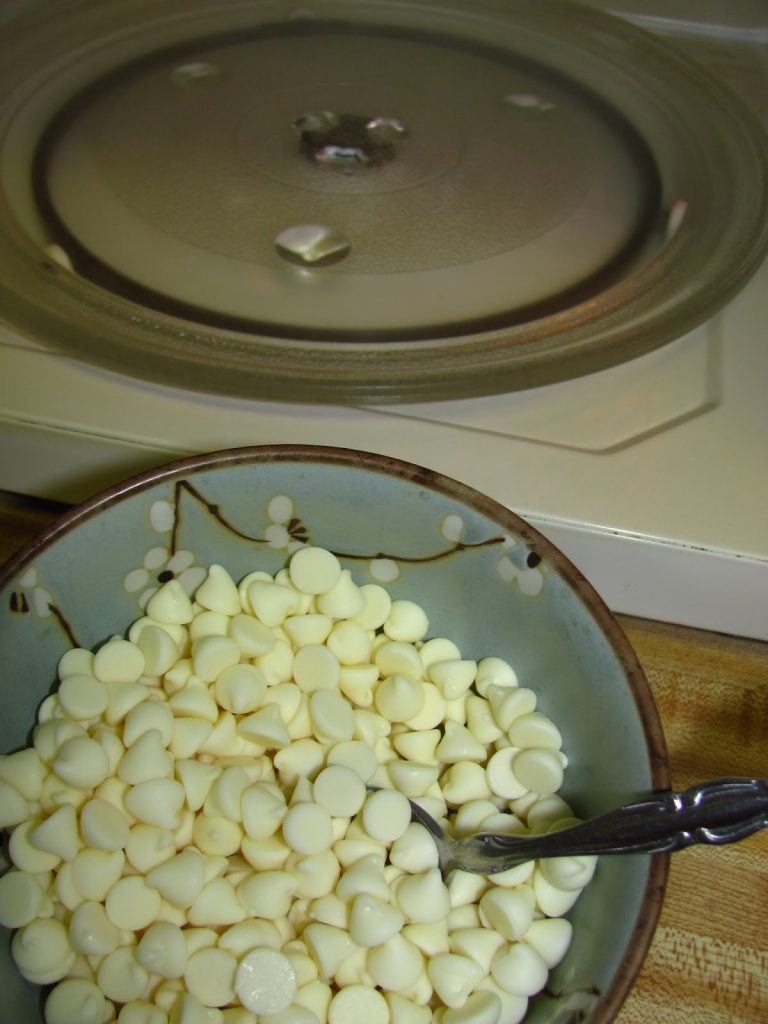
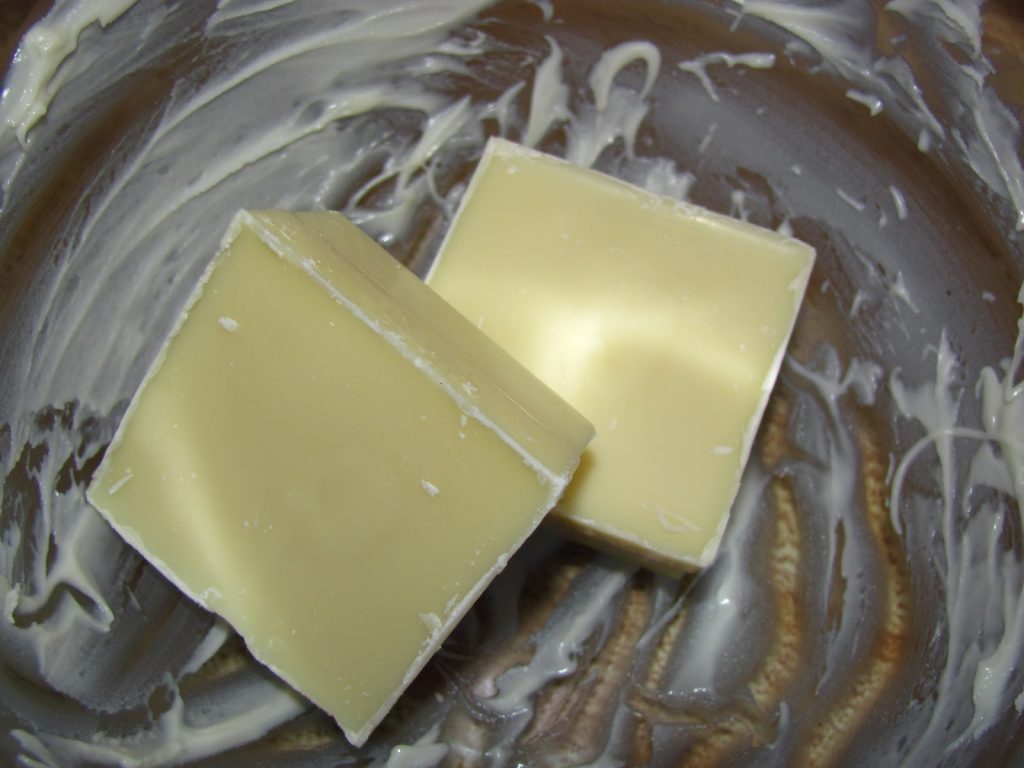
I tried this recipe with both white chocolate chips and white chocolate baking bars. I thought the baking bars melted a lot better and the consistency was smoother and easier to spoon into the molds than the melted chocolate chips.
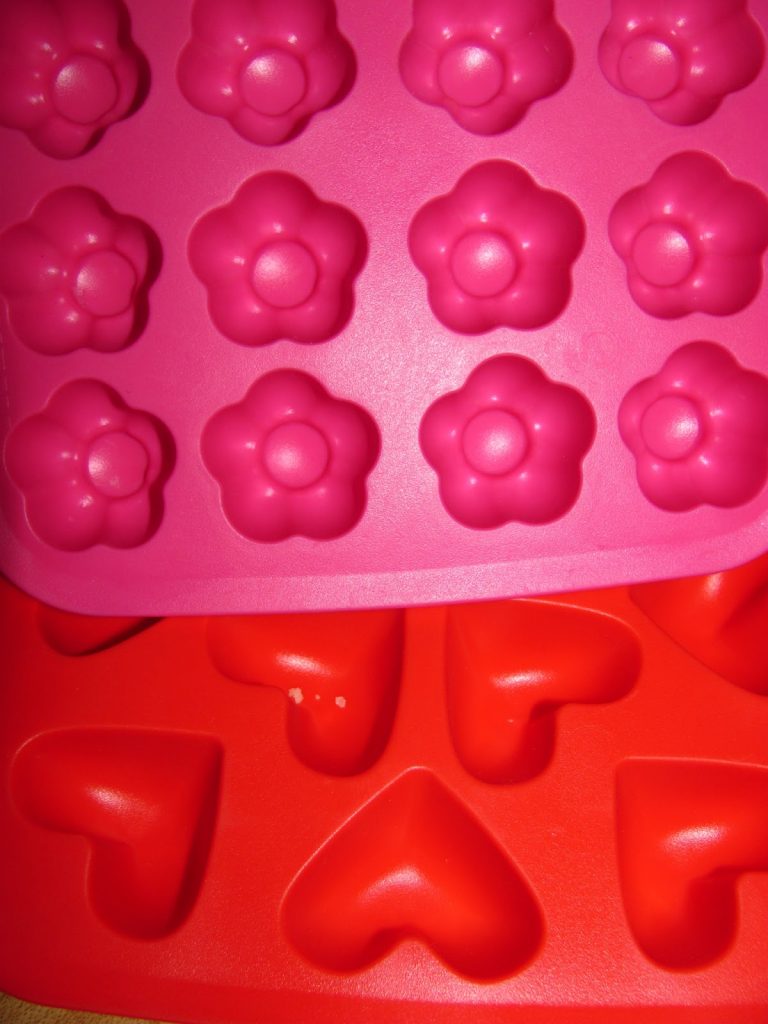
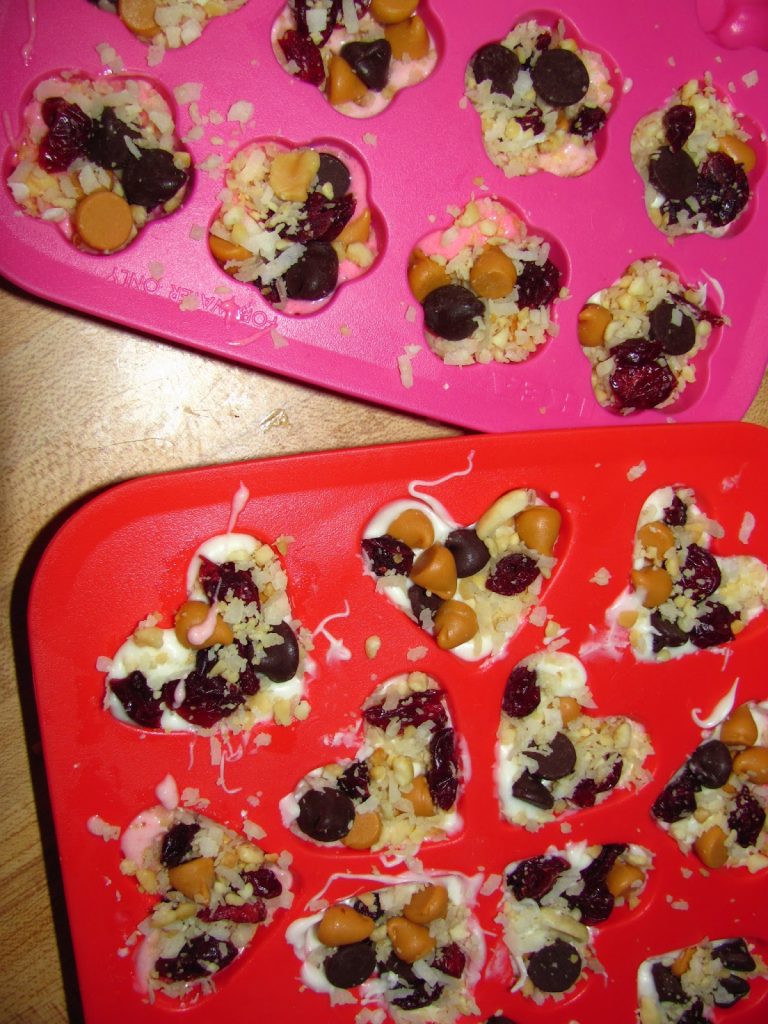
I bought these fun silicone heart and flower shaped ice cube trays from IKEA. They are perfect for candy molds and the silicone makes it easy to put the candies out when they harden!
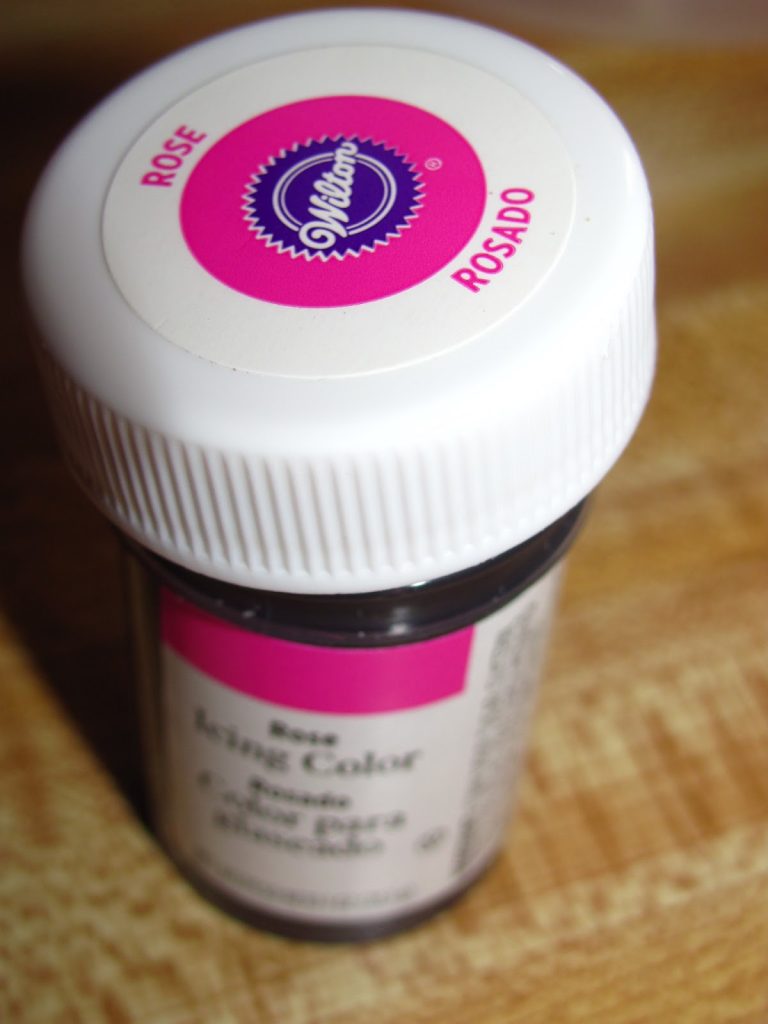
You can use one or two drops of red food coloring to turn the chocolate pink. Or I purchased Rose Pink Icing Color from a craft store. This is a stronger brighter color.
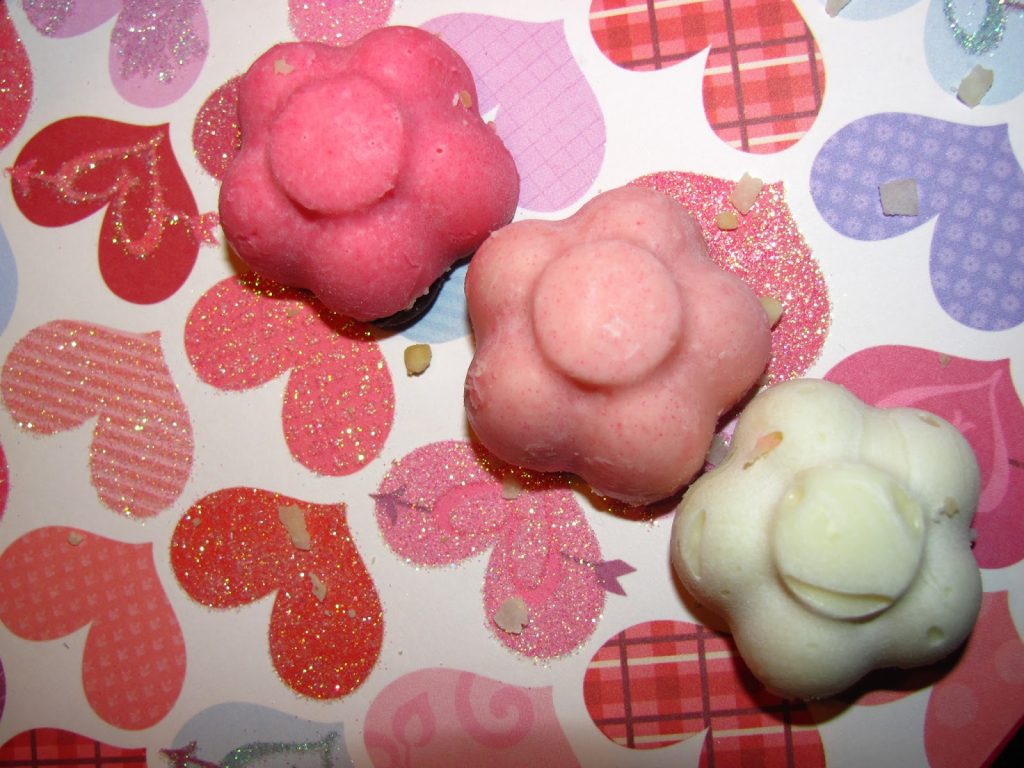
Here is an example of the coloring. The white (without color), one drop of color, and then 2 drops for a deeper pink.
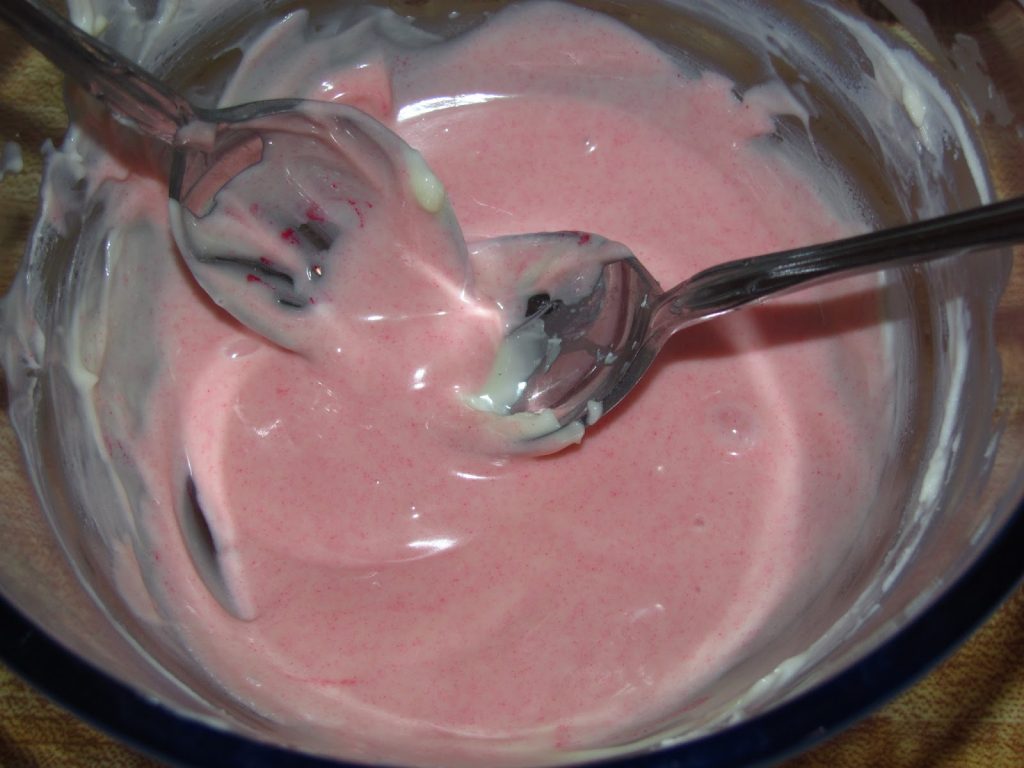
Using my Rose Icing color I played around until I got the pink shade I wanted.
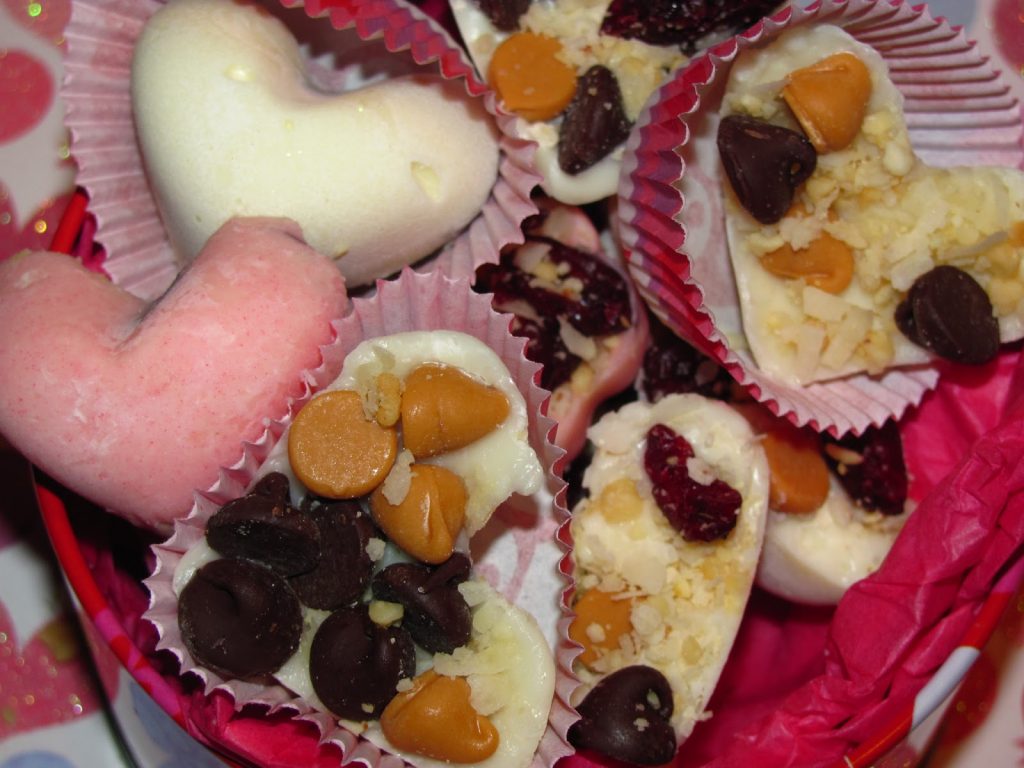
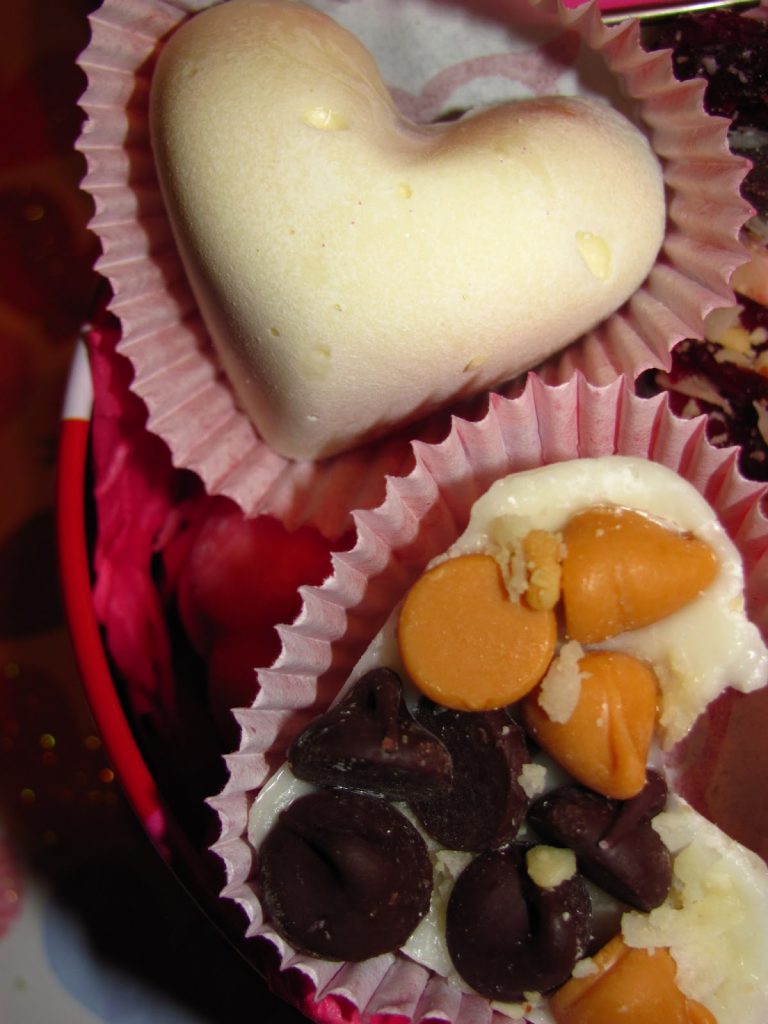
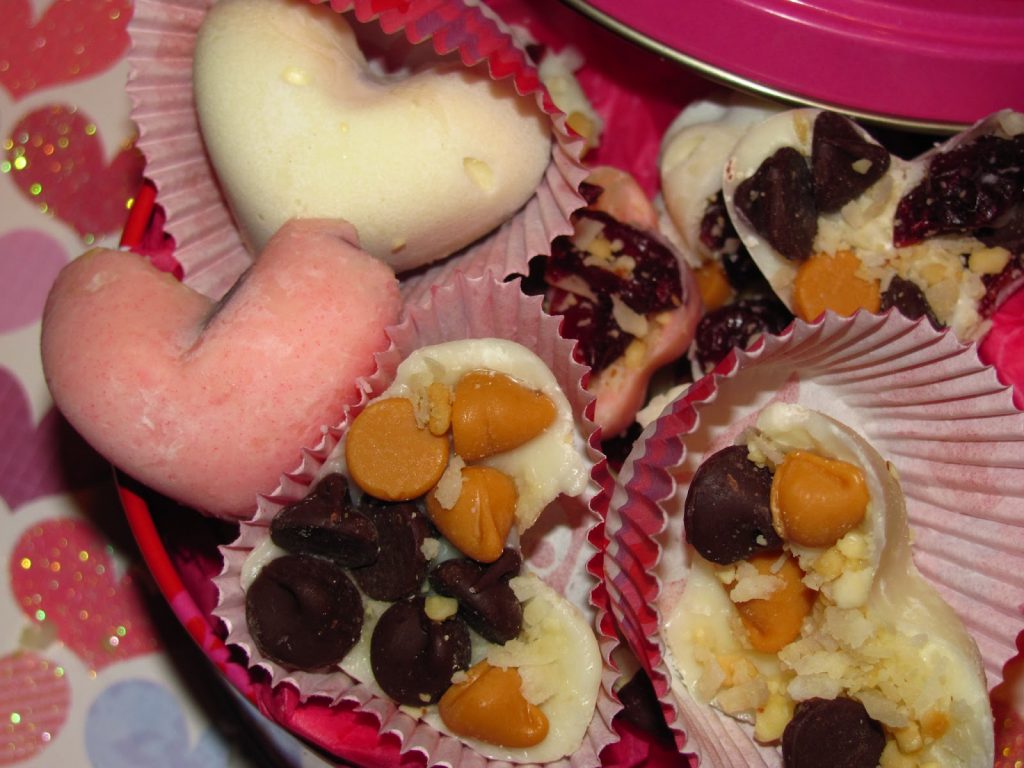
I left some chocolate white and colored others. Don’t worry if you drizzle some chocolate on the outside of the molds. Once the candy hardens and pops out, you will not see the imperfections.
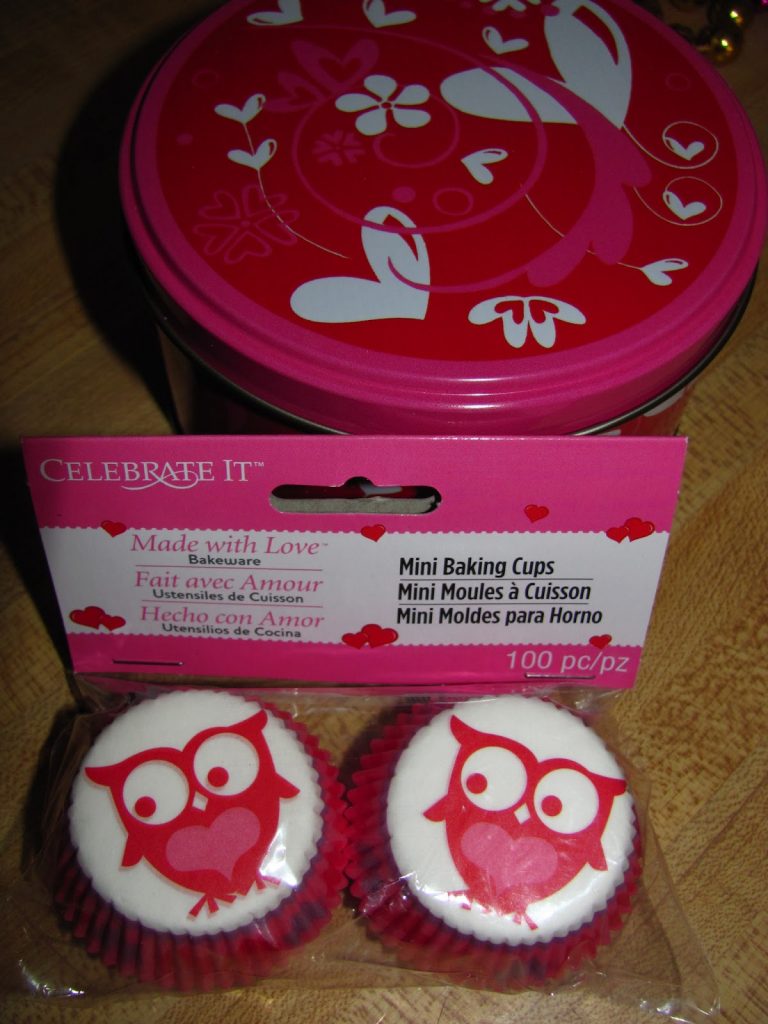
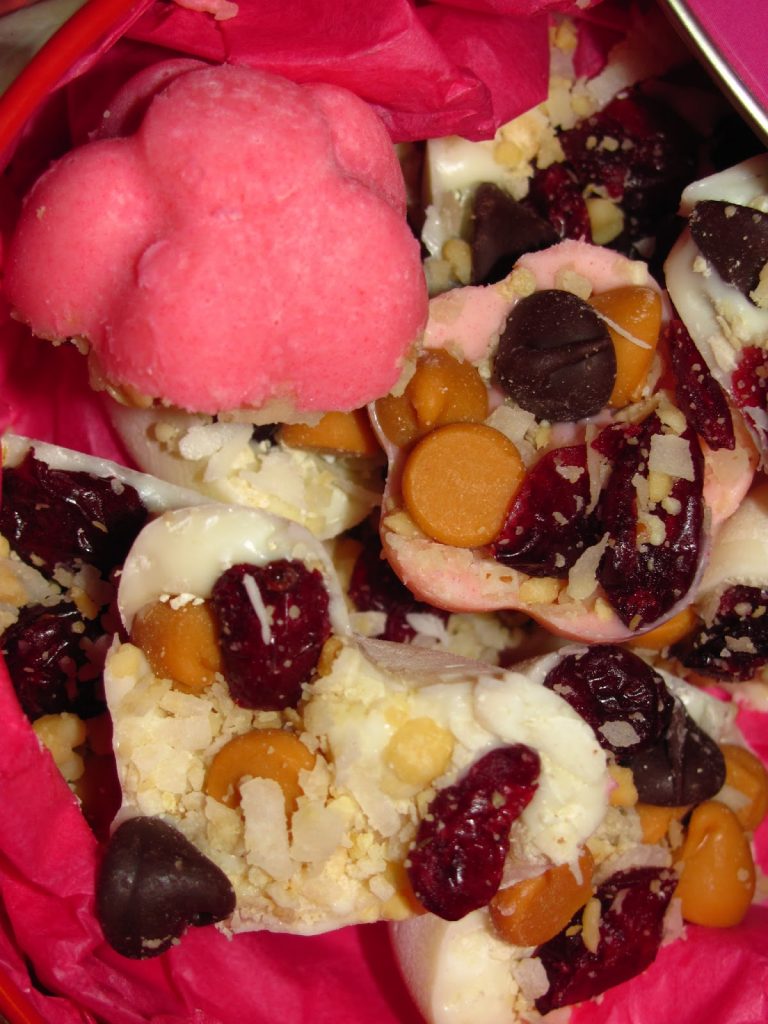
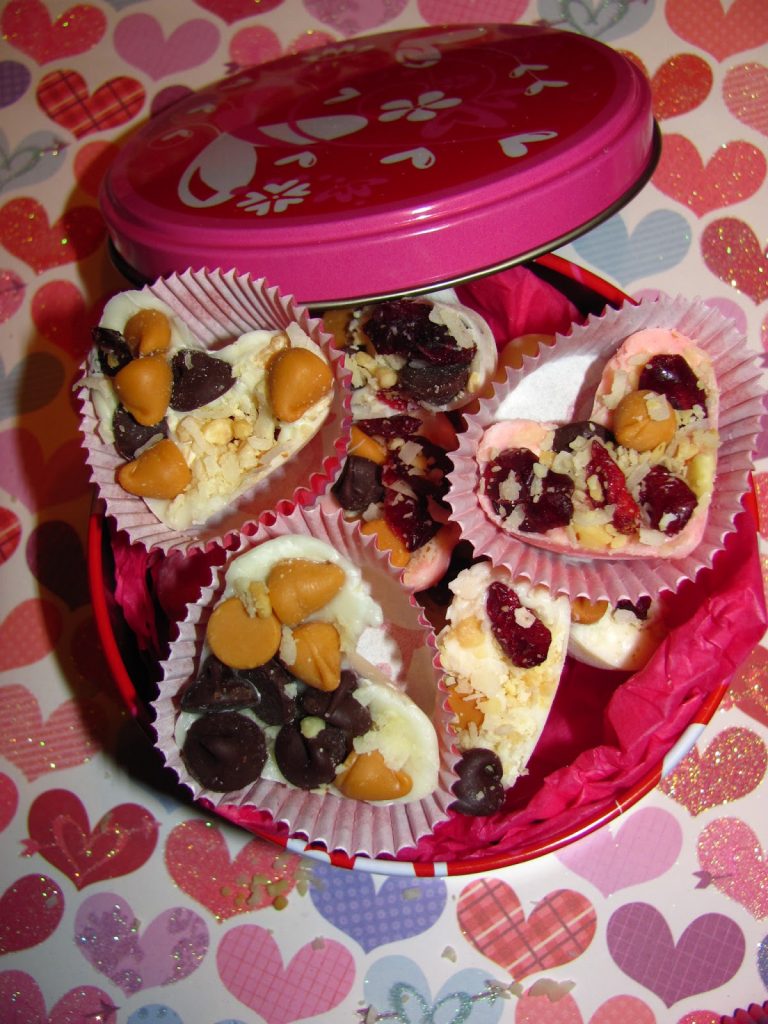
I found these adorable Valentine’s tins and mini baking cups on clearance at Michael’s craft store.
The perfect Valentine’s Day gift for everyone you know!








It cannot be denied that the retro sweets, candies and crystallized fruits are tastefully relished by young and old with the same enthusiasm.
This keeps all of the berries from floating up to the top. Fill the tin up with water and put back into the freezer until frozen. ice cube