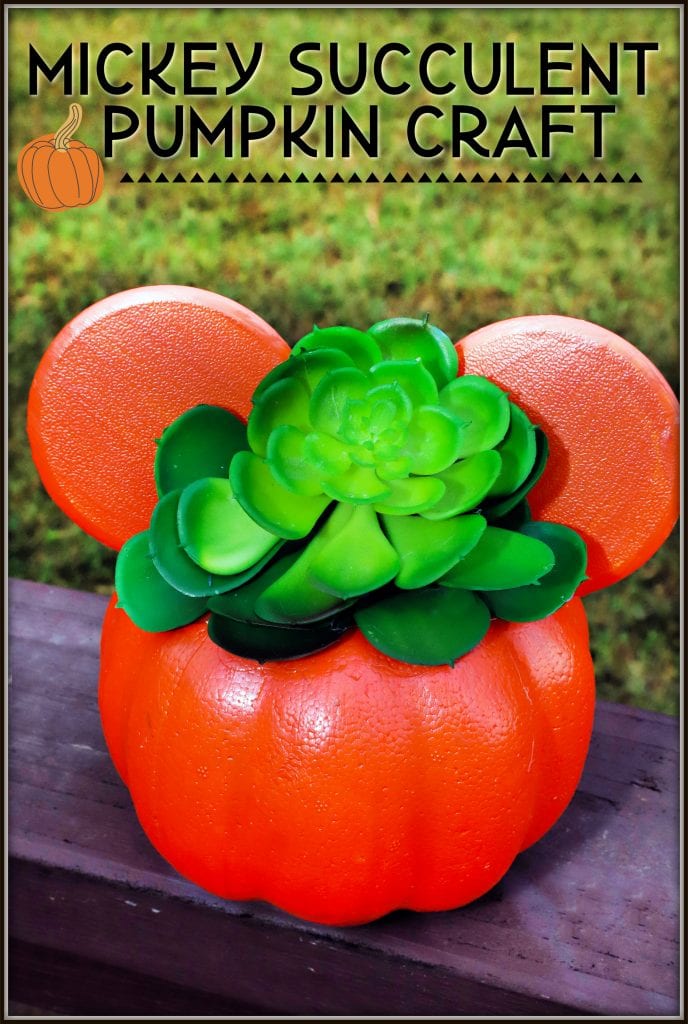
This adorable DIY pumpkin has a fun Disney twist!
You can make this Mickey Mouse craft with only a few simple dollar store supplies and display at home this fall.
Scroll down for all the details.
What you need:
1 small foam craft pumpkin
2 pack of door knob wall shields
craft knife
2 foam brushes
orange acrylic paint
Mod Podge
small sandwich bag of rice or beans, for weight
small fake succulent plants
fake moss, optional
hot glue
Directions:
1. Start by removing the foam stem and using a craft knife, cut a circle in the top and cut and scoop out the center foam until you have a opening to hold your succulent.
2. Now paint your pumpkin and wall shields (both sides) . I used a pretty metallic orange paint and added 2 coats.
3. Once the paint is dry, add a layer of Mod Podge to seal.
4. Add a cup or two of uncooked rice or dried beans to a baggie.
5. Seal and add the baggie to the opening of your pumpkin. This will weigh it down.
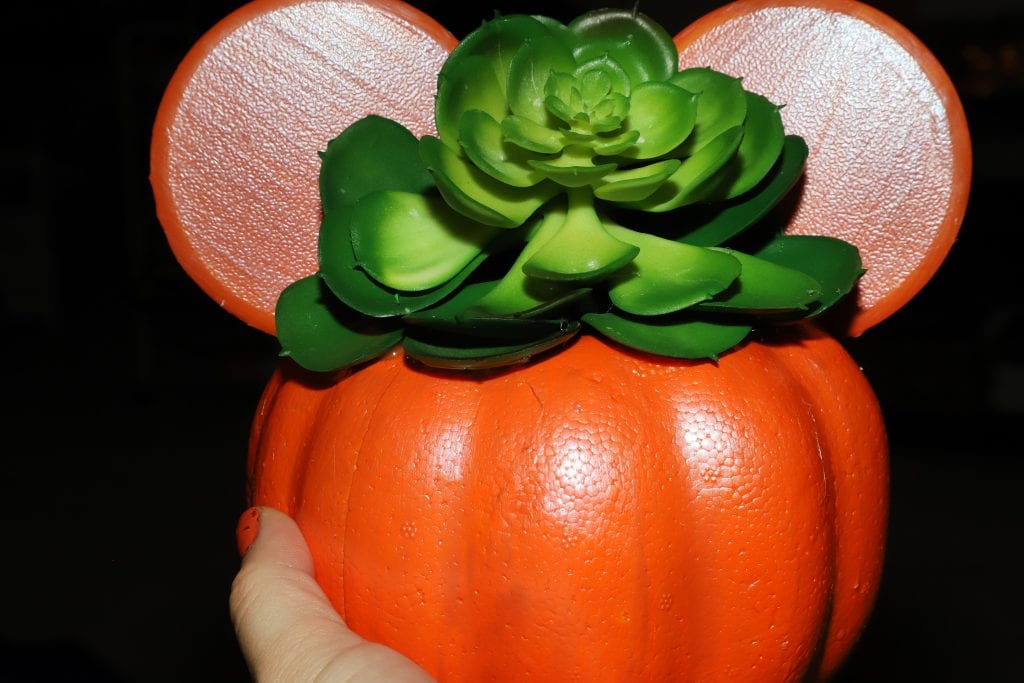
6. Cut a small slit on each side of the top of the pumpkin to hold the ears. Slide the painted wall shield “ears” into the top.
7. Now add moss (optional), gluing around the outside of the opening.
8. Finally, add your succulent plants to the opening. Optional: to secure it more you can glue the bottom leaves to the pumpkin.
9. Display and enjoy your Disney fall creation!

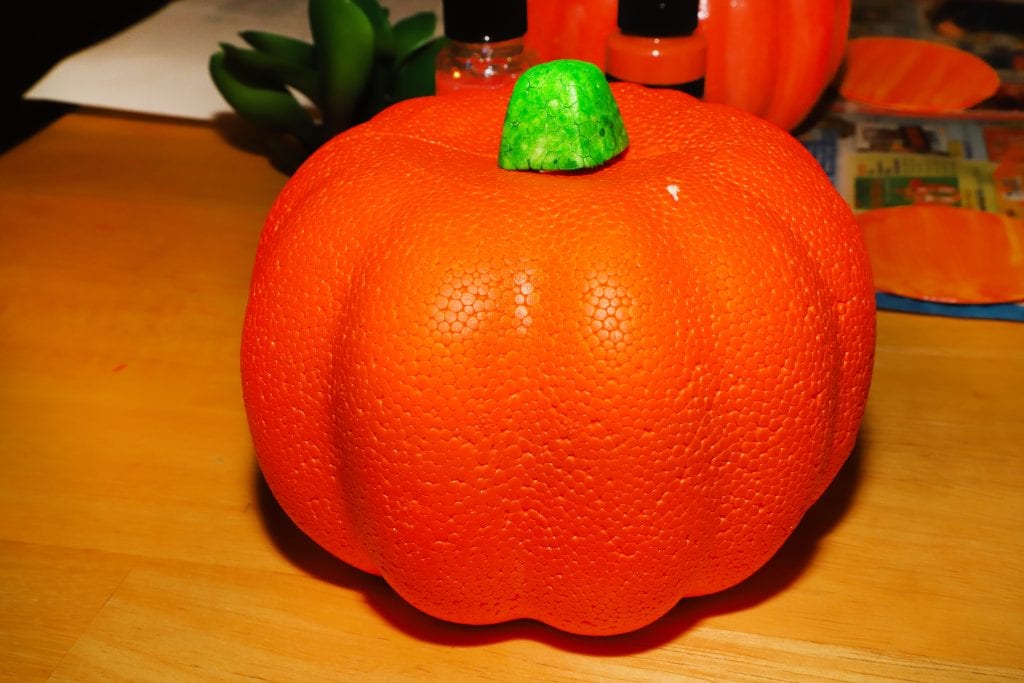
Start with a small/medium foam craft pumpkin from Dollar Tree.
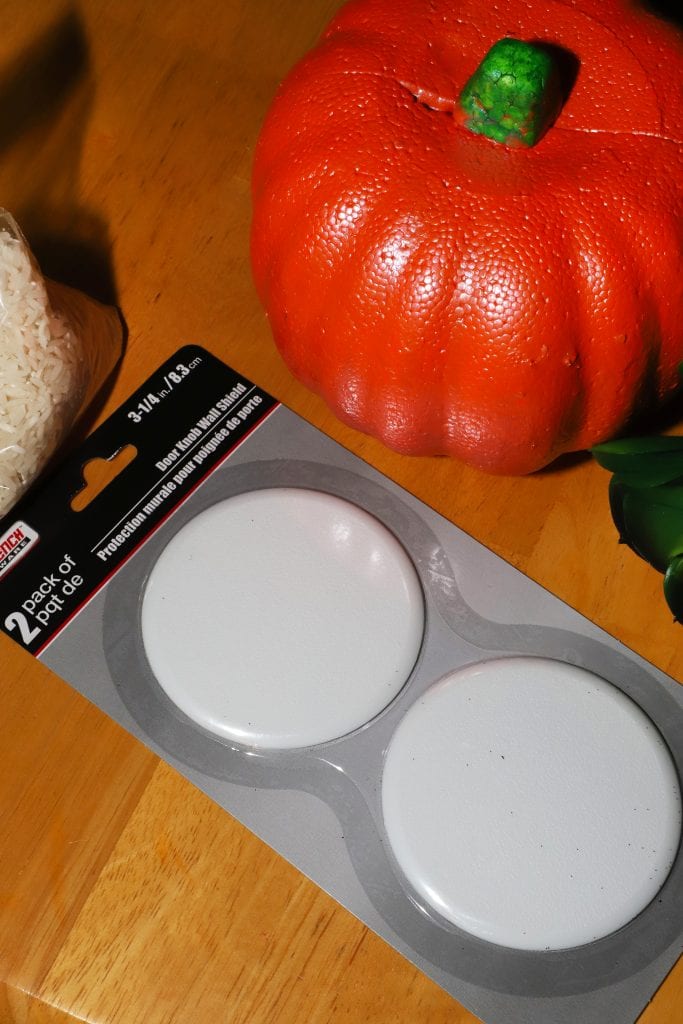
You will also need a 2 pack of door knob wall shields which can also be found at Dollar Tree.
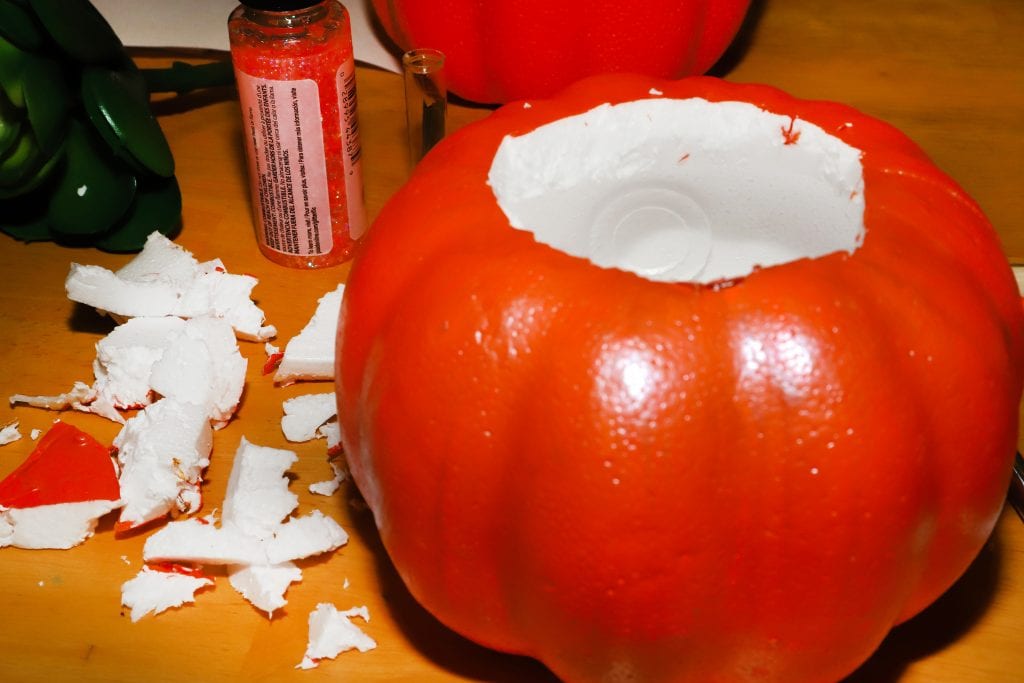
Start by removing the foam stem and using a craft knife cut a circle in the top and cut and
scoop out the center foam.
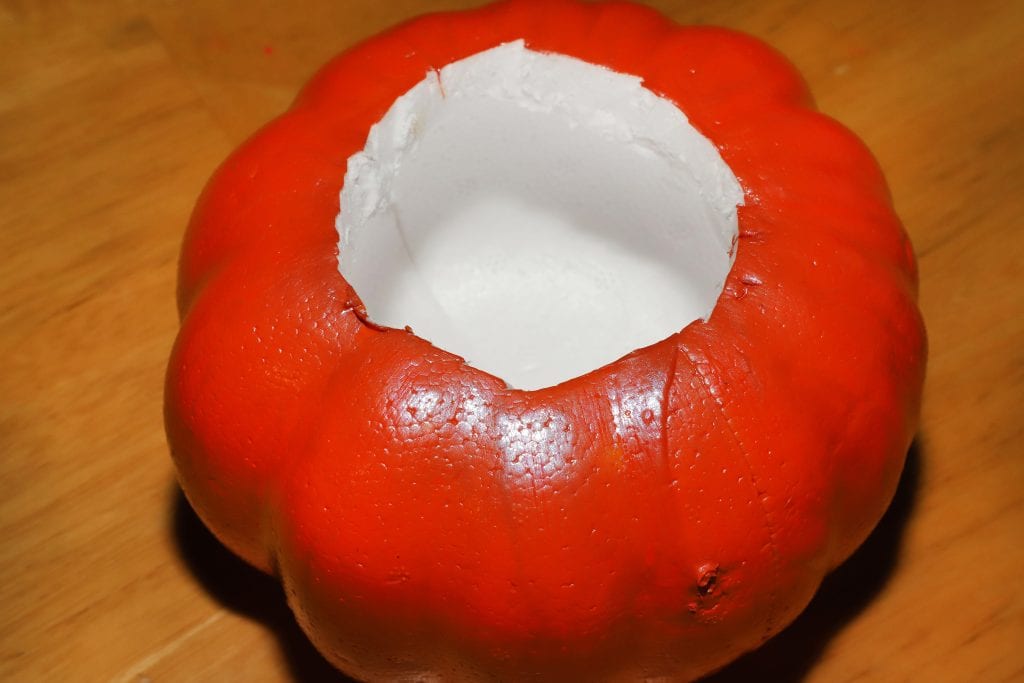
You should have a deep enough opening to hold your succulent.
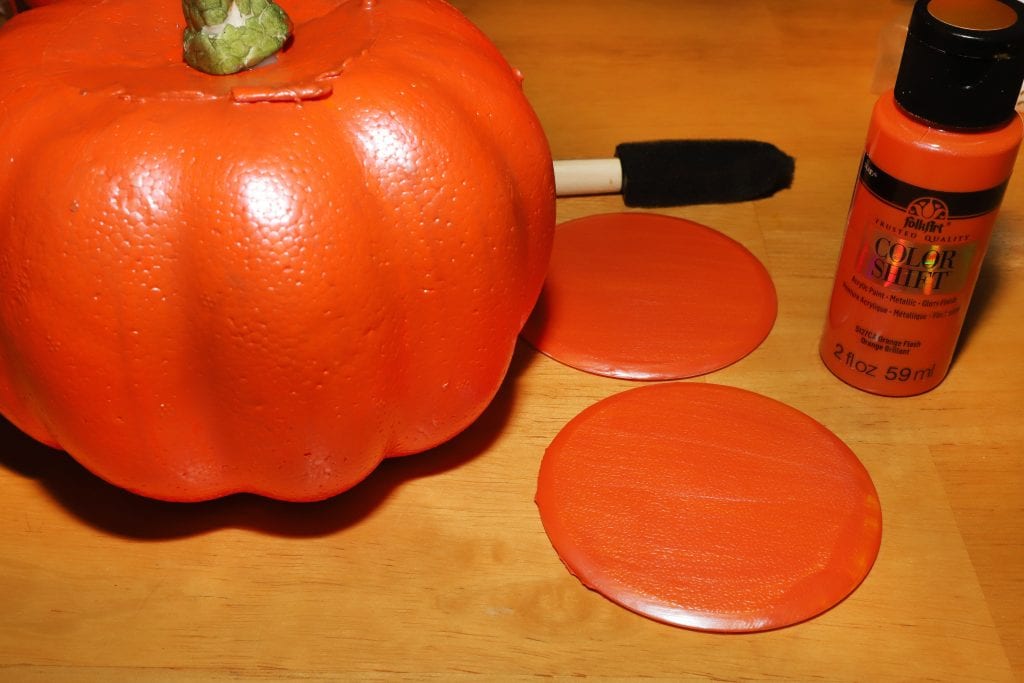
Now paint your pumpkin and wall shields (both sides). I used a pretty metallic orange paint and added 2 coats.
You can skip this step on the pumpkin but I think the craft pumpkins look much better when they have a solid gloss paint over them.
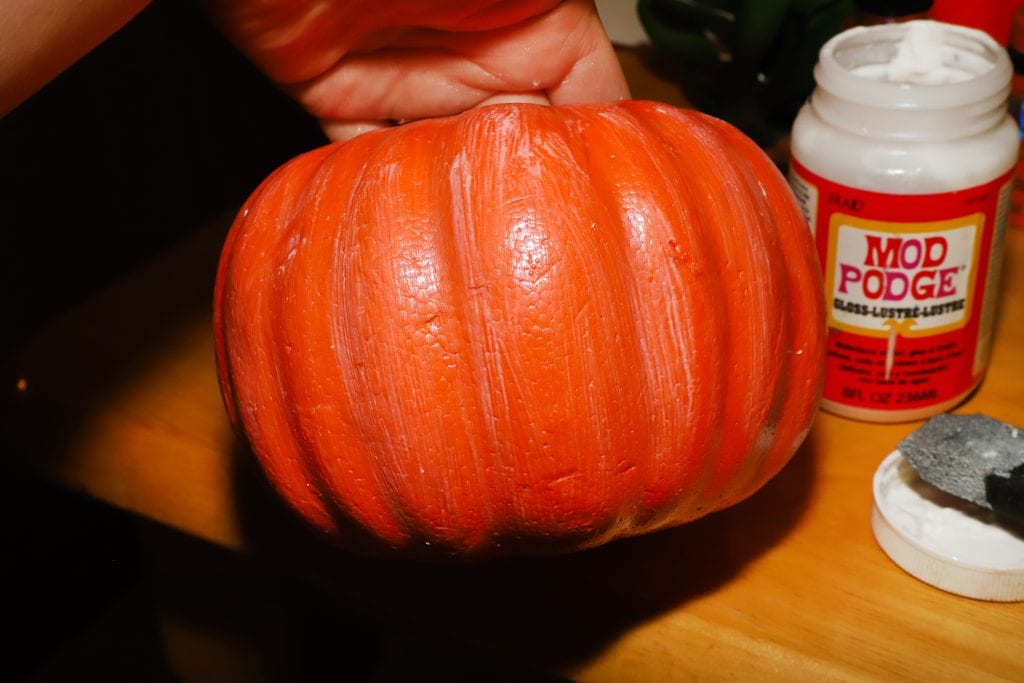
Once the paint is dry, add a layer of Mod Podge to seal. I used the glossy kind.
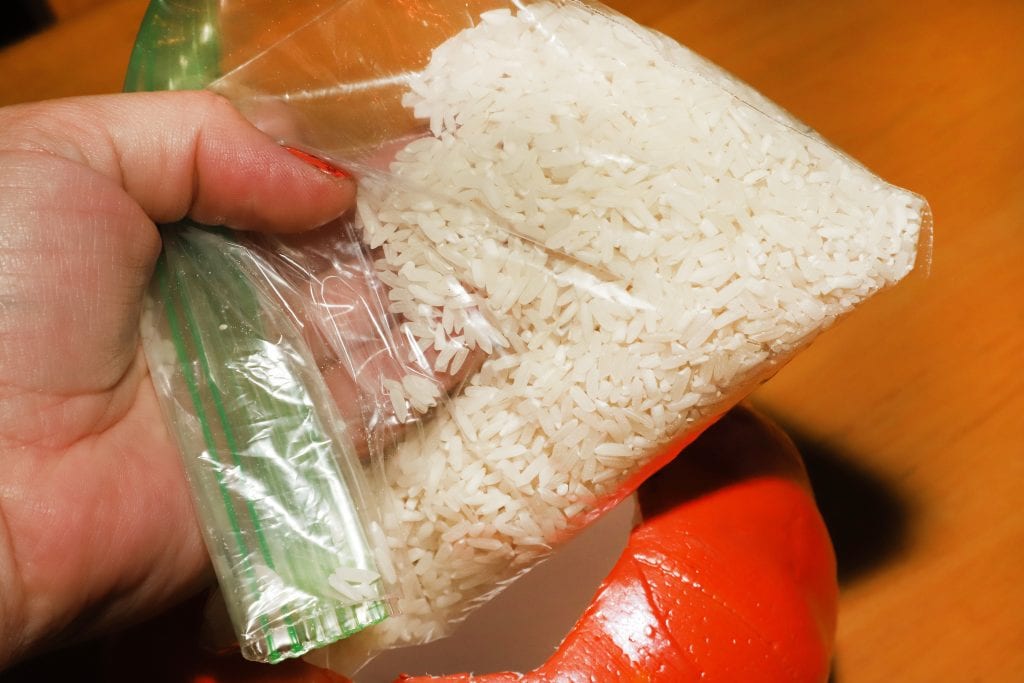
Add a cup or two of uncooked rice or dried beans to a baggie.
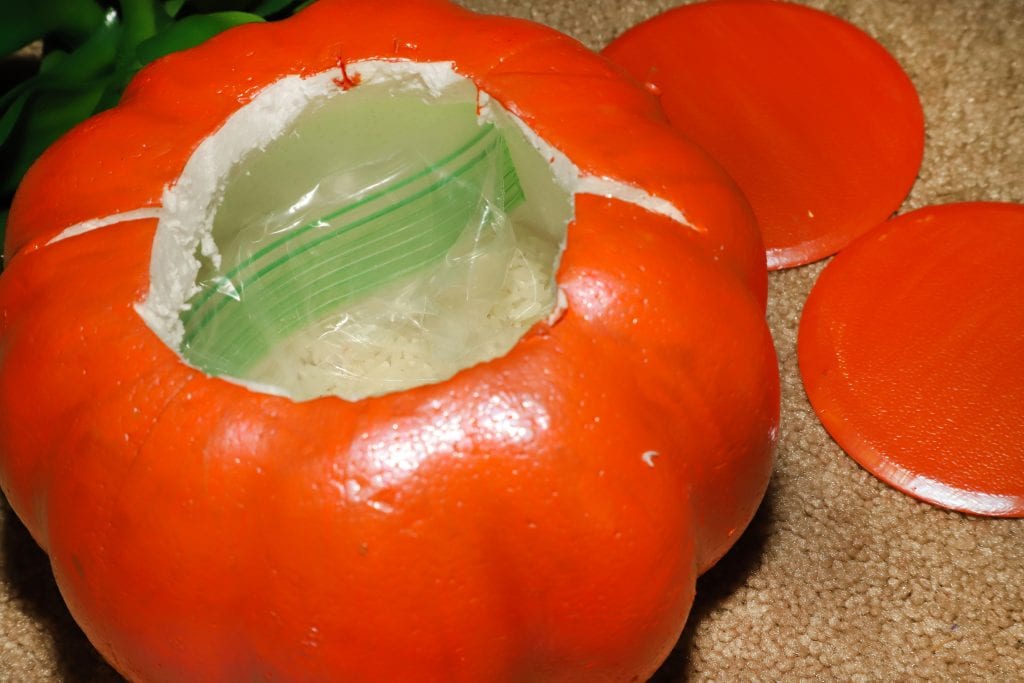
Seal and add the baggie to the opening of your pumpkin. This will weigh it down.
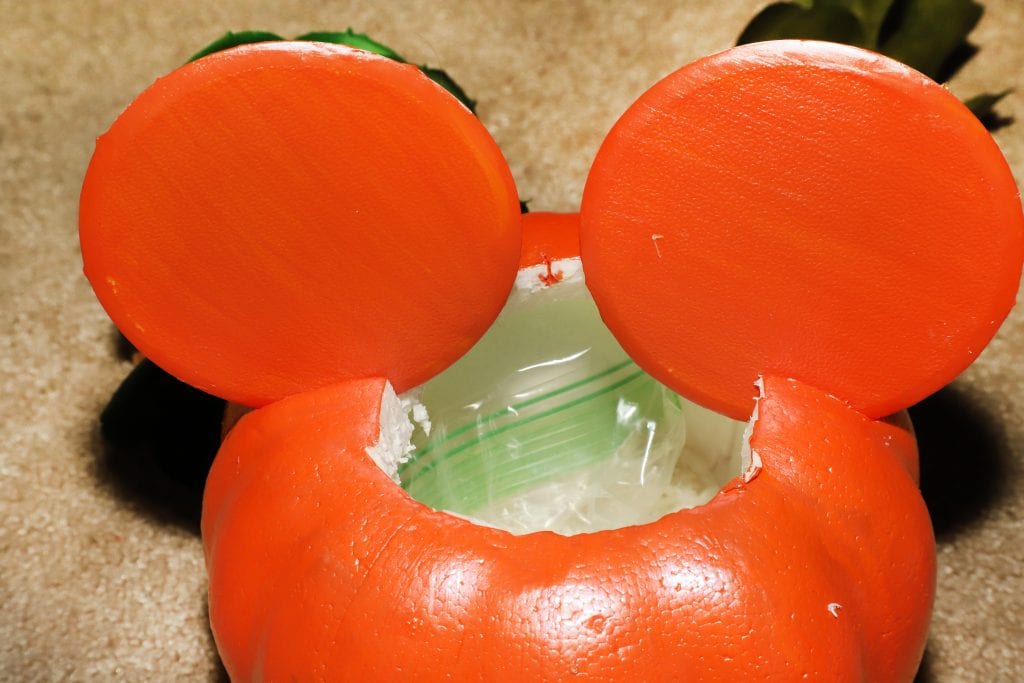
Cut a small slit on each side of the top of the pumpkin to hold the ears.
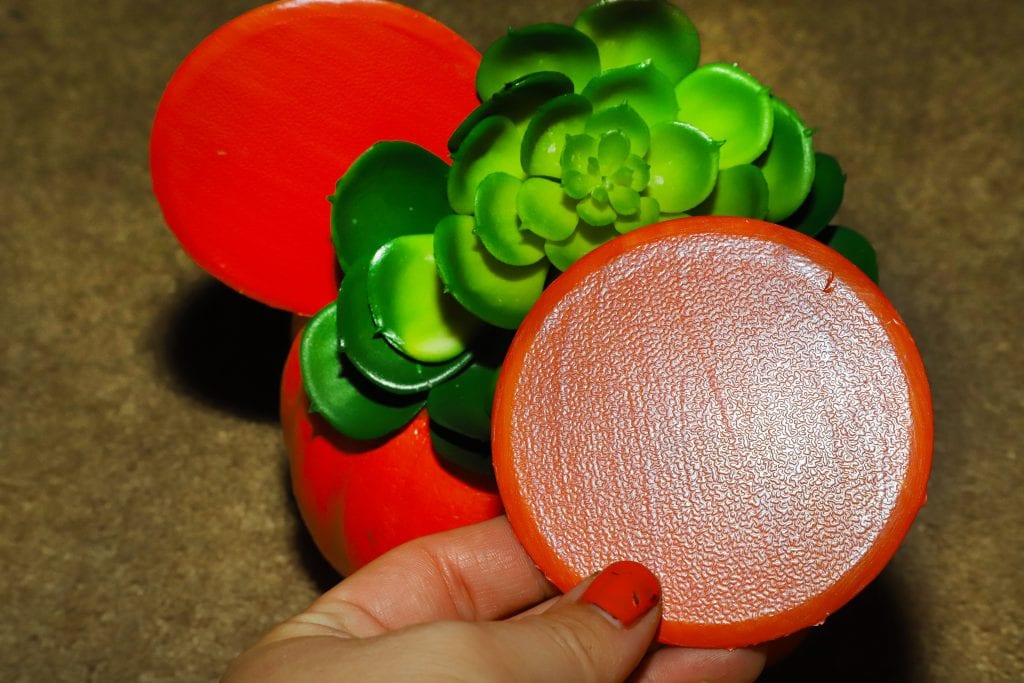
Slide the painted wall shield “ears” into the top.
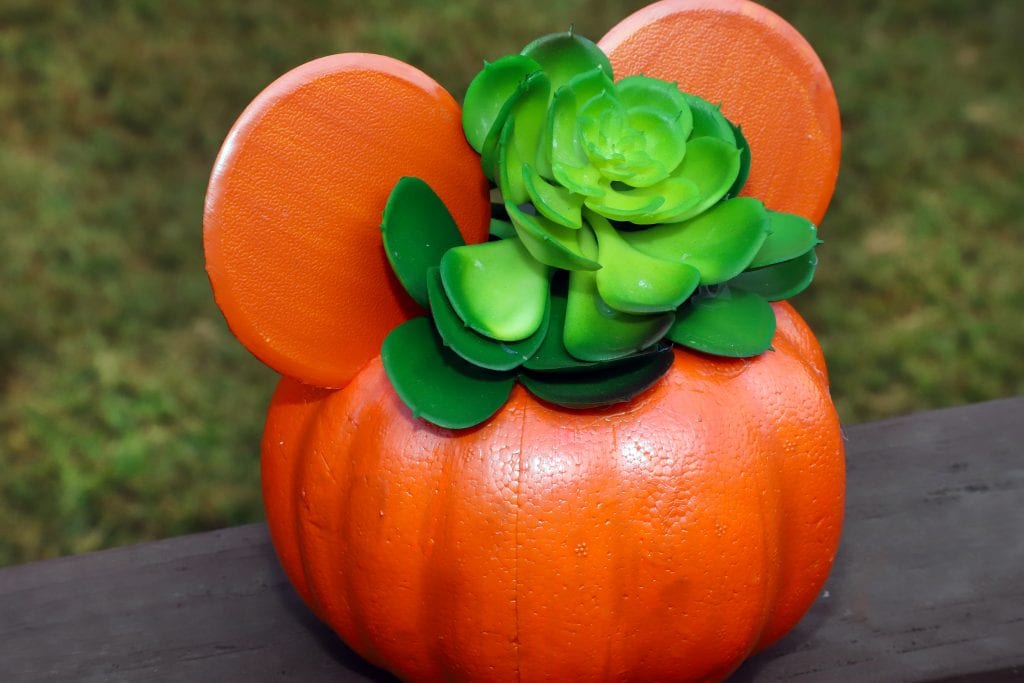
Now add moss (optional), gluing around the outside of the opening.
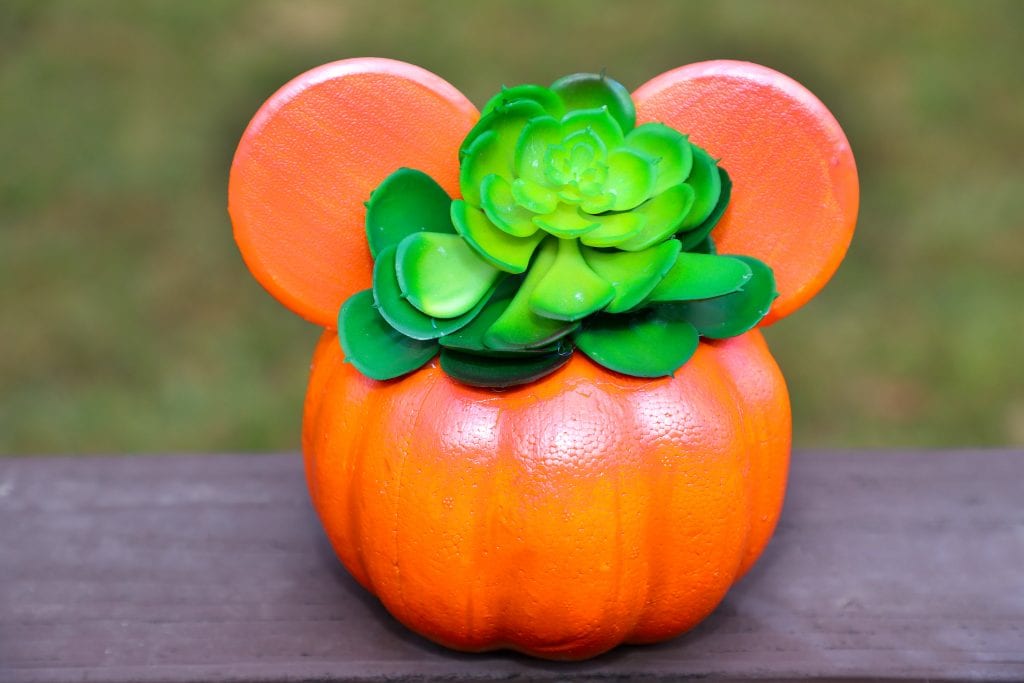
Then add your succulent plants to the opening. Optional: to secure it more you can glue the bottom leaves to the pumpkin.
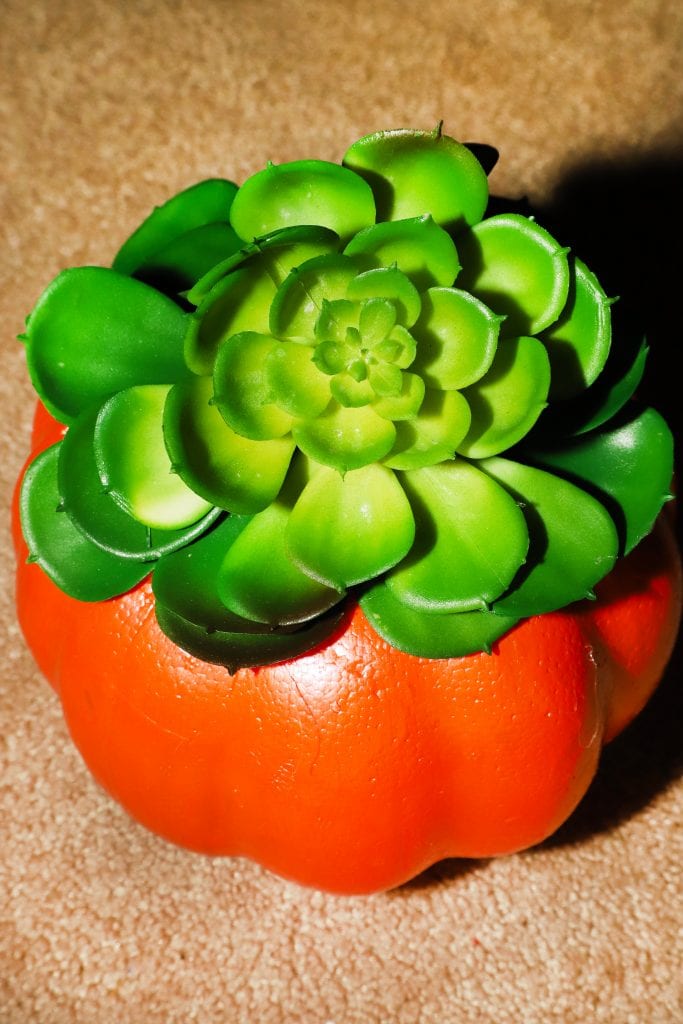
Display and enjoy your fall Disney creation!


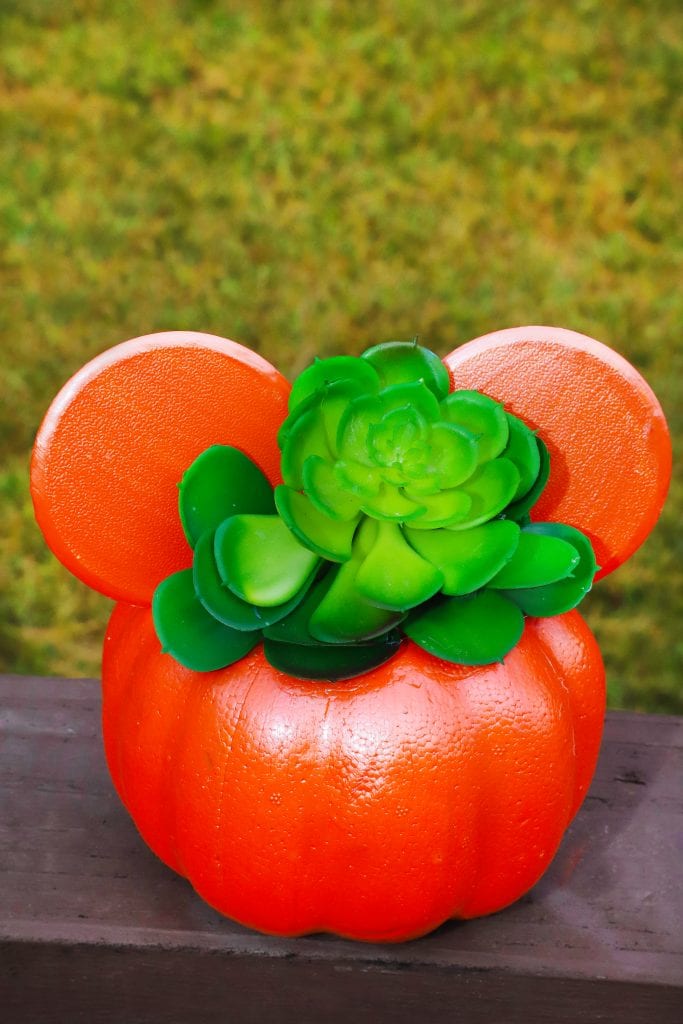







I don’t usually love succulents, to be honest, but THIS is the cutest plant craft. I’d happily have this one in the house or on my office desk. Super cute.
These Micky pumpkins are so clever! This will be a fun DIY activity for the kids and I – and will look great on the porch this Halloween.
I love this so much! Mickey at Halloween is the best and this is such a cute DIY.
That’s really cute! I have a hard time raising succulents lol, but I will buy this as it’s pretty, 😀